
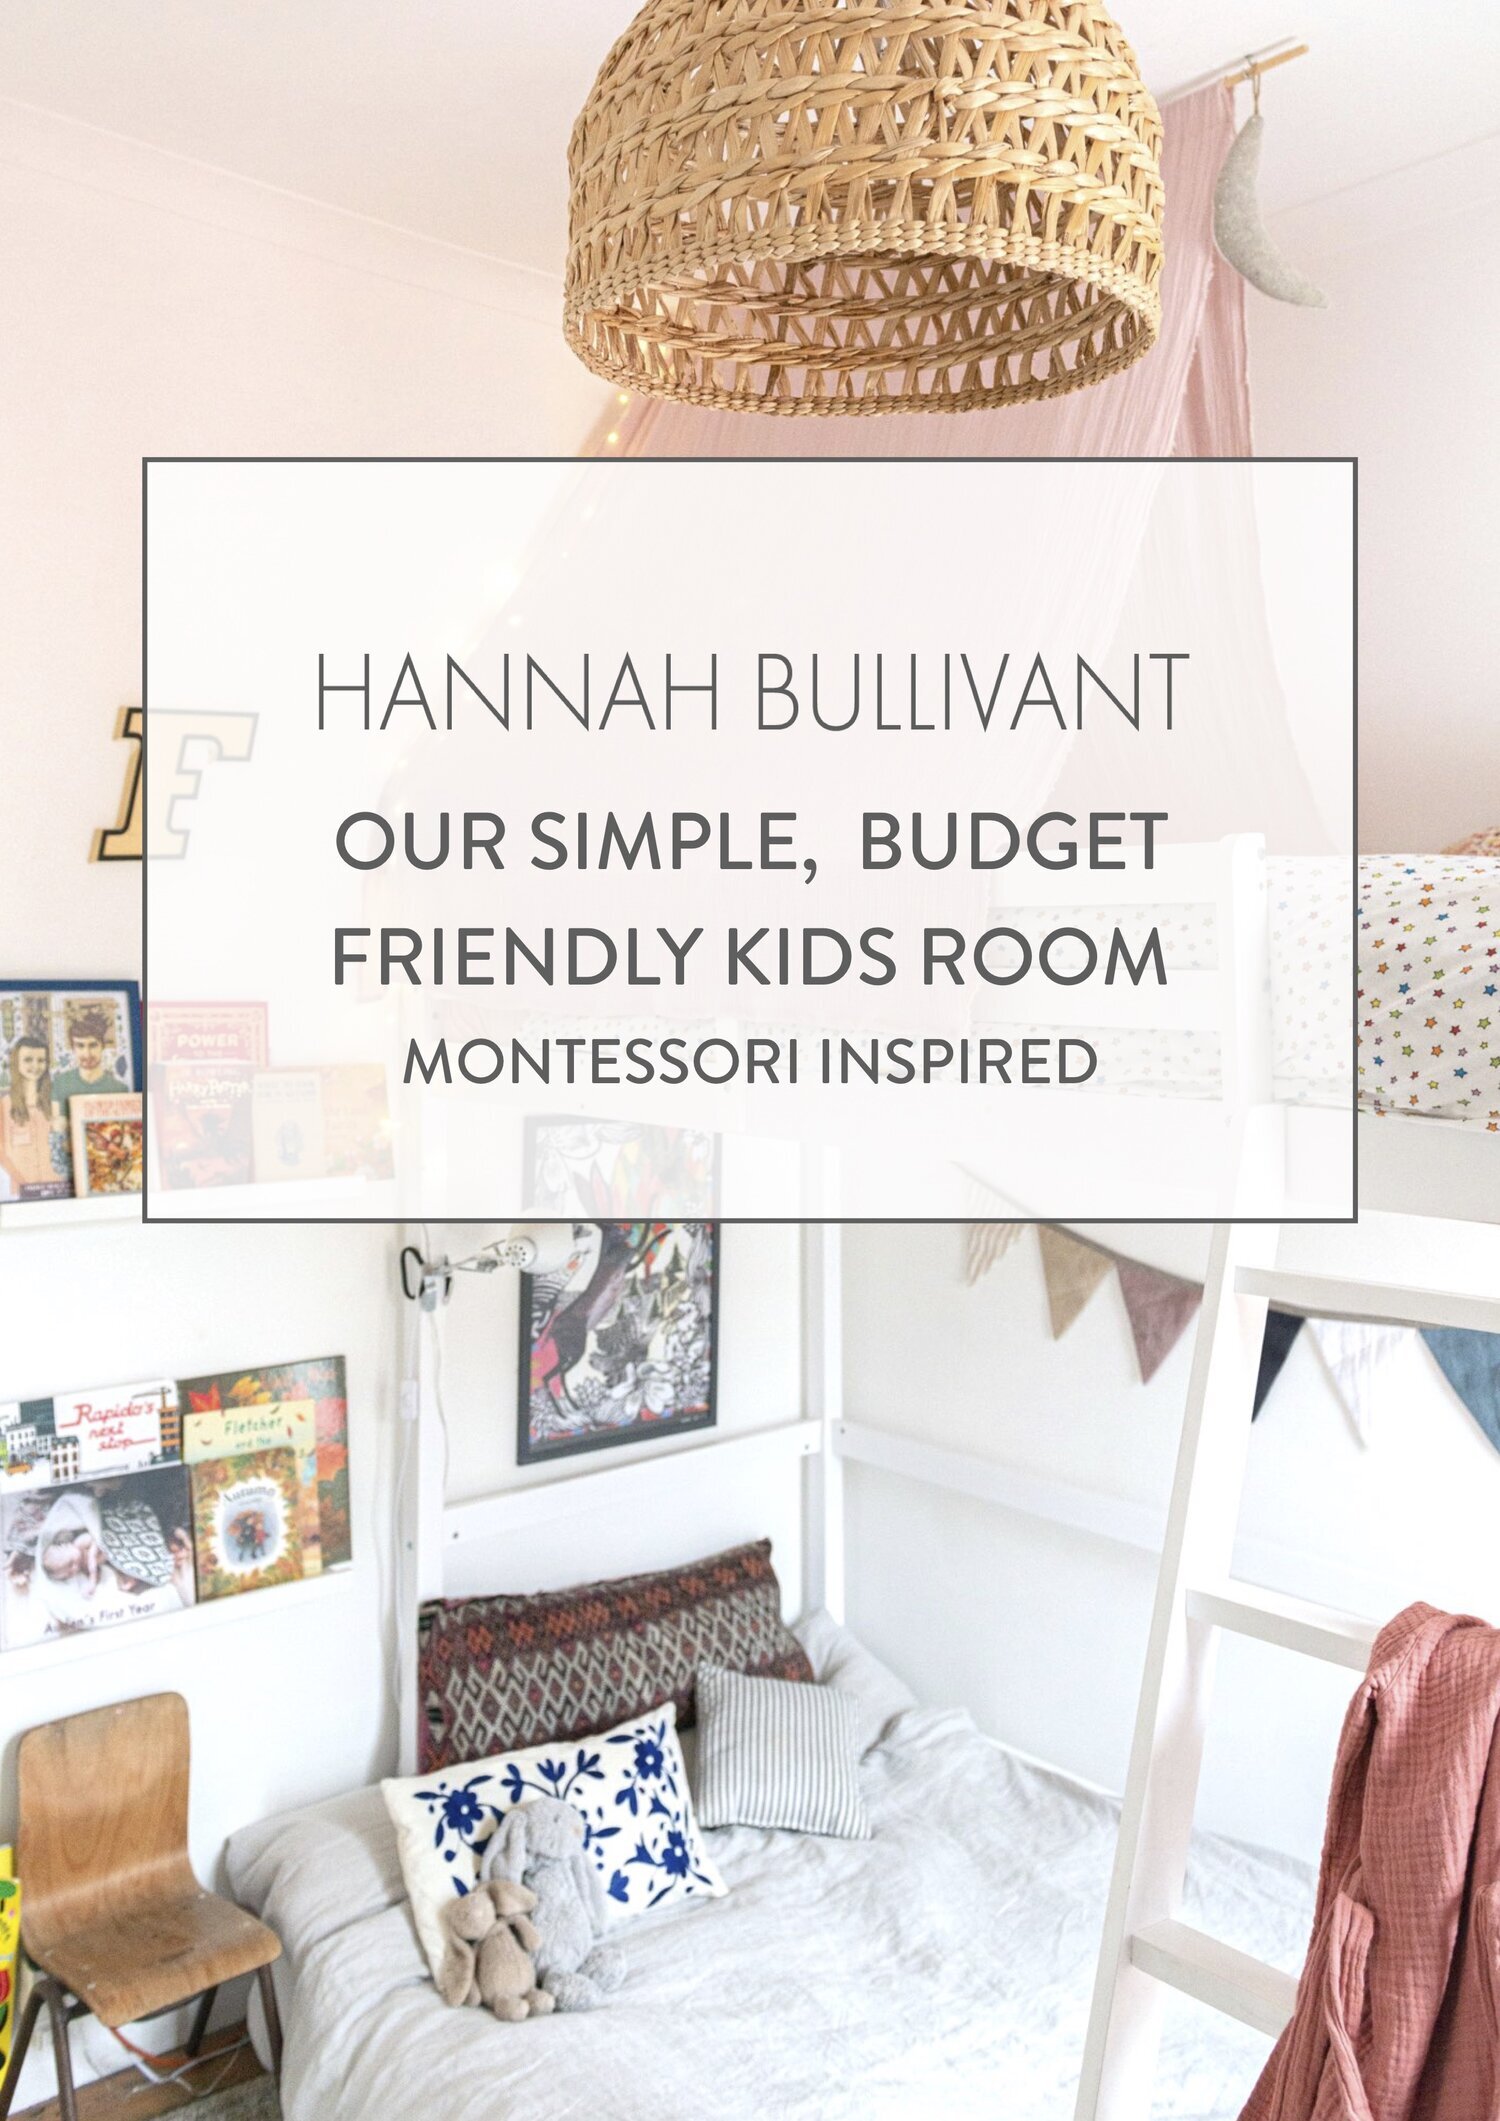
OUR SIMPLE BUDGET FRIENDLY MONTESSORI INSPIRED KIDS ROOM
I have been promising to share more information about my kid’s bedroom for months, and here it is!
The brief: I wanted to create a shared kids’ bedroom that was cosy, fun, yet simple and very budget-friendly. I kept the walls white and added colour and texture in the bedding, art and shelves. Both of them love their bedroom and I love it too, it feels like a really calming space.
The original plan was to swap ALL of the bedrooms around so that they had the biggest room. But then we realised with bunk beds, their current room would be just fine. A bigger room would mean more mess! They play downstairs so it would have been wasted. Their small room feels really cosy and lovely. It meant so much less work, and also means I have a bigger room to use as a studio which is a dream. In the future, we will probably move the rooms around so that they have a room each but for now it works really well.
SIBLINGS SHARING
Both kids like having company at night. Frankie will often climb down and get in Auden’s bed if she feels lonely or scared. For a while, before we got these bunk beds, they shared the same bed. They don’t really wake each other up, and they both like the comfort of having another human by their side (and to be honest, its a nice break for their parents!) The double bed on the lower bunk gives loads of flexibility too.
BUNK BEDS
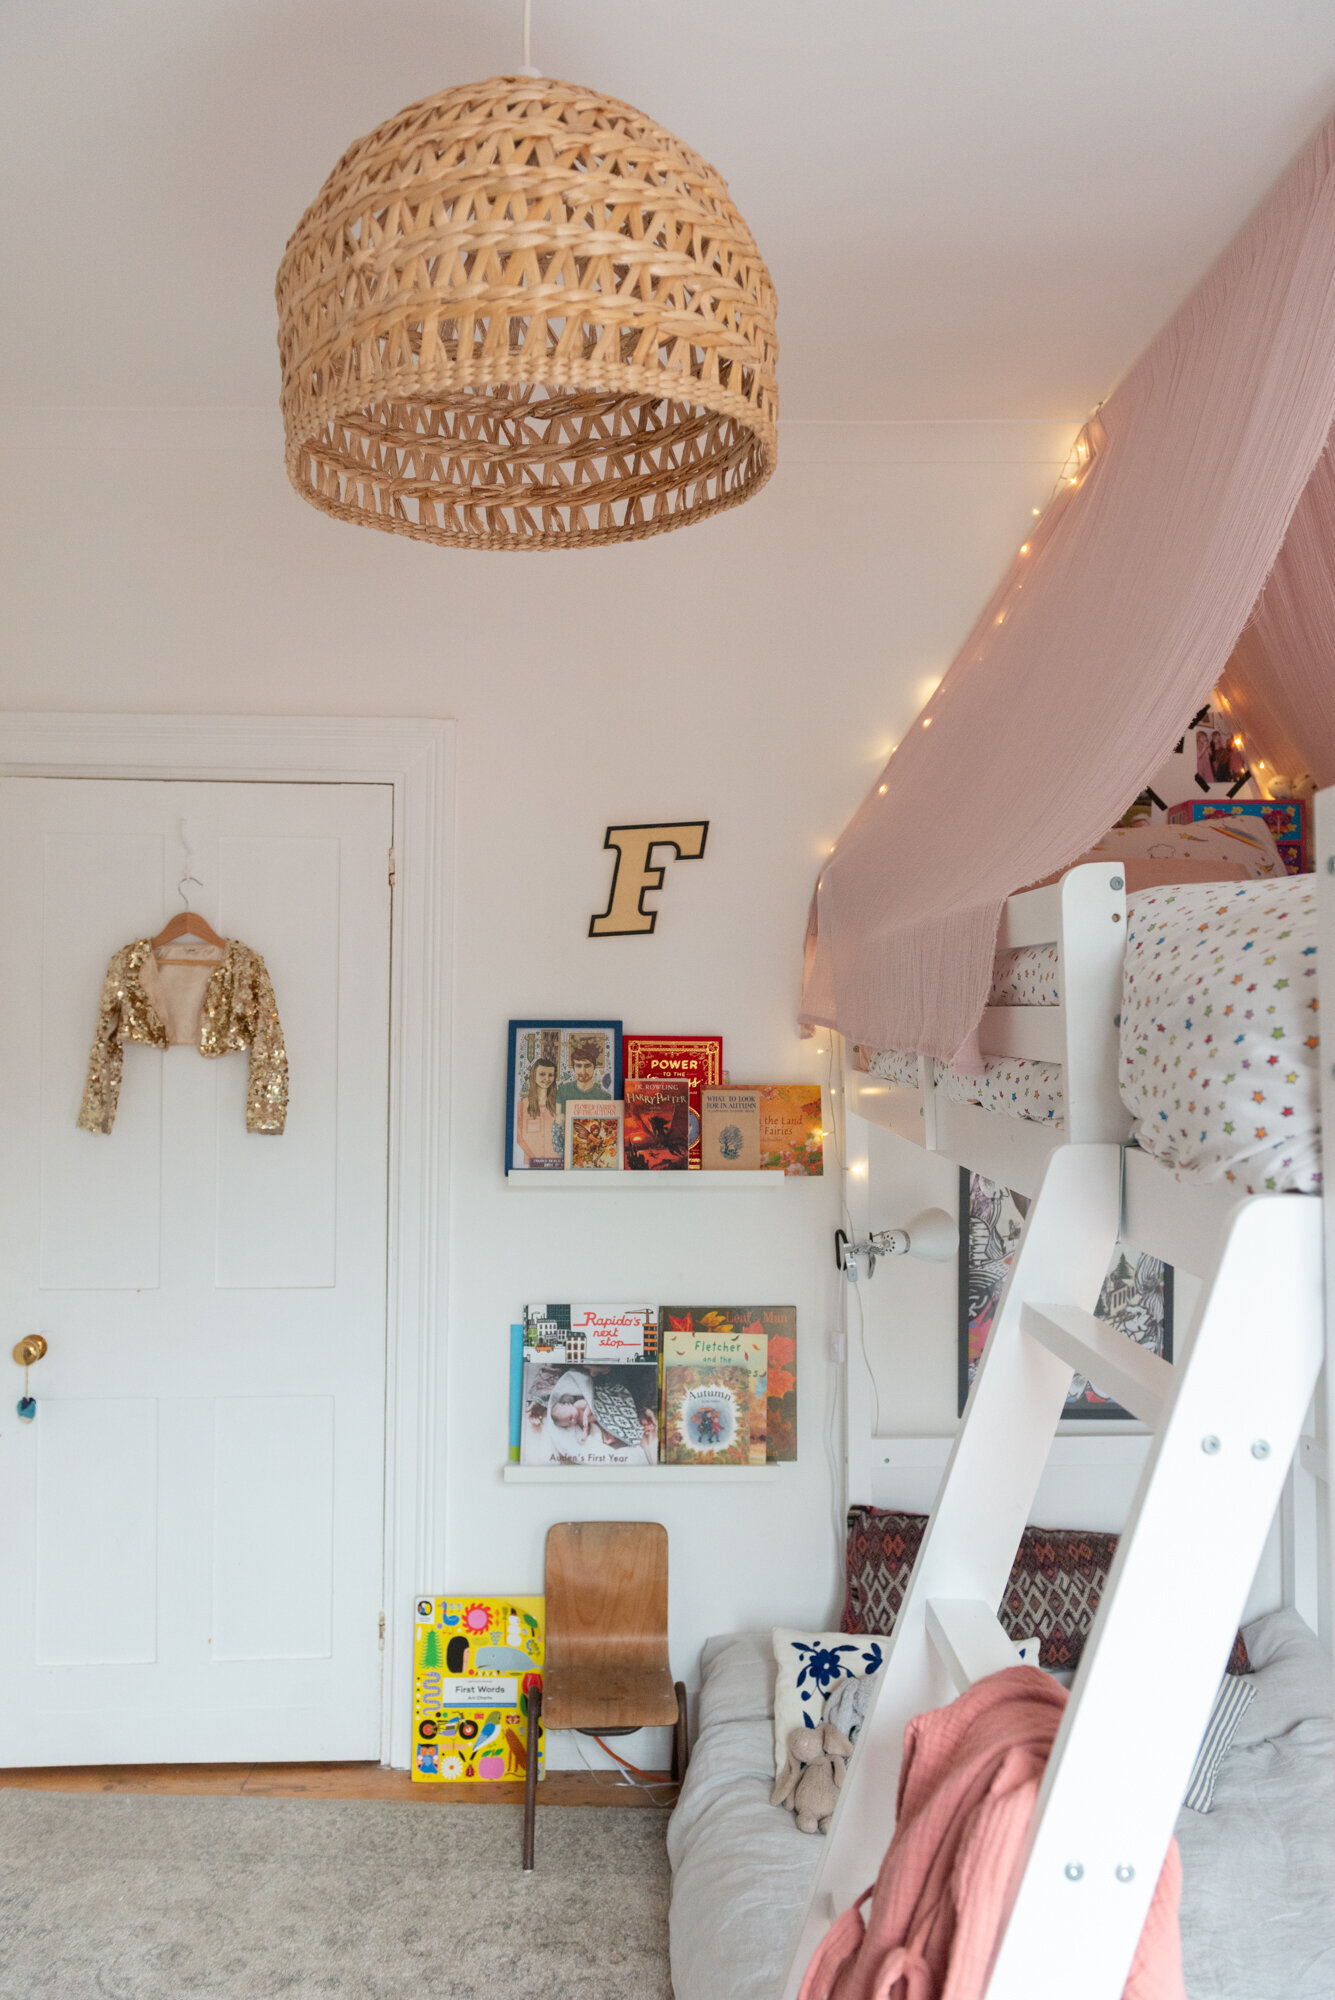
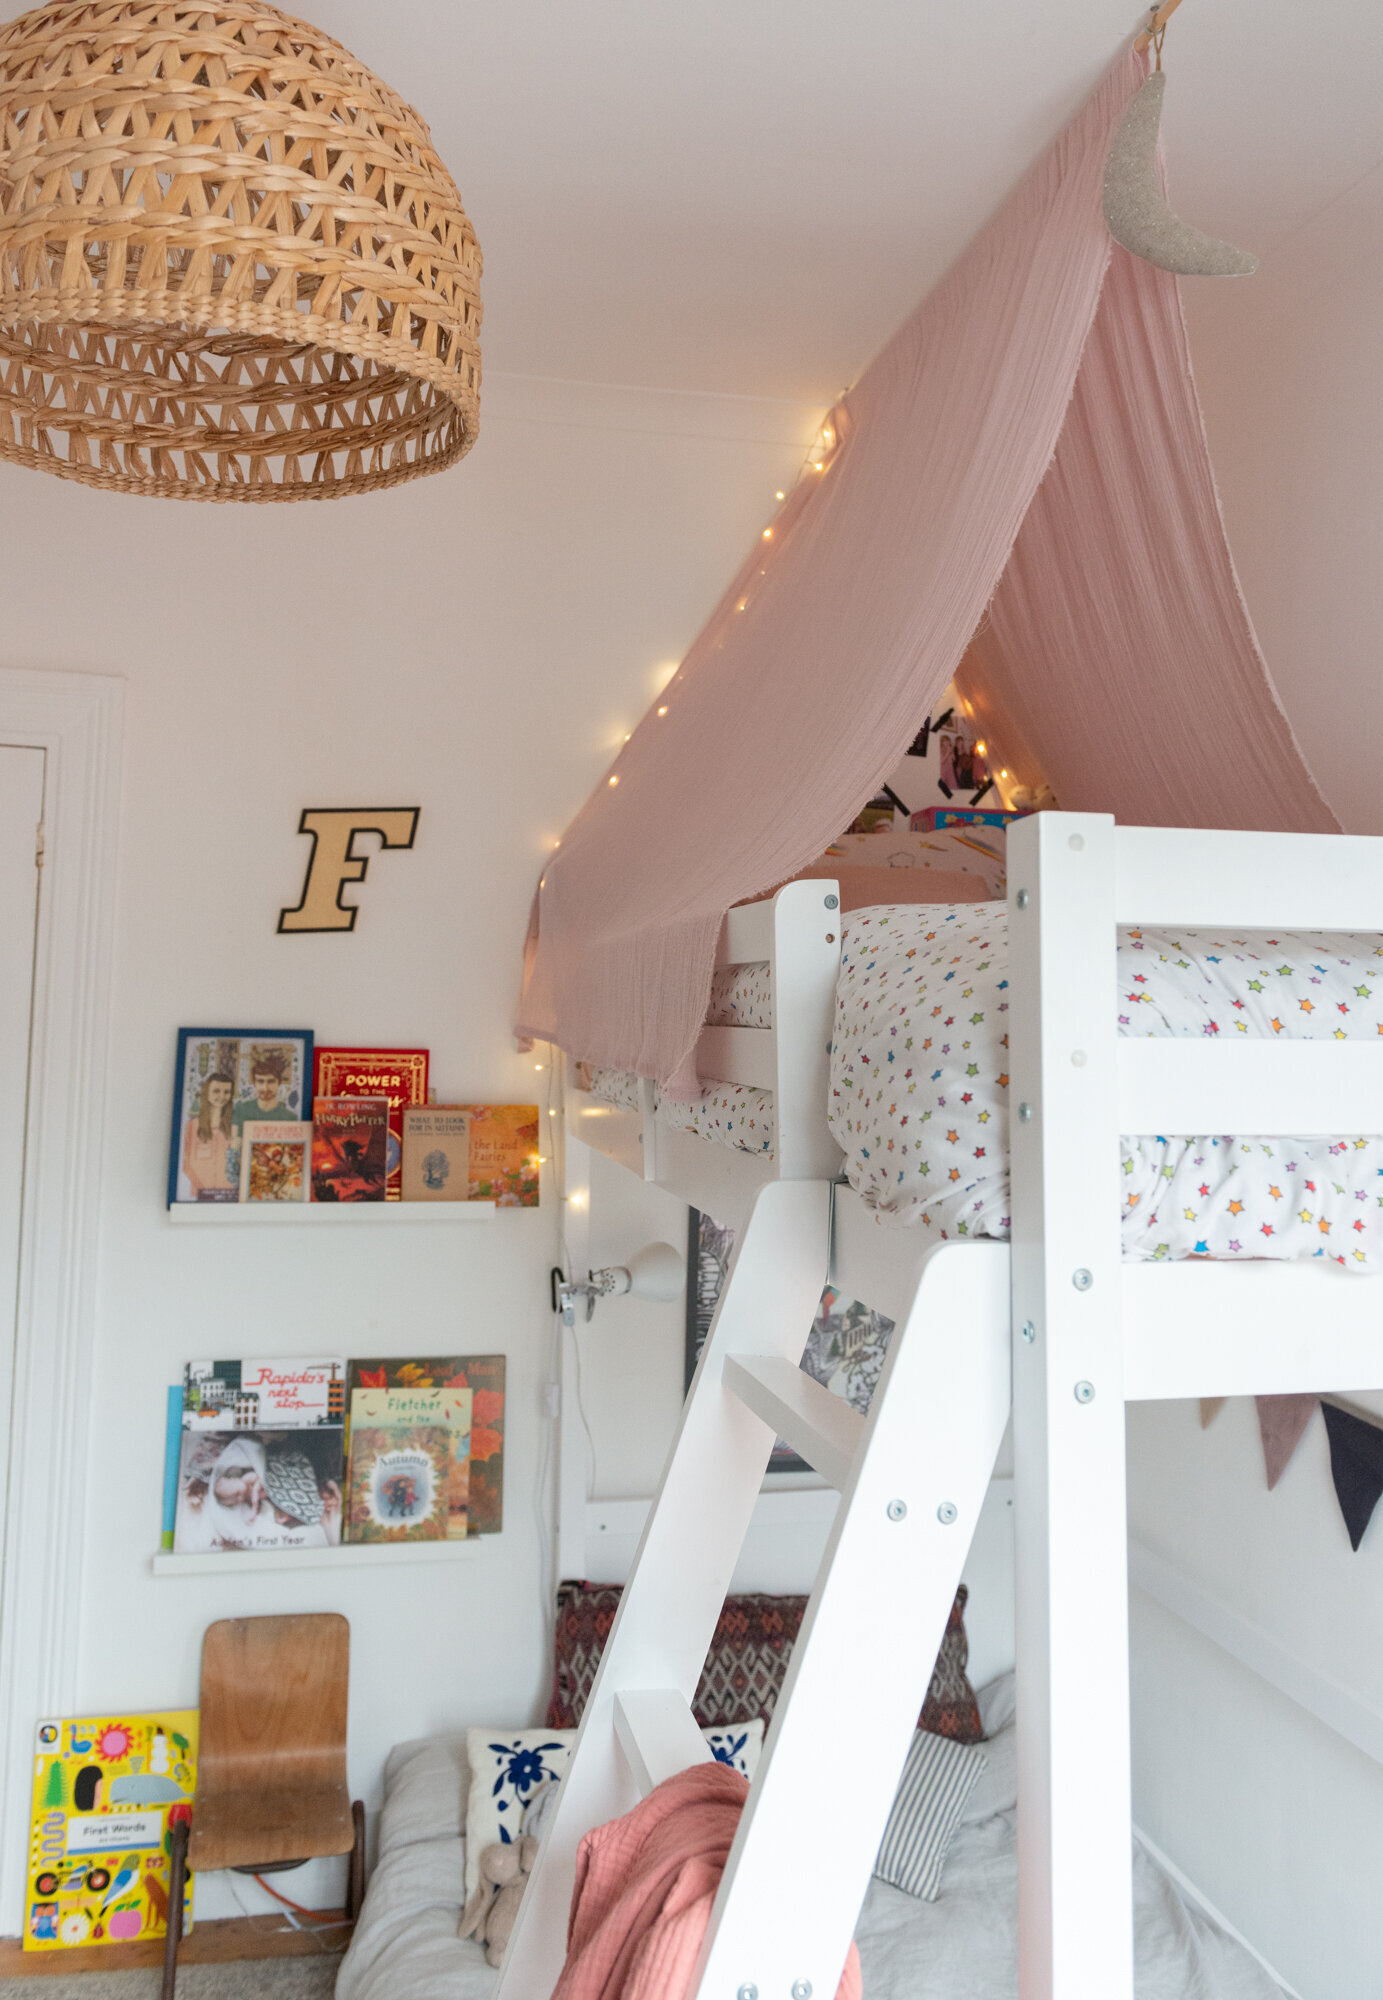
We bought the Noa and Nani high cabin sleeper bed on Facebook marketplace. Always check Facebook marketplace for furniture before buying new! We bought a small double mattress to go on the floor underneath.
FRANKIE’S BED
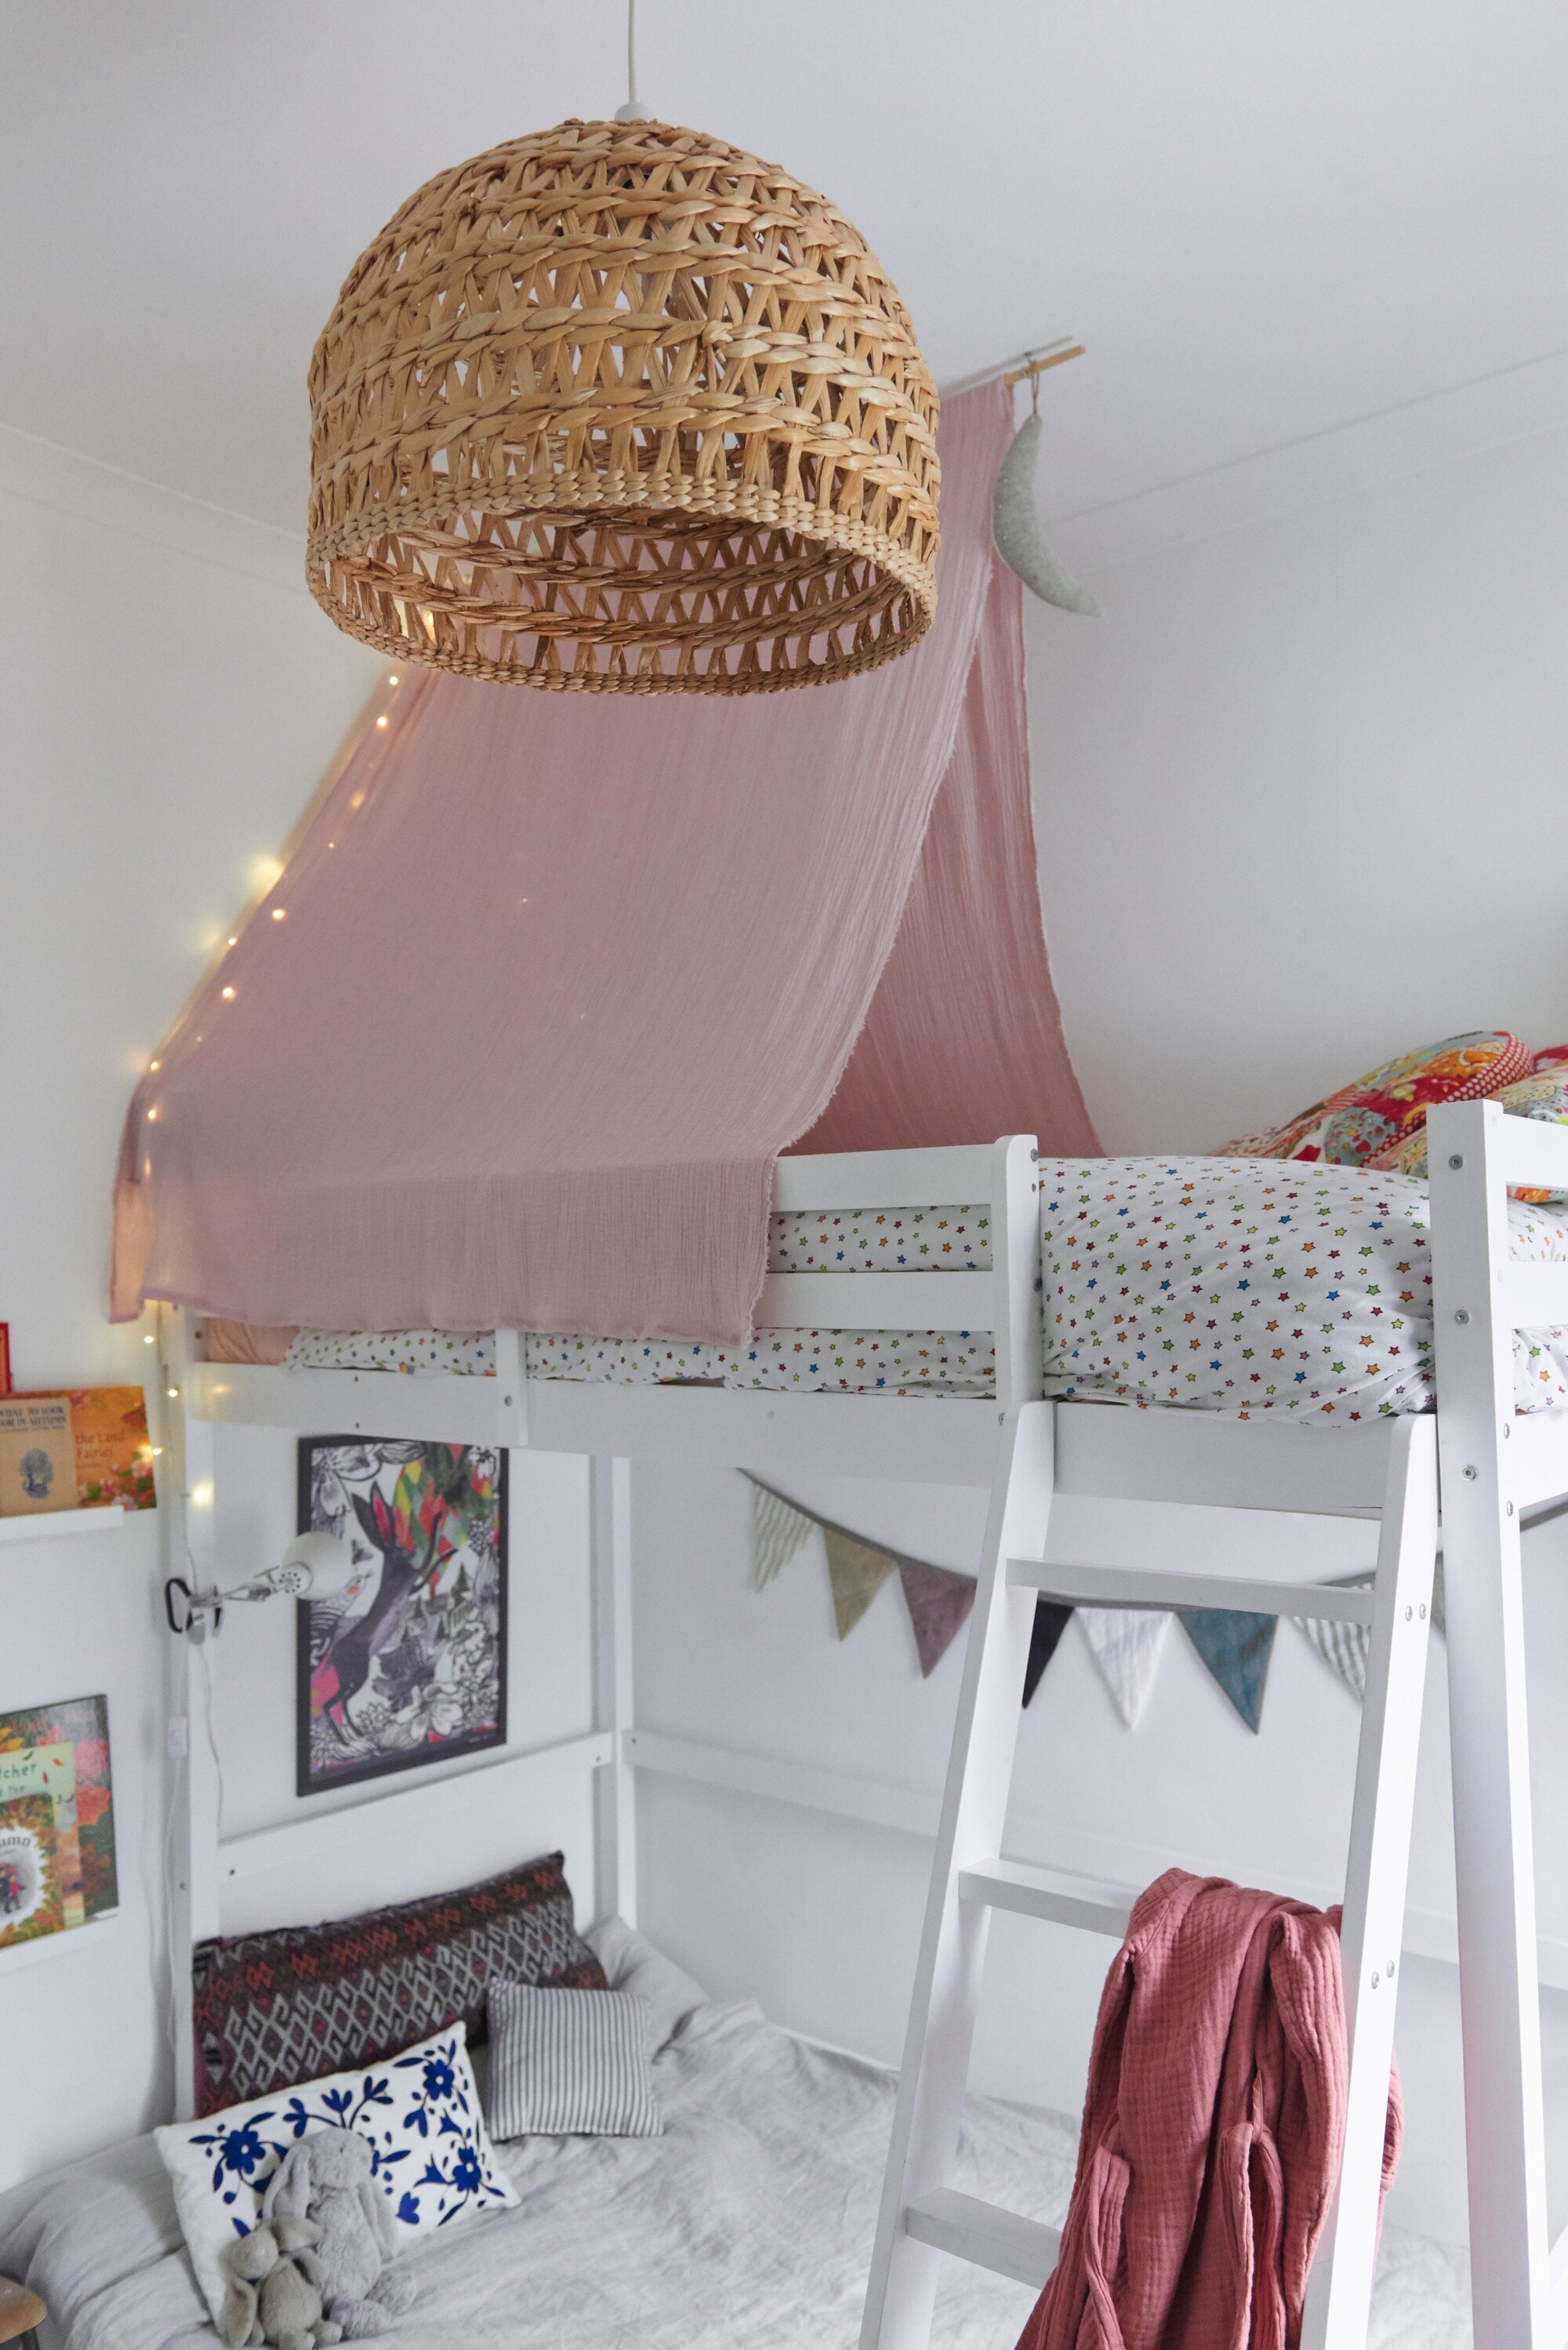
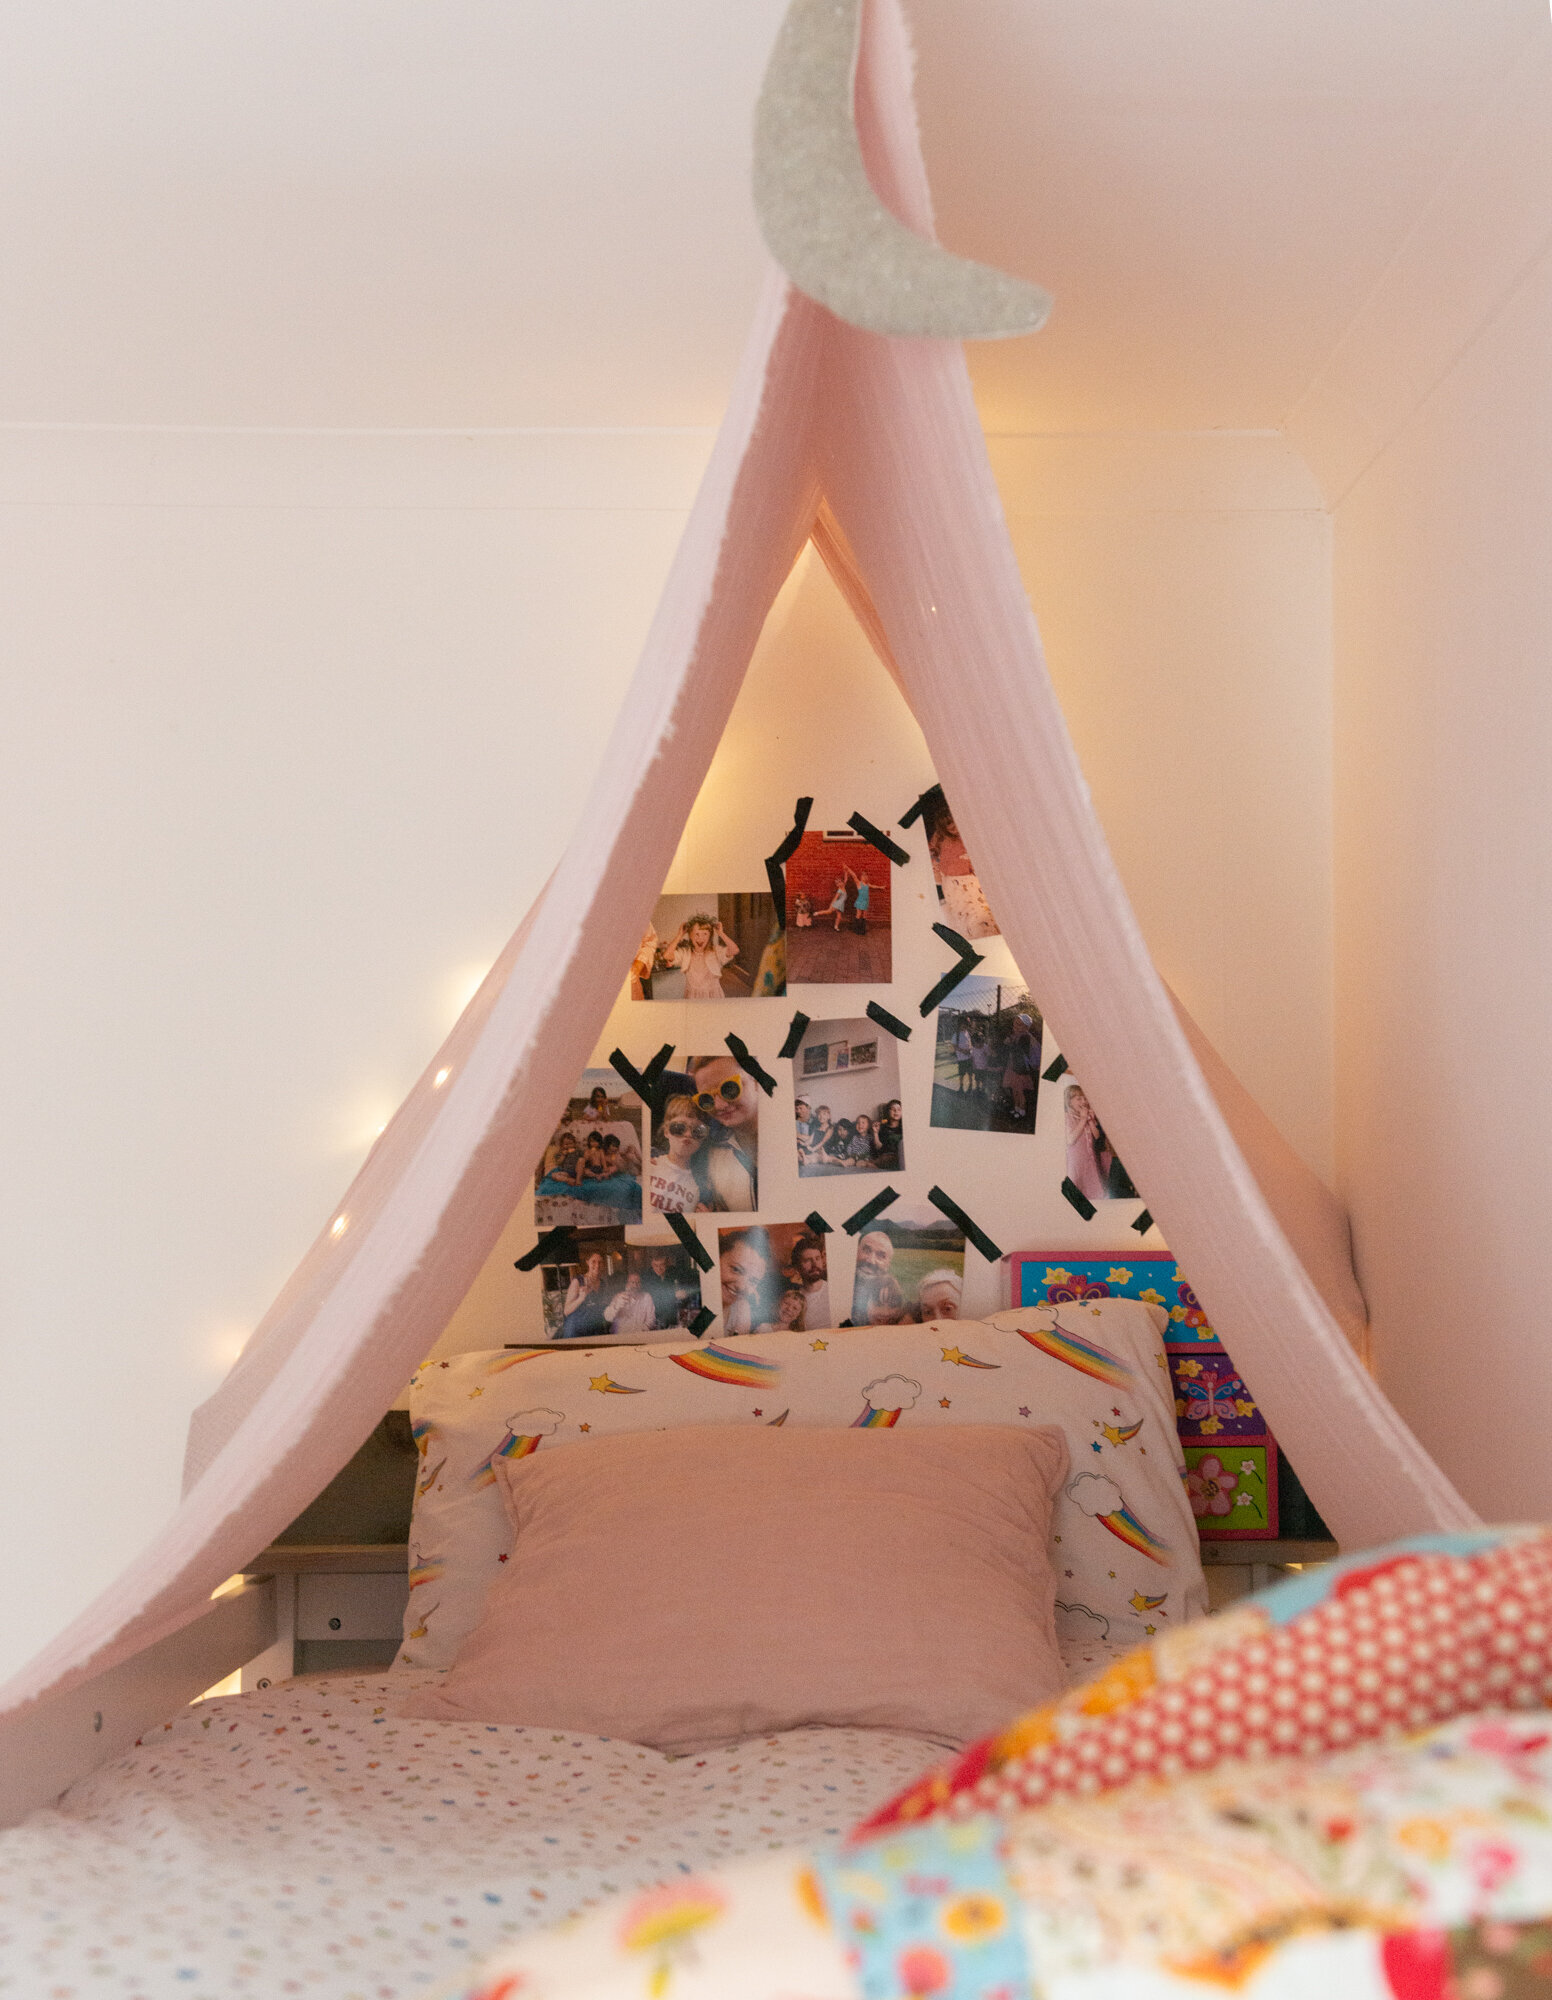
We wanted her top bunk to be a sanctuary. The ladder detaches so if she needs some brother-free time, he can’t climb up. I knew I wanted a canopy above her bed, but the ones I found were really expensive and I wasn’t sure if they would work on a top bunk, so I made one. It’s really simple! I drilled 2 mug hooks into the ceiling and made sure my dowelling would fit in the hooks. I then measured a piece of fabric (it’s cotton muslin from eBay)so the sides would drape exactly where I wanted them to be (and then added the hem). I sewed along the center fold to create a tunnel for the dowelling. I then slid the fabric along. That’s it! It works really well and feels so gorgeous up there with her fairy lights. We put up a vintage shelf along the top of her bed for her to put her journals and photos on.
The patchwork pillows were made by a family friend when she was born. The bedding was from eBay but originally George.
AUDENS BED
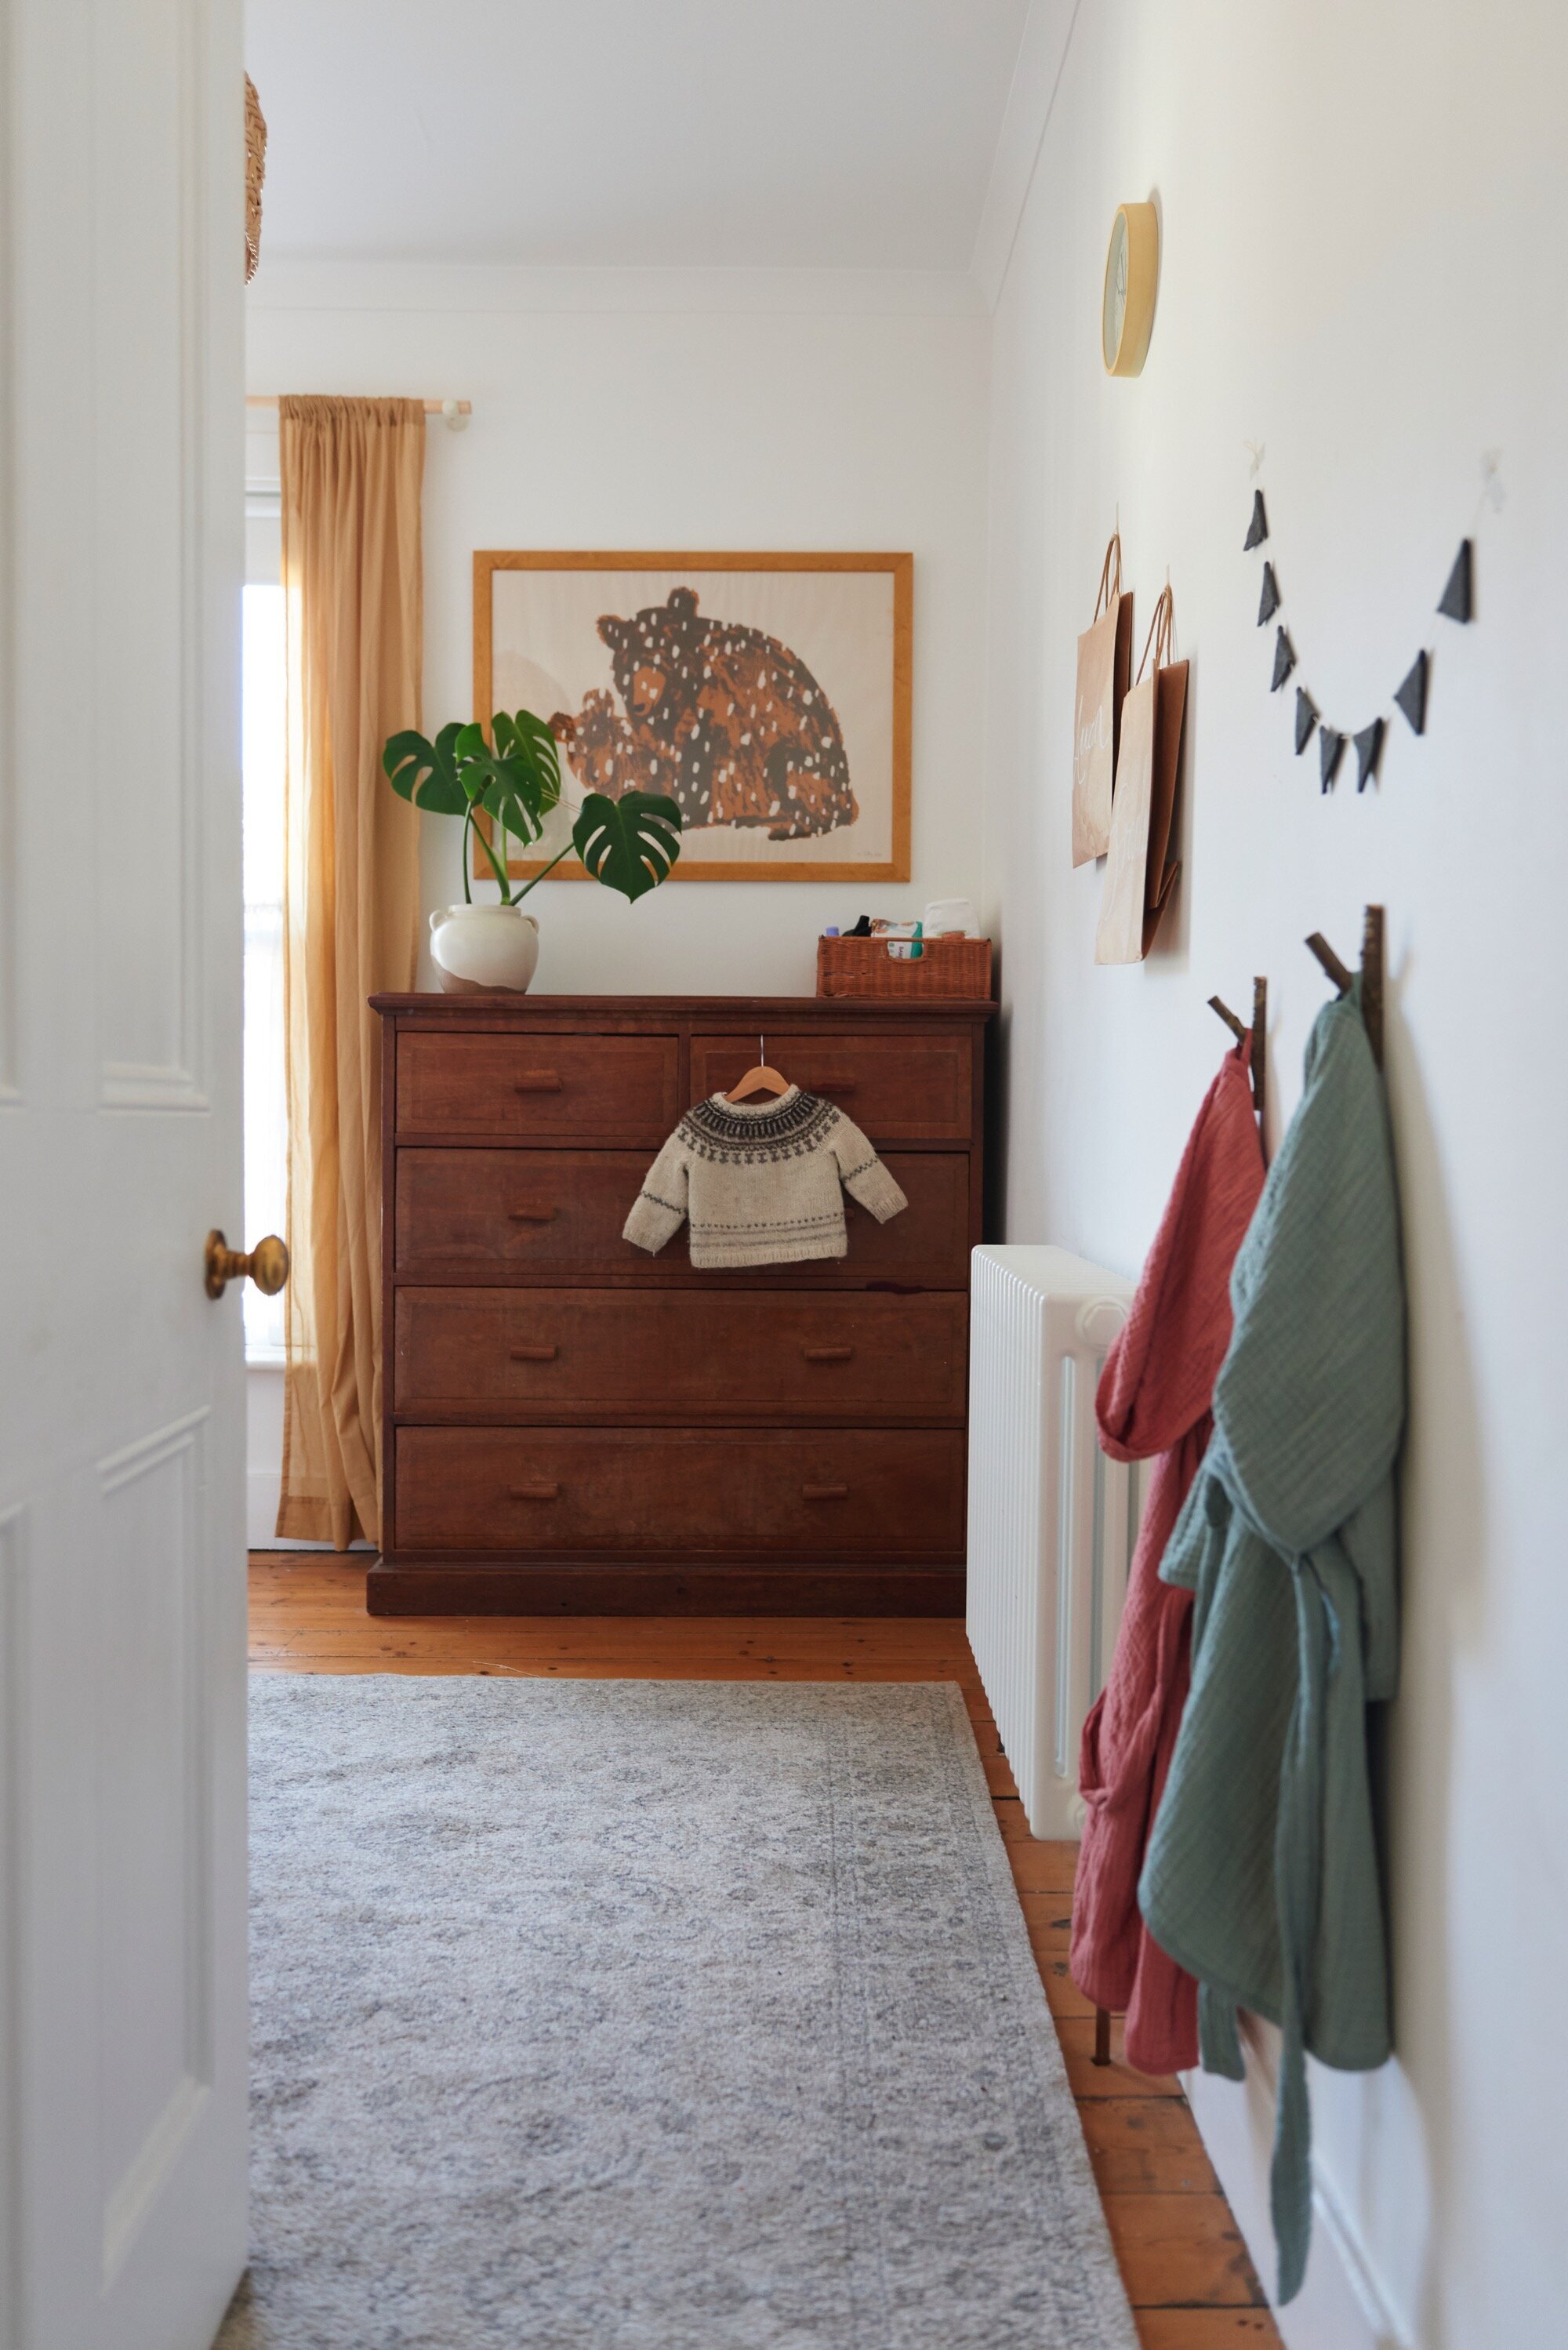
Auden has a small double mattress on the floor. This removes any worry about him falling out and means there is lots of space if me, Dave or Frankie want to get in too. A floor bed is quite Montessori in it’s approach because it promotes freedom of movement and independence. Everything is in reach (apart from his sisters bed which is intentional, to respect her space!) which is empowering for toddlers. I have kept the colour palette simple, and clutter to a minimum to keep it a space that feels soothing and calm. The bedding is light grey Linen from Magic Linen- a gift (lucky kid eh!) The gorgeous bunting is also from Magic Linen. The Rabbit print is really old, I kept it from when I was at uni! The long pillow is Maud Interiors, the small stripy blue and white pillow is vintage, and the blue floral pillow is Zara home from about 10 years ago. The little school chairs were passed to us from a friend.
This was the bedroom before. I found the bed for free on Gumtree, it’s the Ikea stora high sleeper- a double bunk bed! But it was ridiculous in their small bedroom, with no space for anything else! So I sold it and bought the Noa and Nani bed instead.

And this is the bedoom after. Some of these photos are taken from my house tour with Grillo Designs.


What we did:
Repainted the walls White, to refresh them. Kids are grubby.
Put up bunk beds and secured them to the wall.
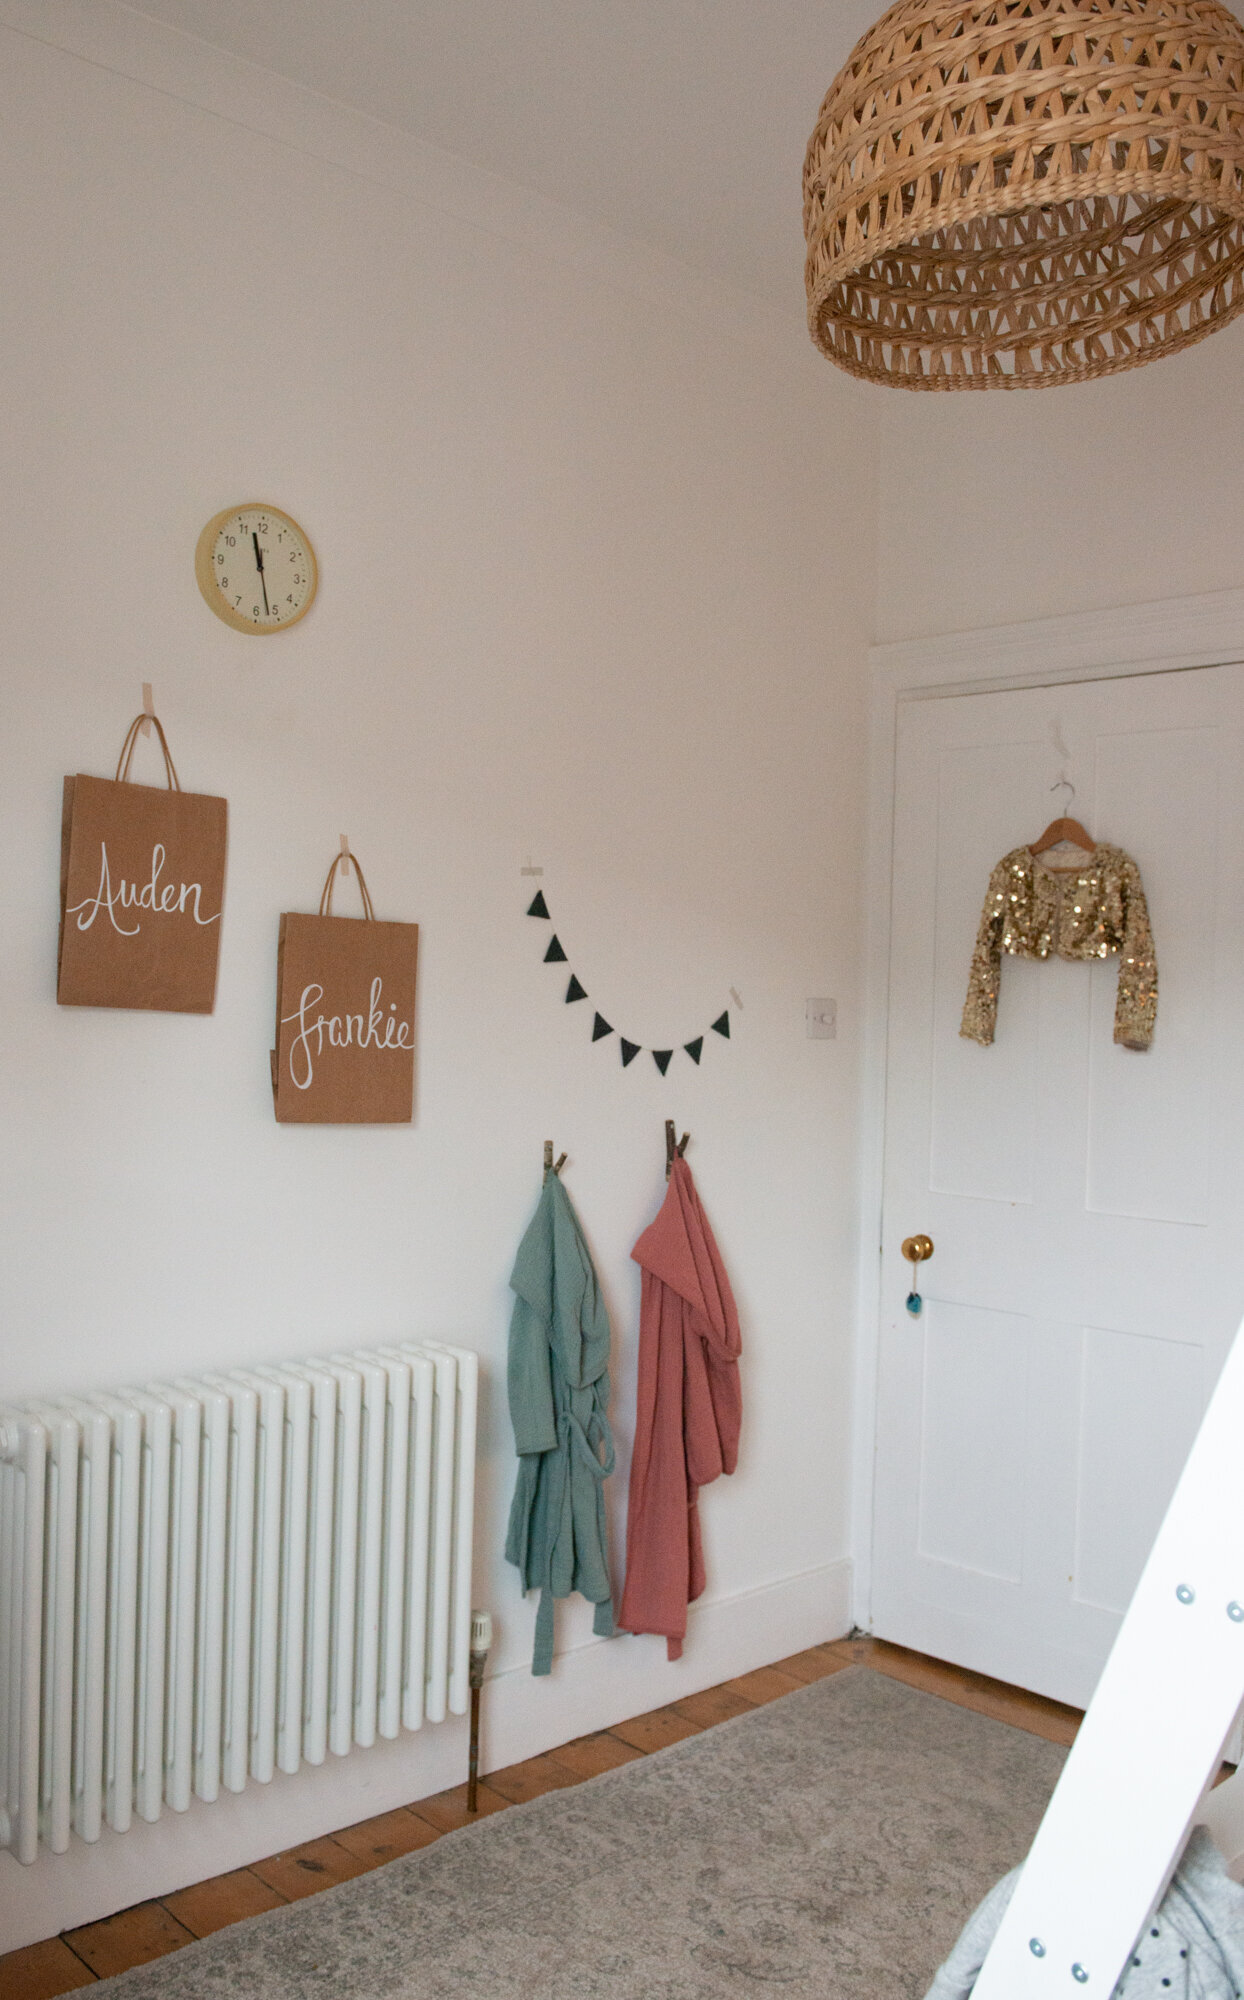
Put up some branch hooks for the kids dressing gowns.
Added some the gauzy curtains from H&M
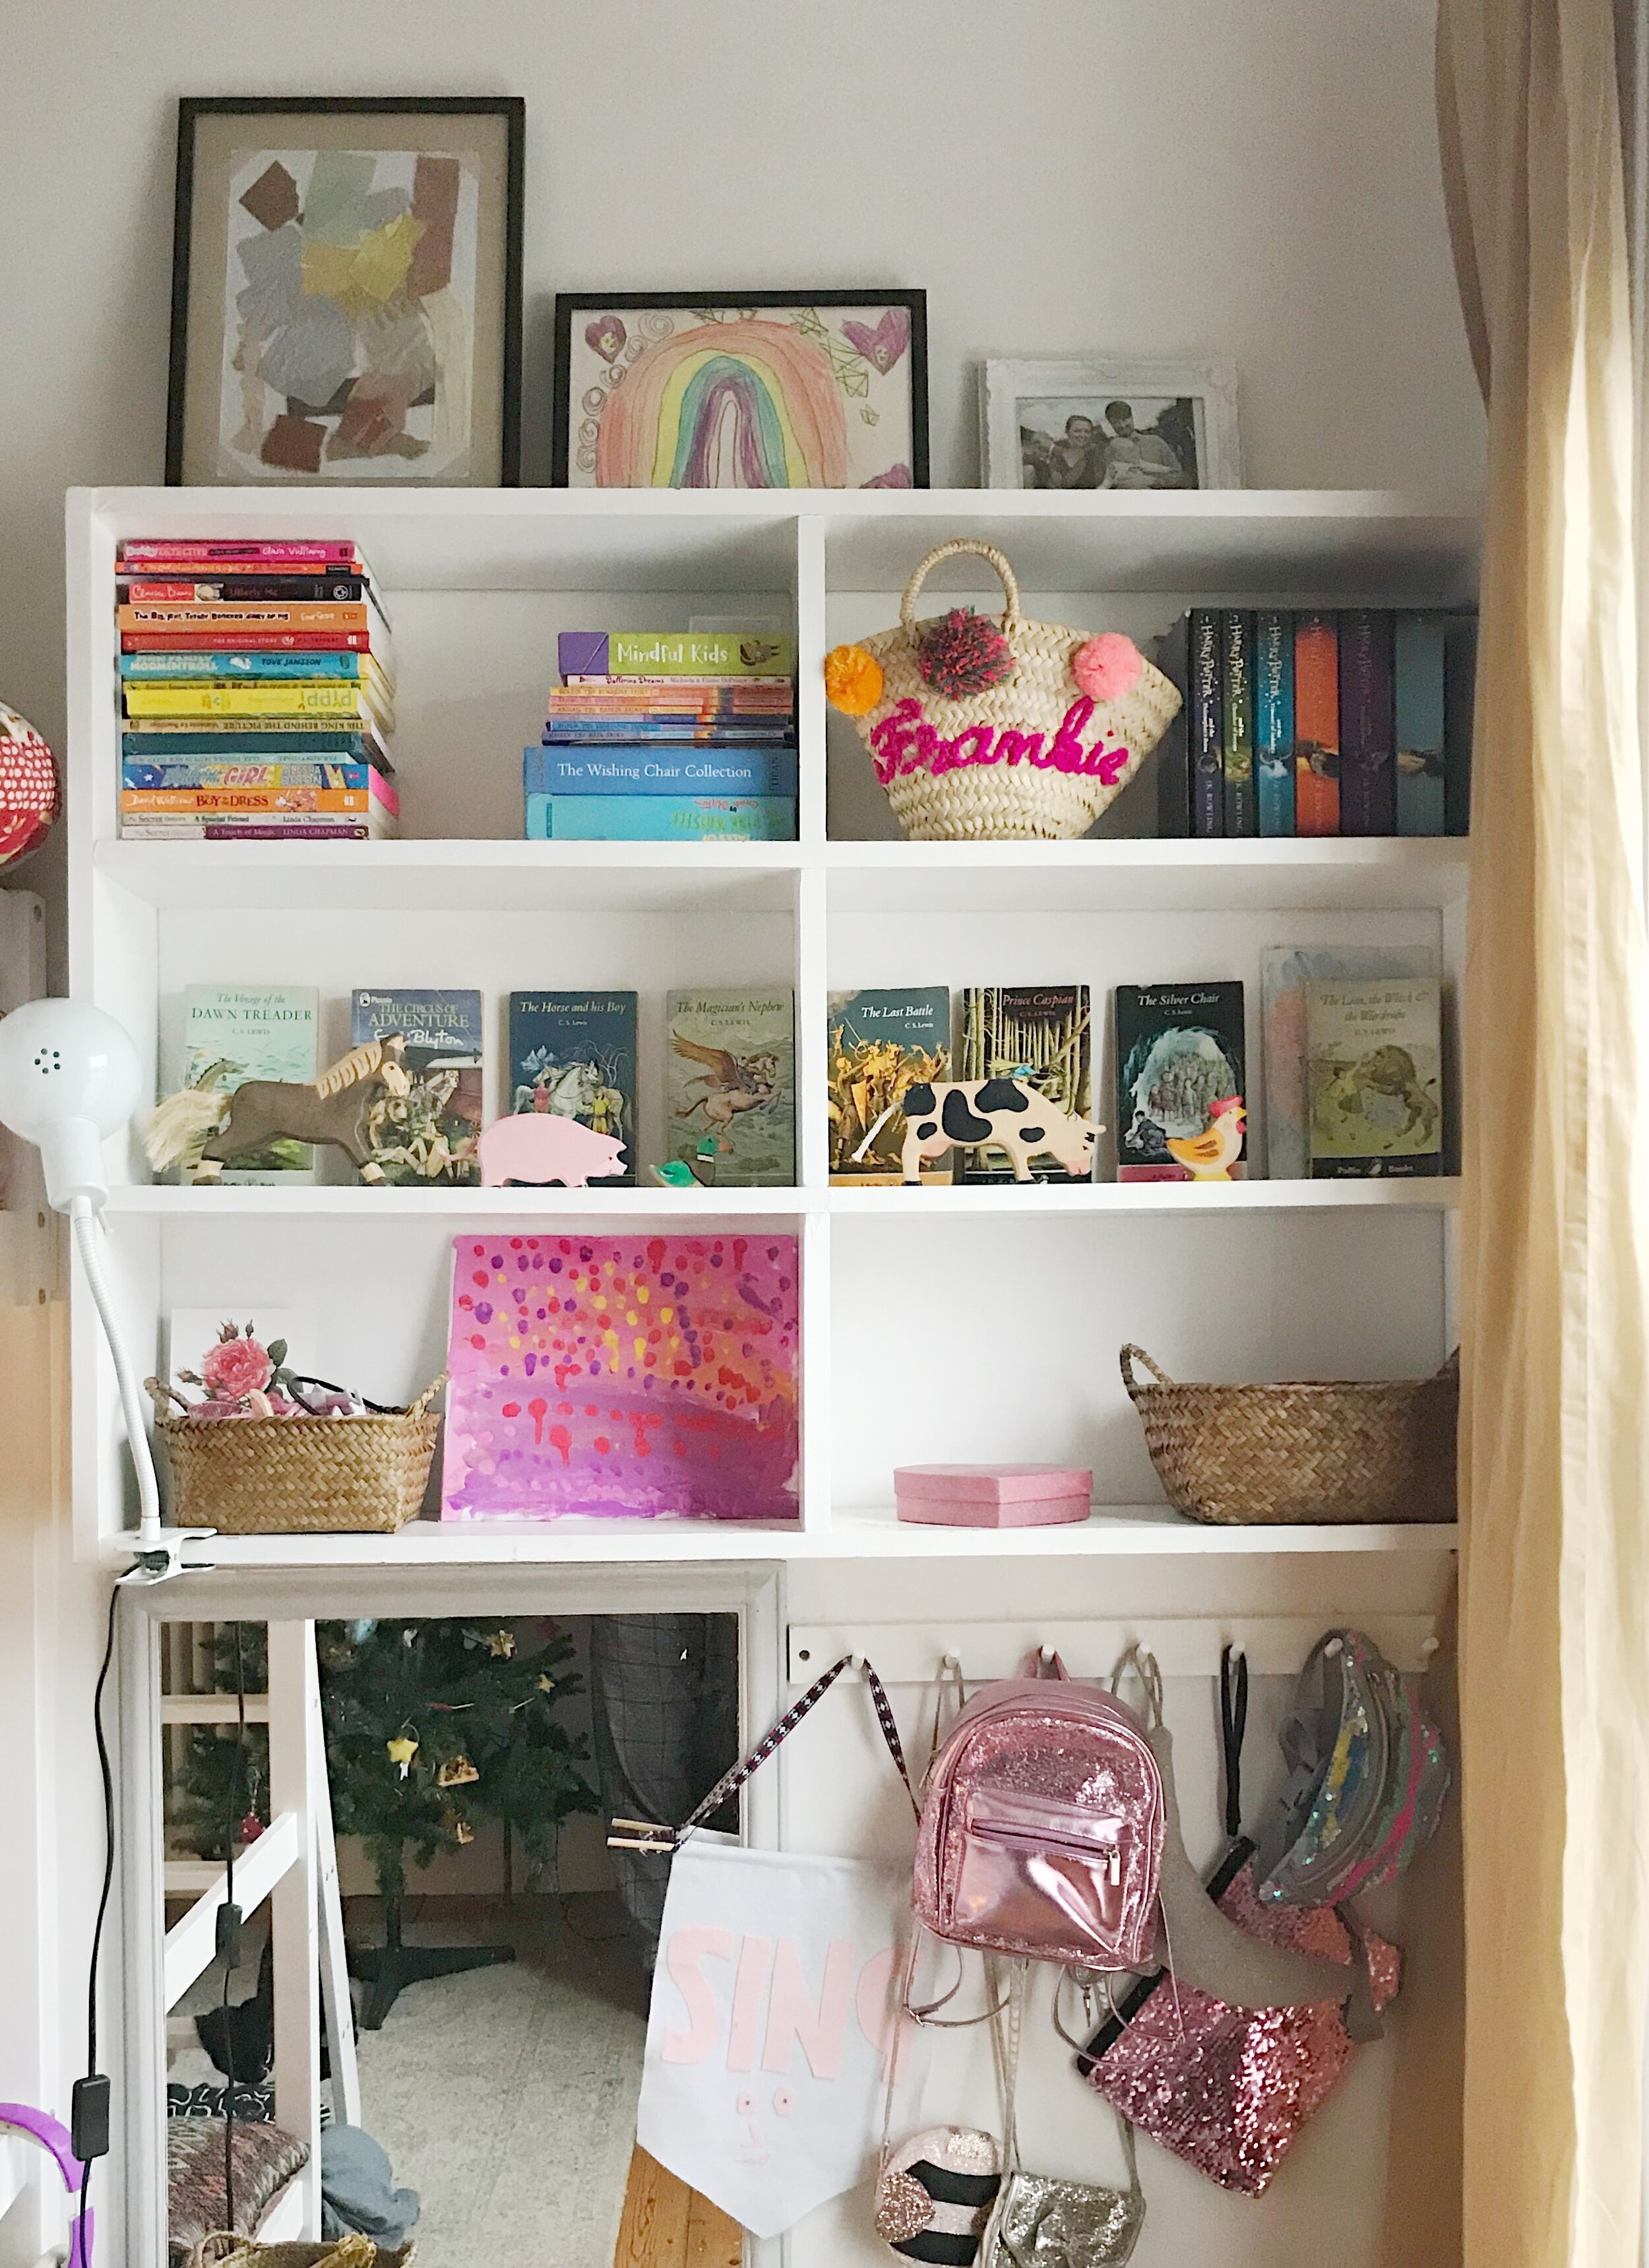
Moved some bookshelves (they came with the house, we just moved them to the end of the bed)
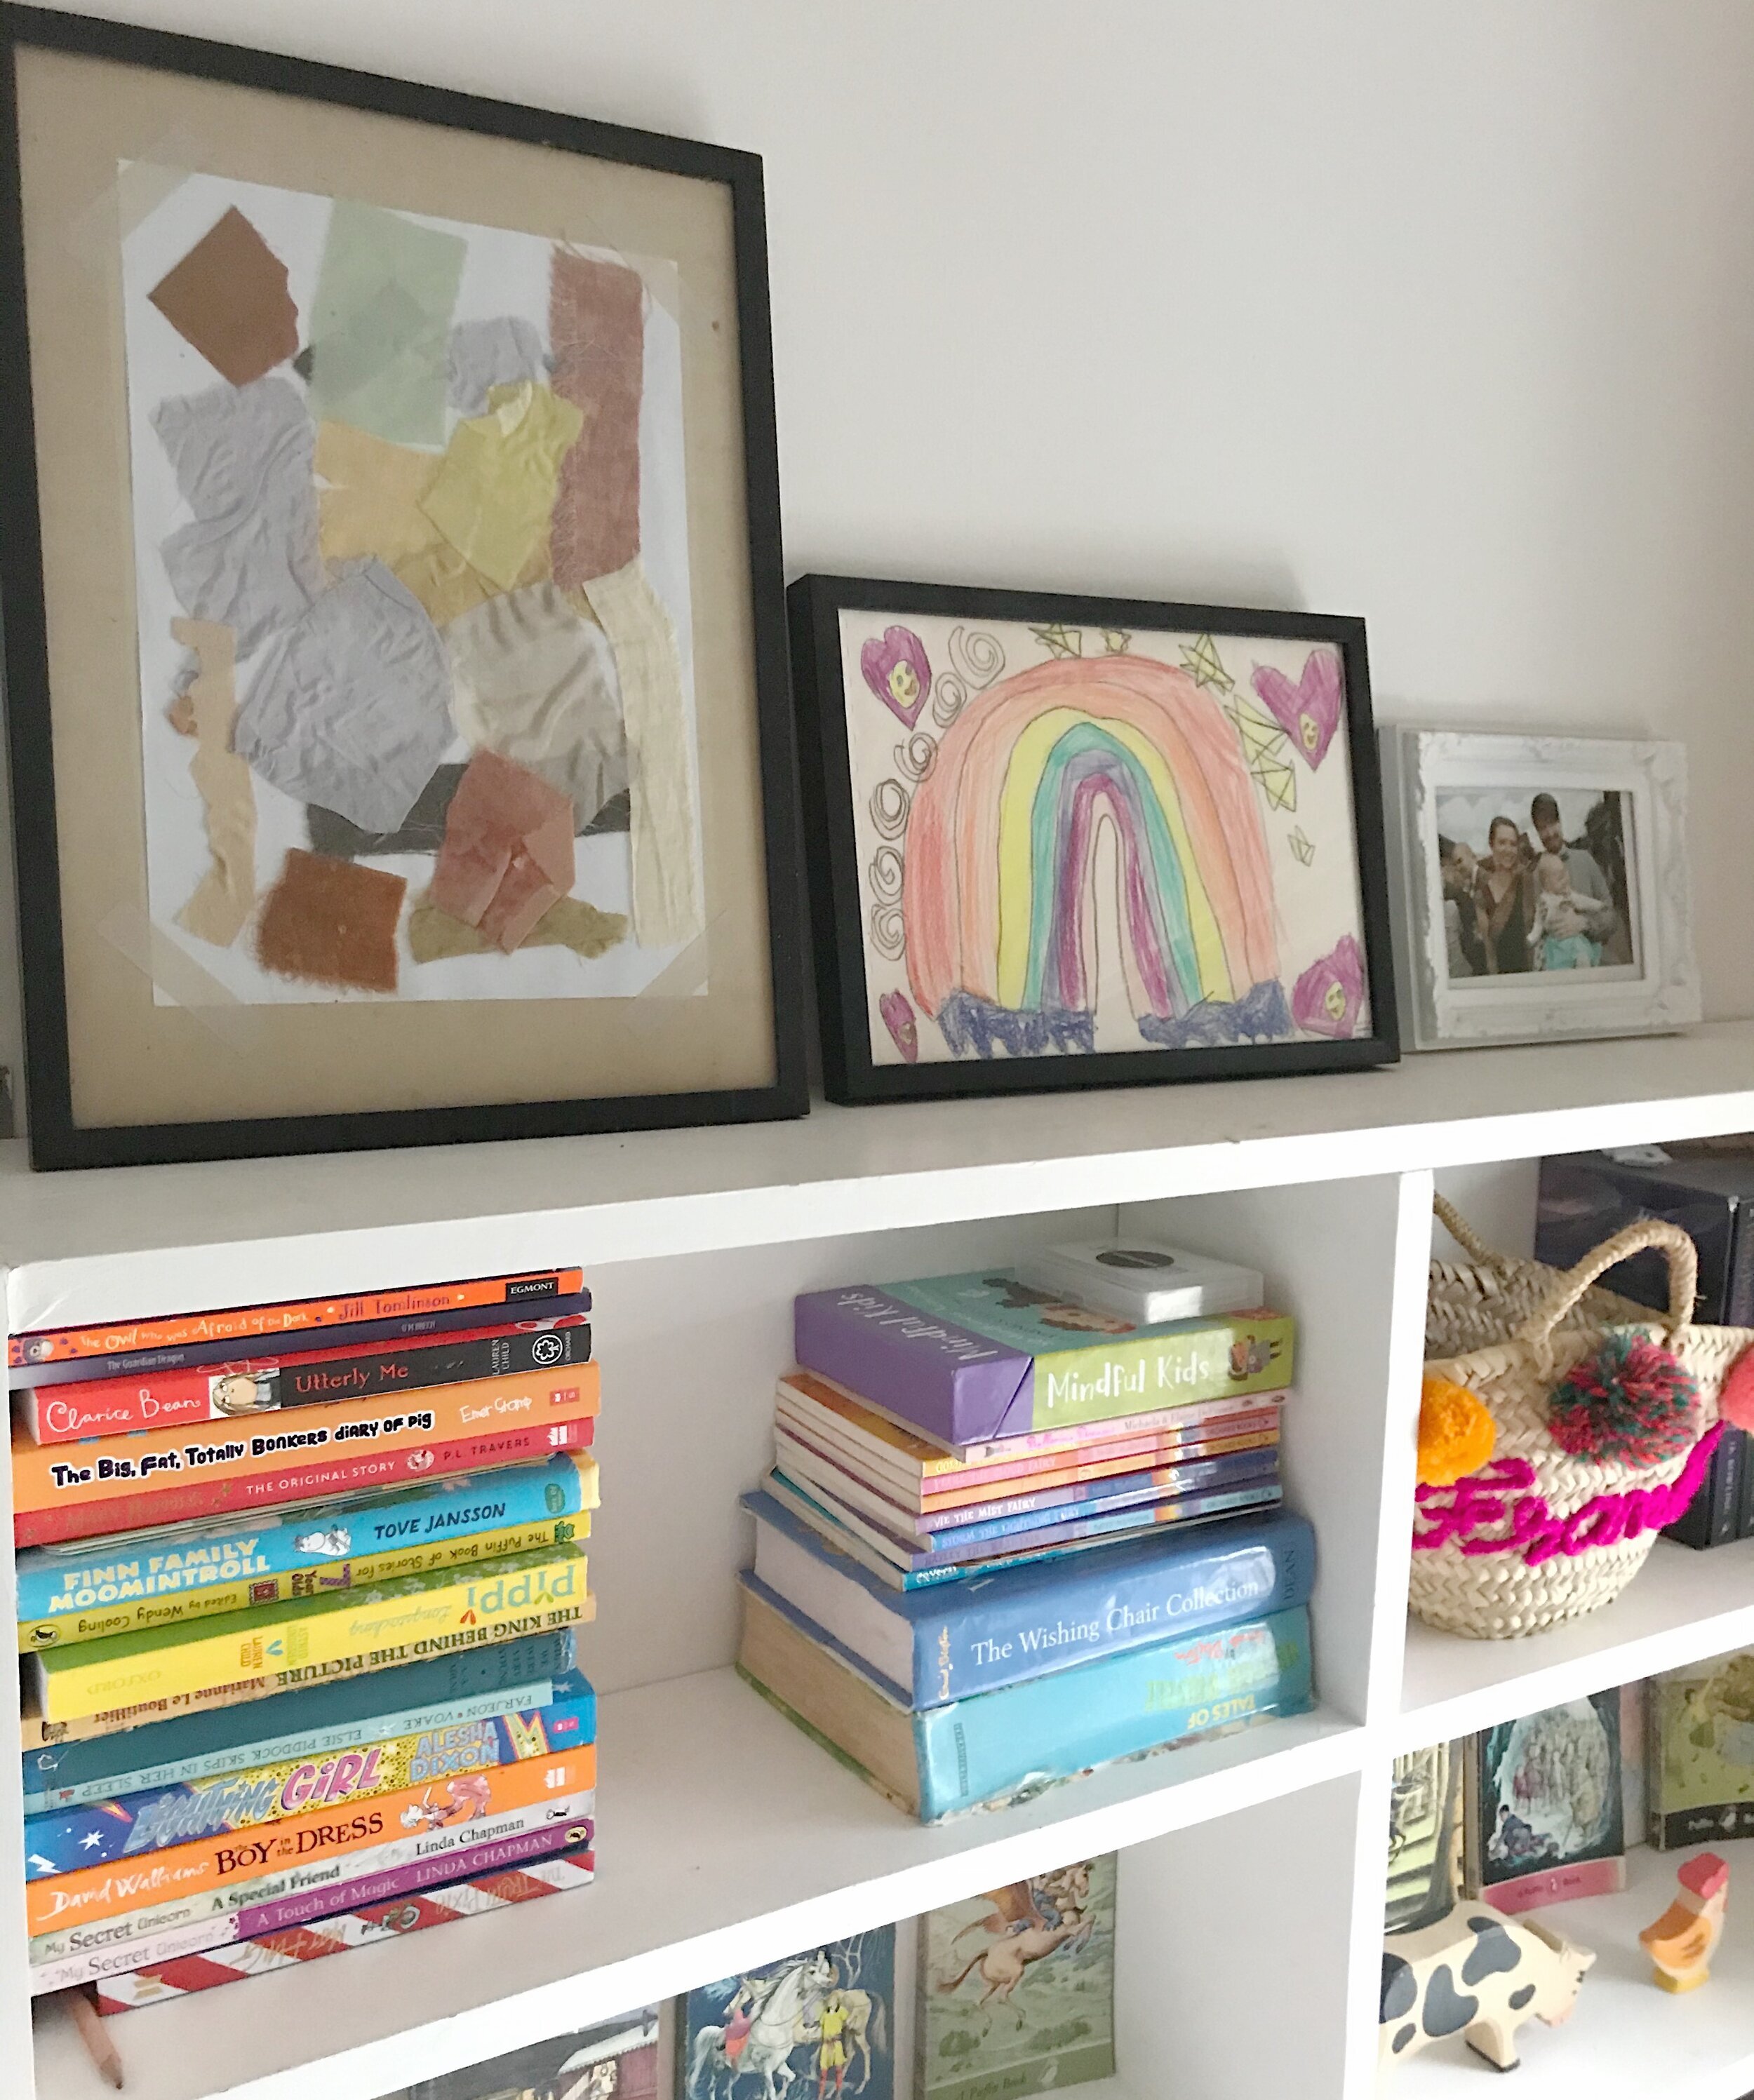
Attached some Ikea book ledges up. I got them via eBay second hand.
Created a little mirror area for Frankie (the mirror was a Facebook Marketplace find)
Put art up. I was so excited to finally finally frame and put up the bear print, which I bought from Gerry Turley years ago. I love it so much!
Made a canopy for Frankie’s bed
Put a rug down (another Facebook Marketplace find) to soften the wooden floorboards and help keep the room warm in winter. It was grubbier than I realised when I bought it but thankfully my in-laws have a steam cleaner ao I gave it a good steam which helped. It doesnt look ‘new’ rather vintage and worn which is actually a look that I like!
Budget
A combination of using what we already had, DIY’s, second hand and a couple of high street buys mean that we spent about £180 on the whole room.
Sources
Grey linen bedding, and gorgeous bunting were gifted, from Magic Linen.
Bunks- from Now and Nani but secondhand
Chest of drawers and bookshelves came with the house (we rent)
Rug- facebook Marketplace
School chair- from a friend
Bear print- Gerry Turley
Bunny print- I’ve had since uni
Frankie’s bedding was from eBay (originally George)
Lampshade- H&M
If I have forgotten to list anything, or you have any questions please let me know and I’ll answer.
You can watch a video of my house tour here, the kids room is at 17:40