
Traditional Pale Blue Rental Bathroom Makeover

When we first viewed our rental nearly 2 years ago, we were super keen to move in because it was a lovely old Victorian terrace with original features and 3 bedrooms. However it was quite tired and dated inside which meant it was under market value. We snapped it up and our landlady agreed to replace the bathroom and kitchen over the next couple of years. The first job was the bathroom….
It is a single skin extension built to connect the original house and the old out-house. Because it wasn’t well insulated, it was very damp and mouldy and the walls needed wiping down once a week for most of the year to prevent black mould from growing. Here it is…

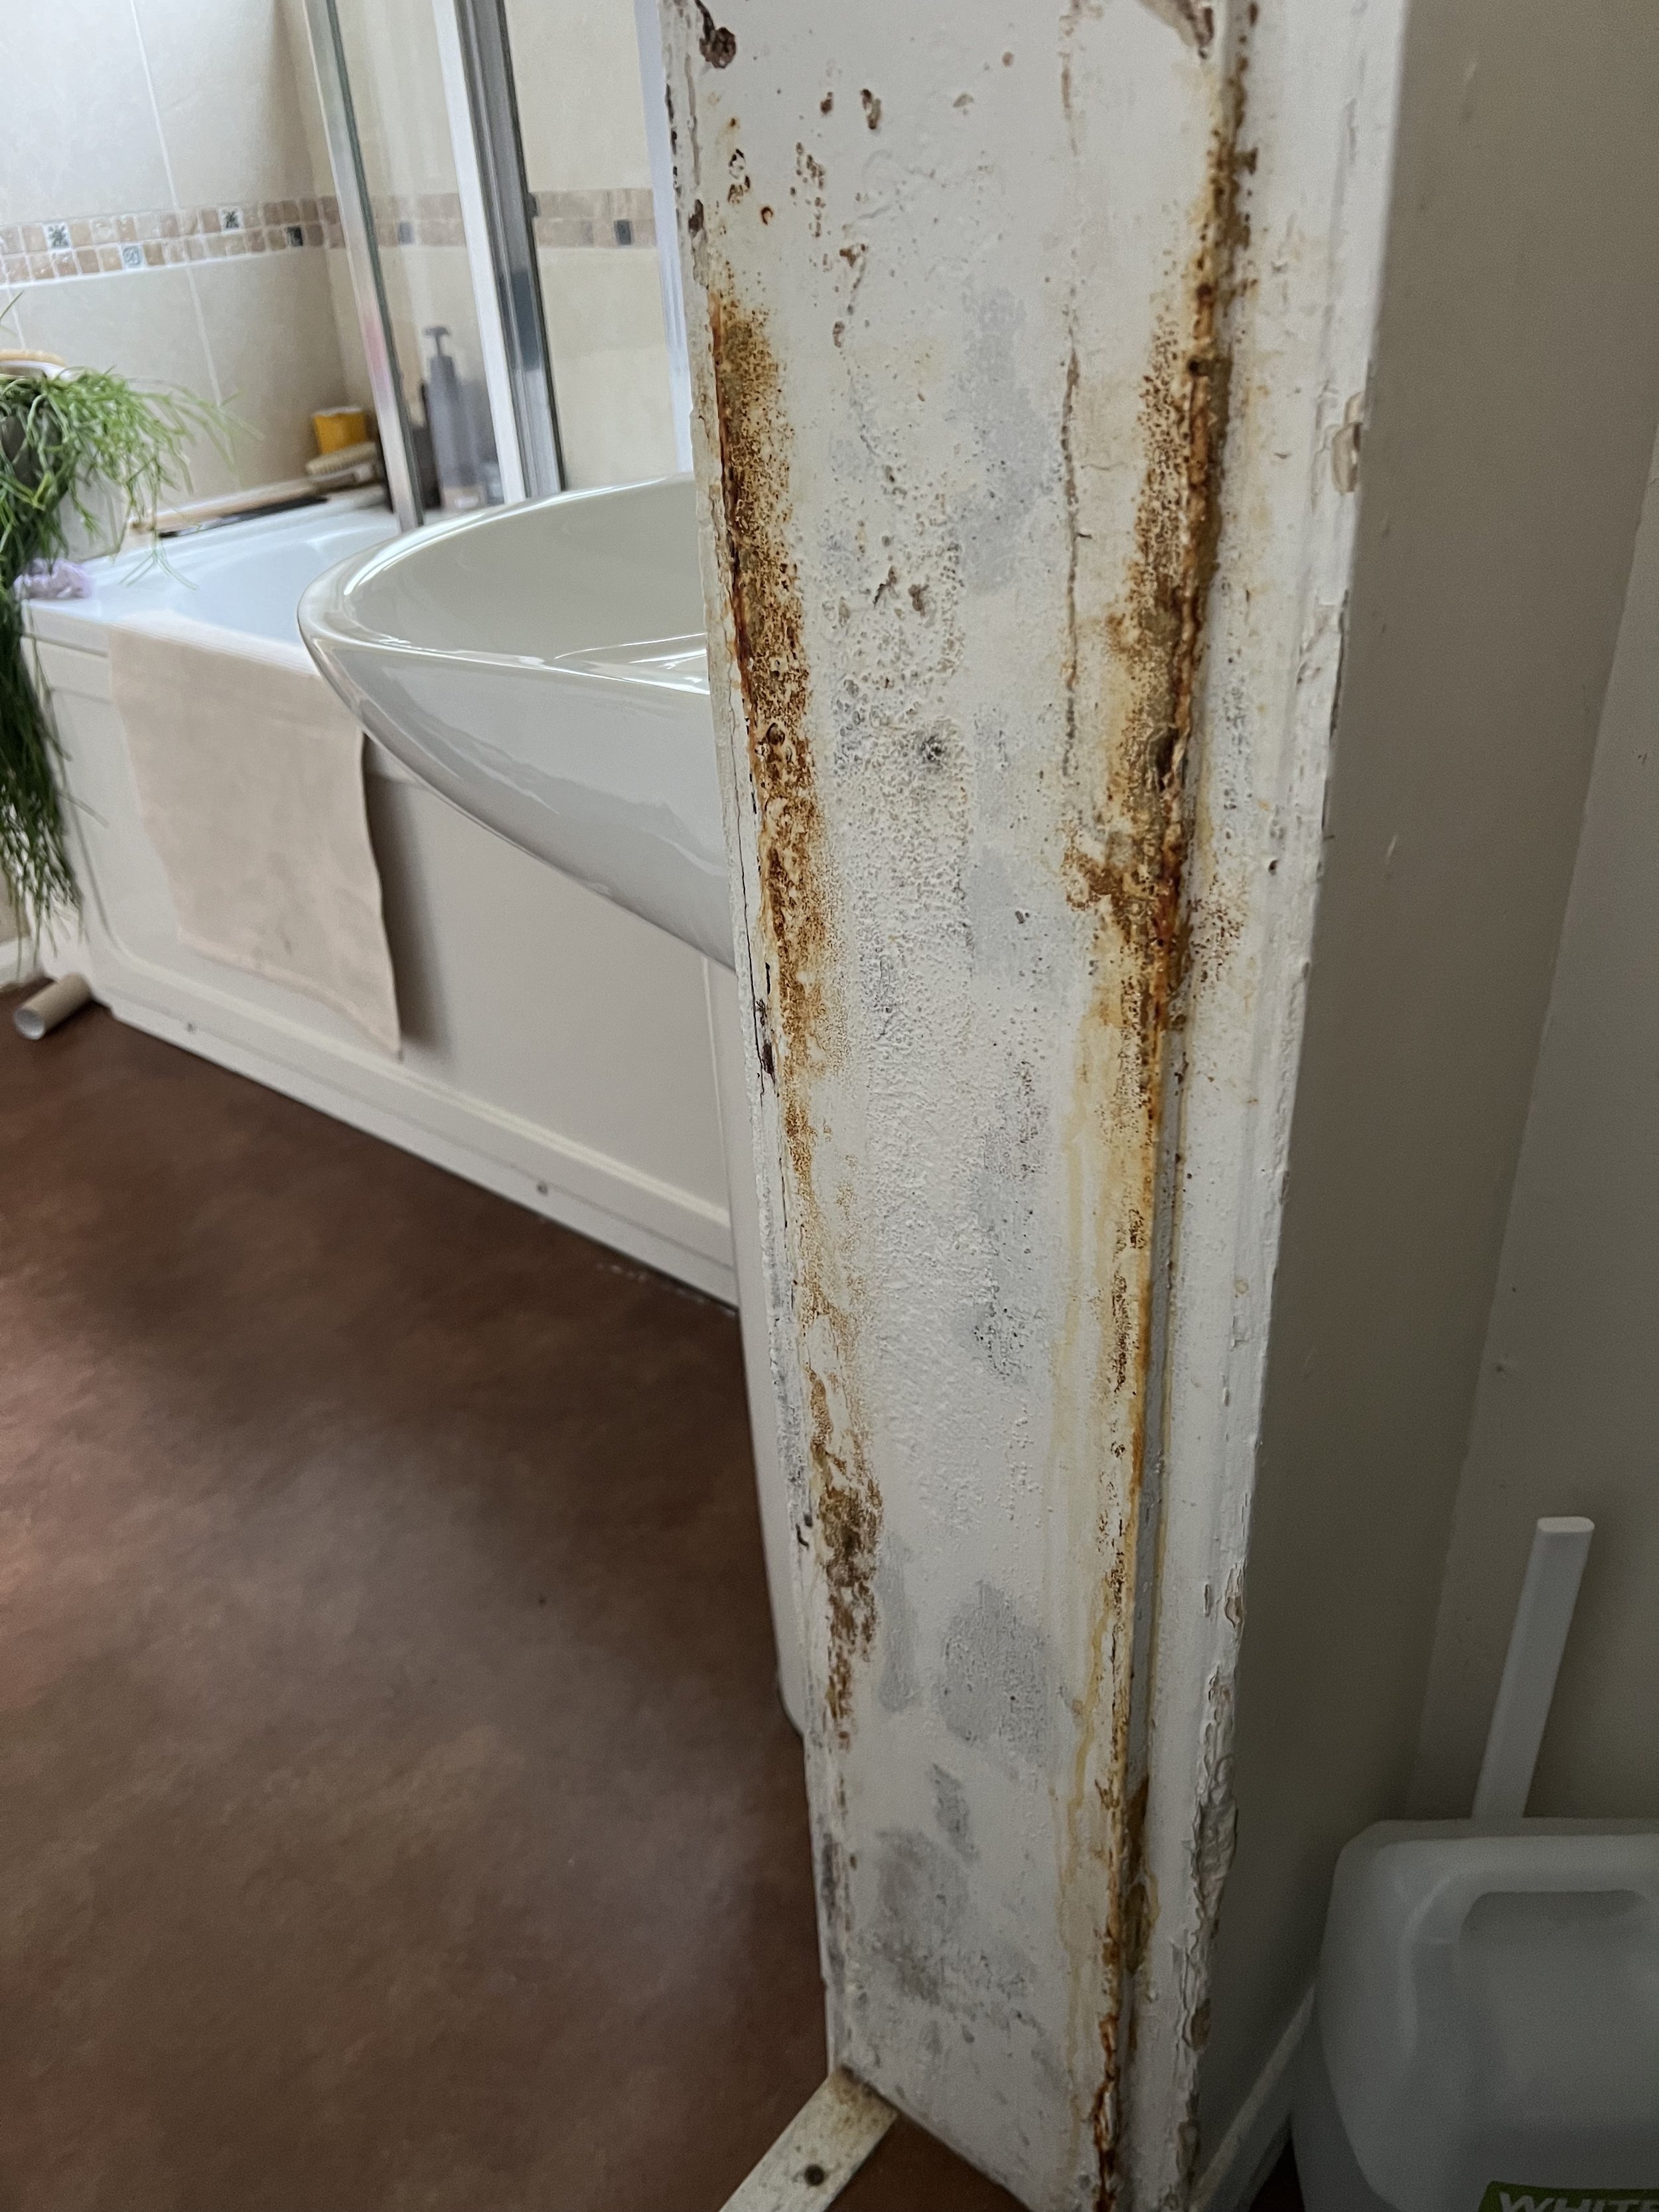


Our landlady consulted with builders who said the most cost-effective way to sort the problem was to insulate the walls and ceiling on the inside of the room. The roof on the outside wasn’t wide enough to accommodate insulation so it would have been a much more expensive job. Insulating the inside meant we’d lose 6 inches of space around the whole room, but it’d be warm and dry!
This was a bit of a weird project for me, as an interior designer. This isn’t our property, and it needed to be fairly neutral and renter-friendly for the long term. But I also wanted to influence the project (naturally!). Thankfully, our landlady was open to my ideas. The brief from the landlady was:
Bathroom brief:
Neutral and suitable for long-term rentals
Durable
As cost-effective as possible
Using a lino floor
Re-using existing fixtures where possible
Using aqua panels instead of tiles which our landlady felt were more durable.
I presented some ideas to the landlady and we agreed on the following
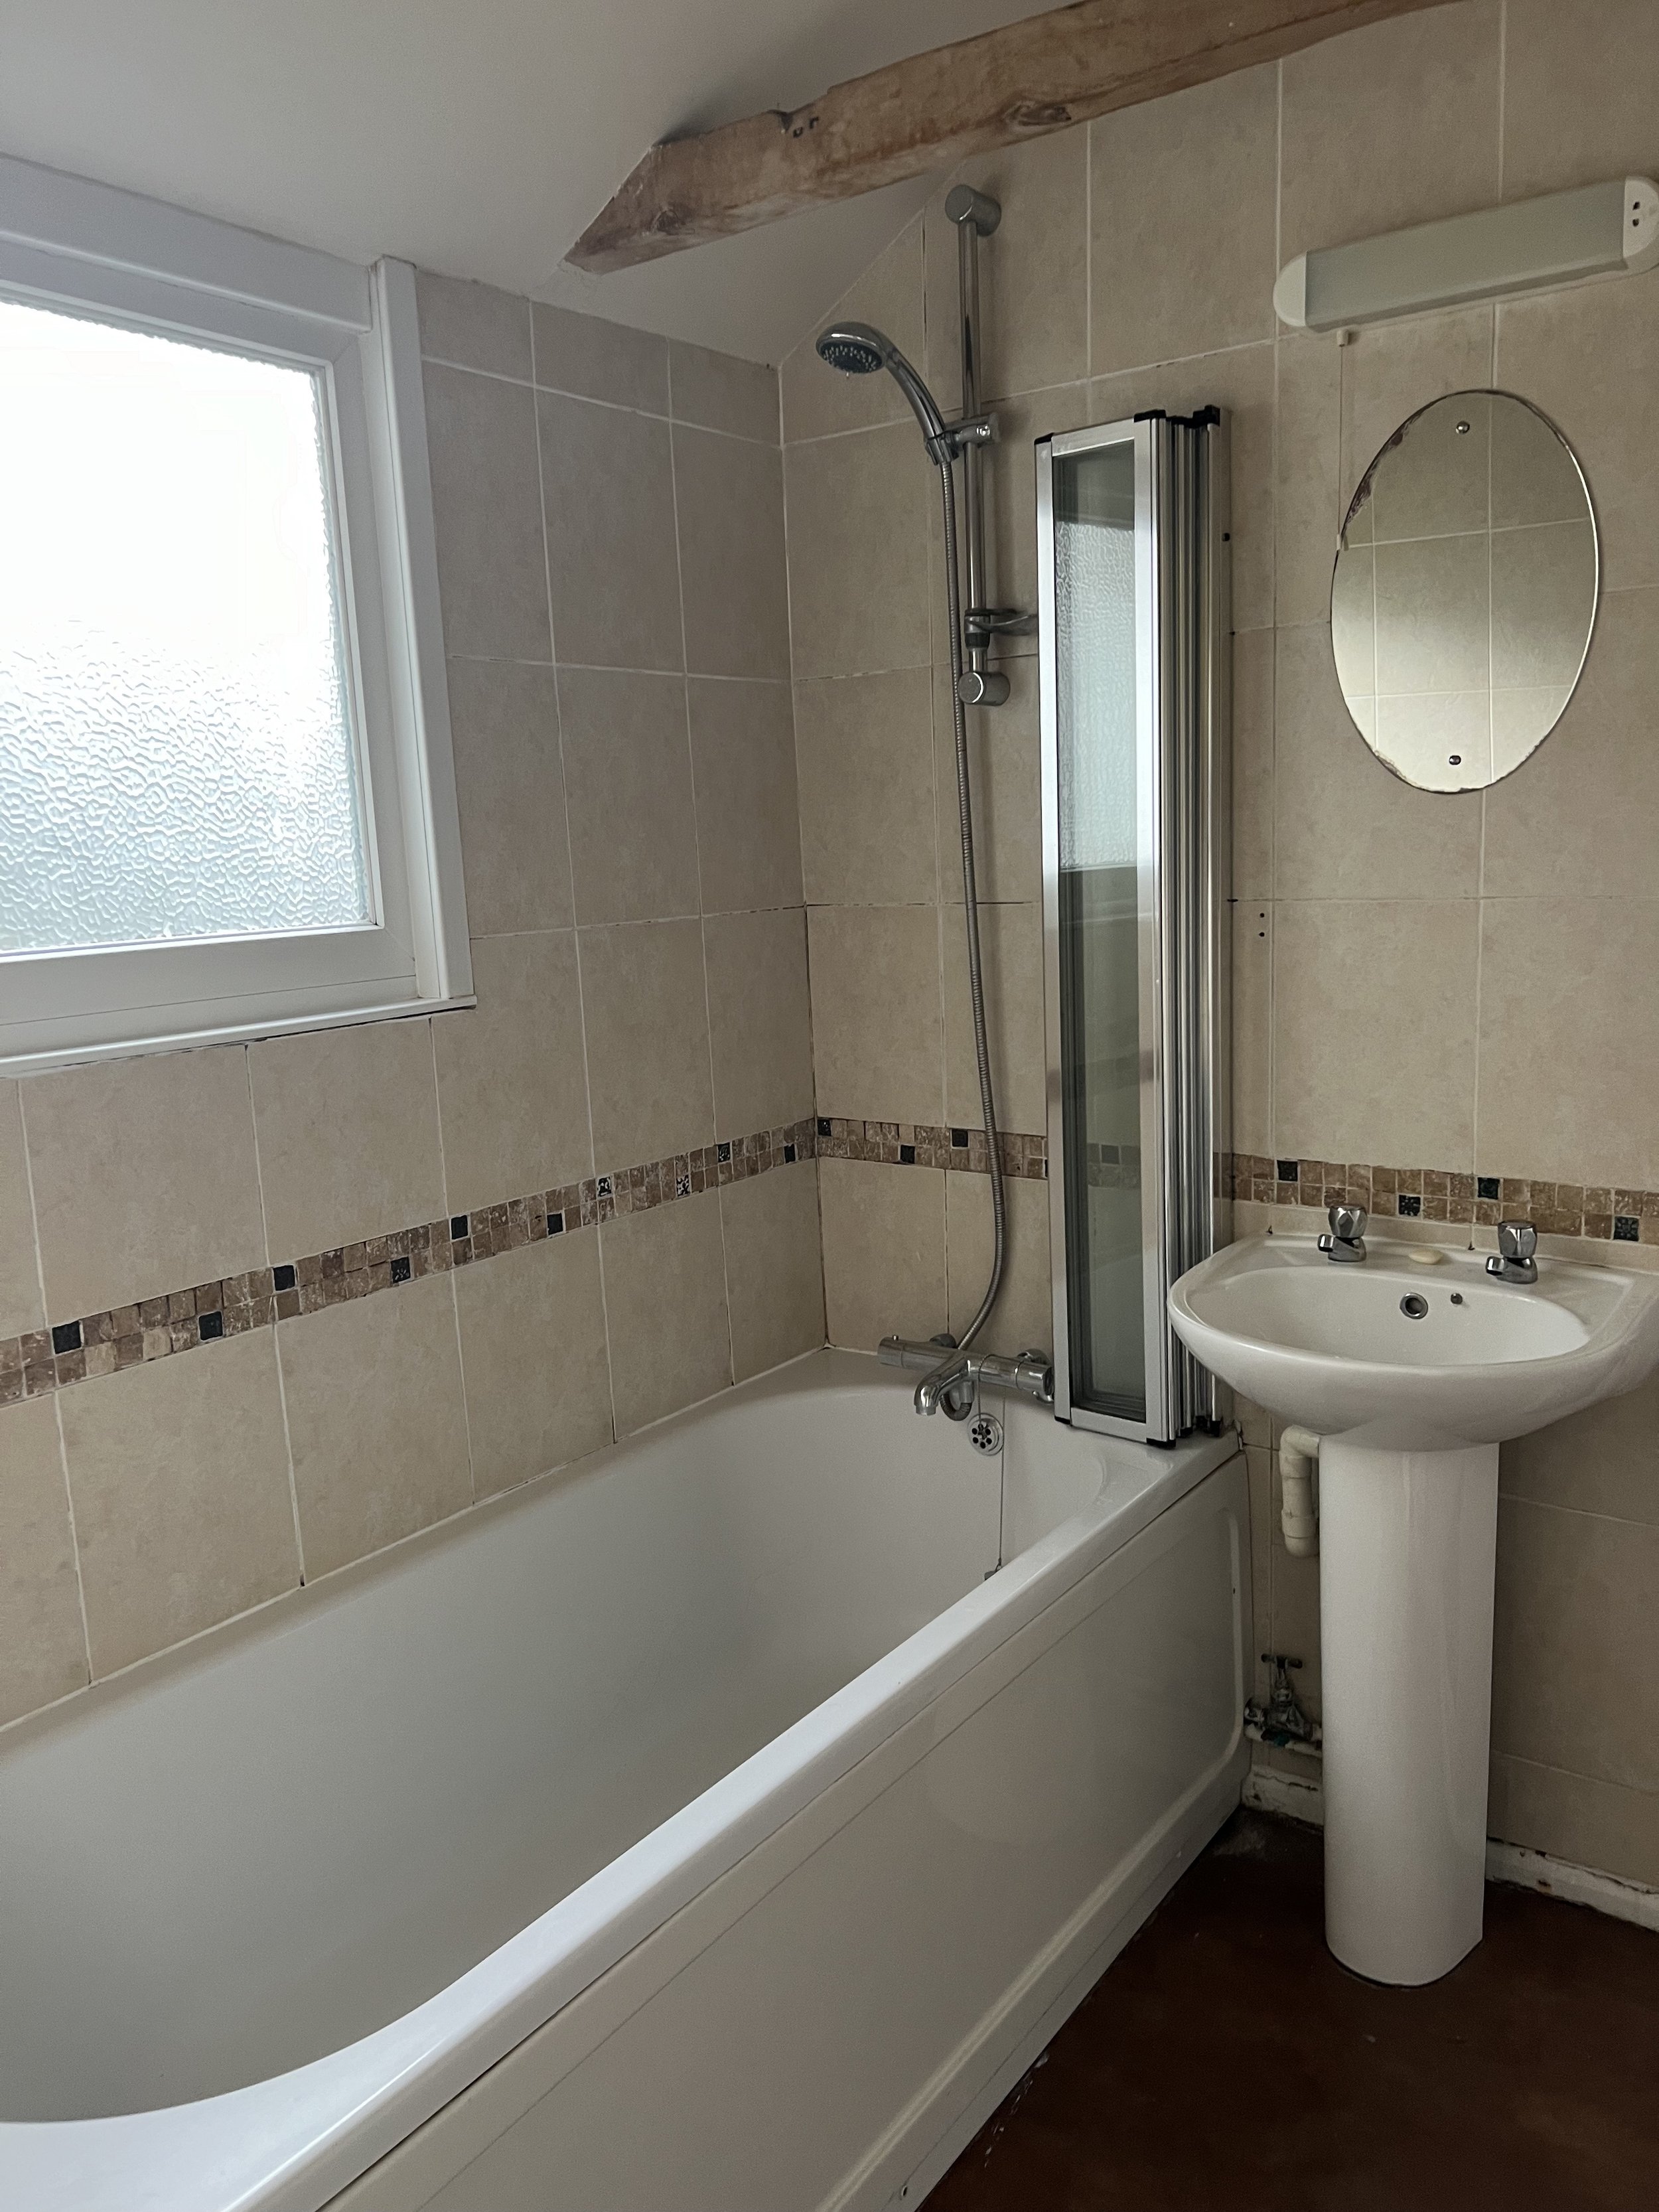
A traditional bathroom in keeping with the Victorian house. We chose a pale blue for the walls and ceilings (helps thew room feel larger when the ceilings are painted the same colour), chrome tap, shower and lighting, a black and white diamond patterned lino floor, and “mocha” coloured cabinets and bath panel.

The main demolition work happened when we were away on holiday (thankfully). This is where the builder ripped down the existing plaster and stuff behind it which caused a huge mess, as you can imagine. We returned from holiday to this:

The builder revealed TWO hidden leaks which were eroding the wall so its good that the work happened when it did. The project was estimated to take 3-4 weeks but delays with the builders and supplies meant it took 4 months 😩! We washed at our family’s house around the corner and flushed with a bucket. Fun times. 🫣. But it was worth it.
Bathroom design plan
We’d use Aquapanels on the walls in a marble effect. (Full disclosure, I would have gone for tiles- but the aqua panels are durable and easy to clean)
A black and white diamond lino floor
Pale blue on the walls and ceilings
traditional chrome taps and shower which fit with the era of the house
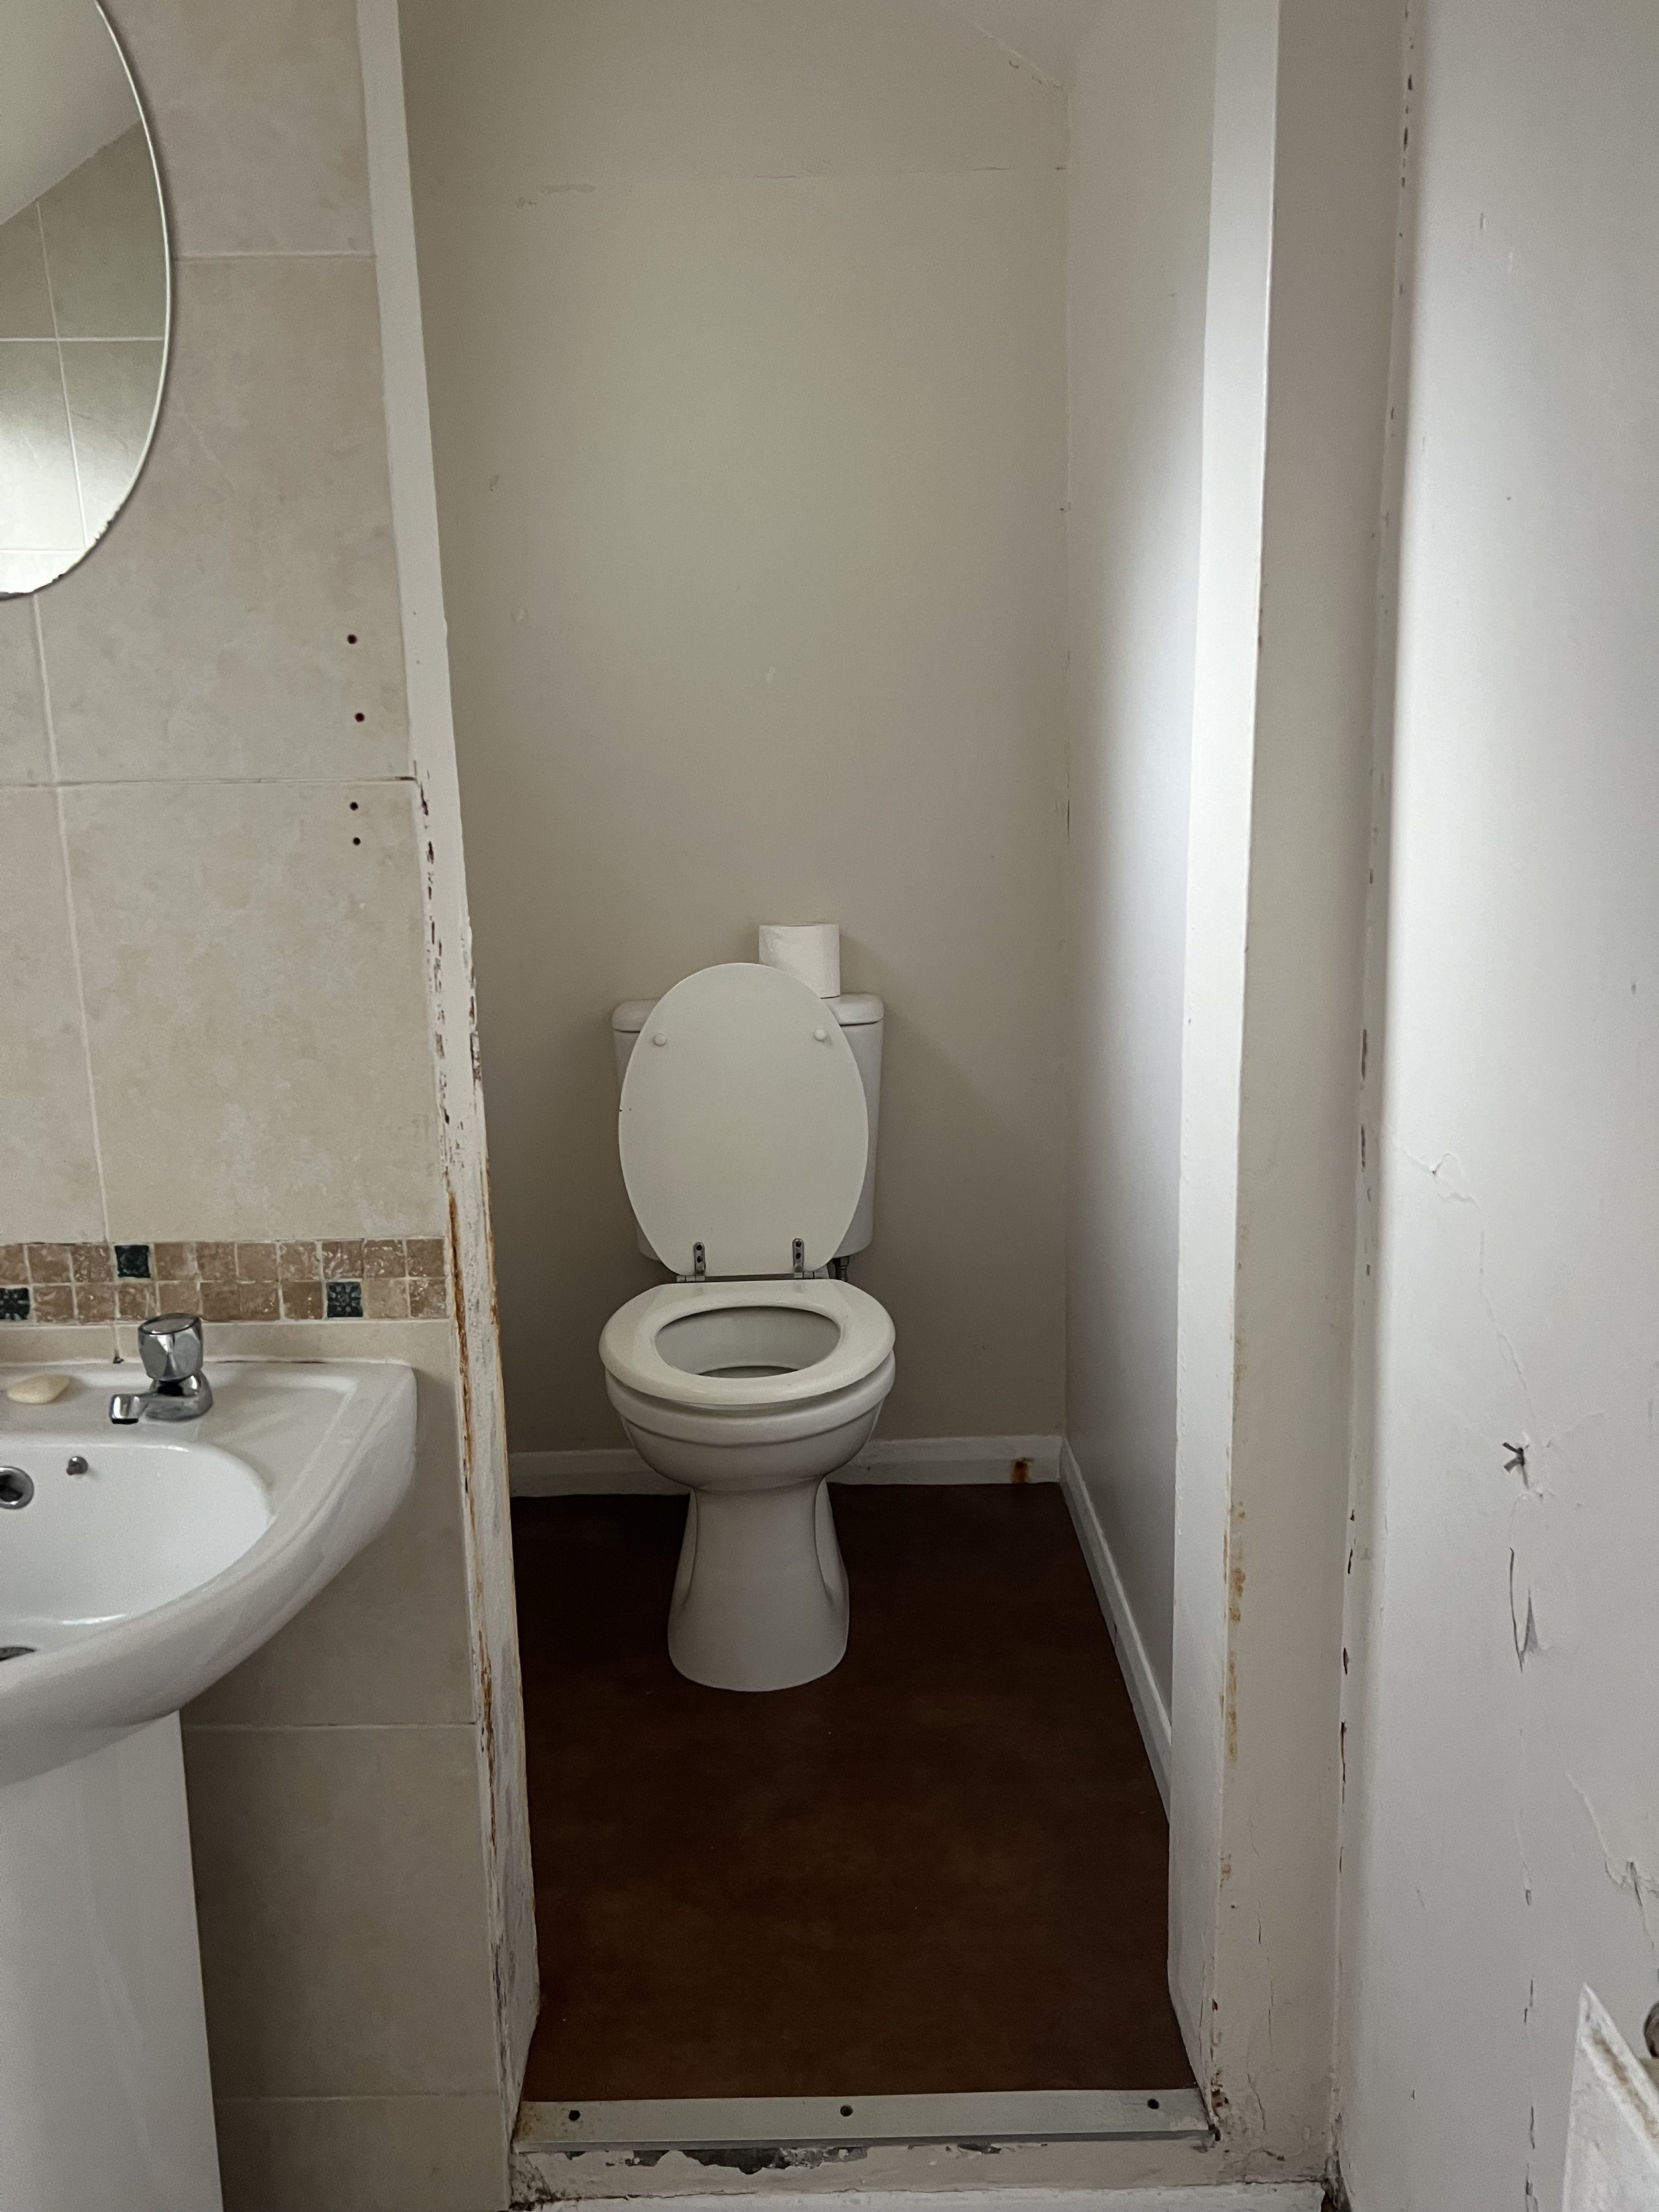
Panelled sink unit, mirrored cupboard and bath panel (which I would colour-match to the sink unit)
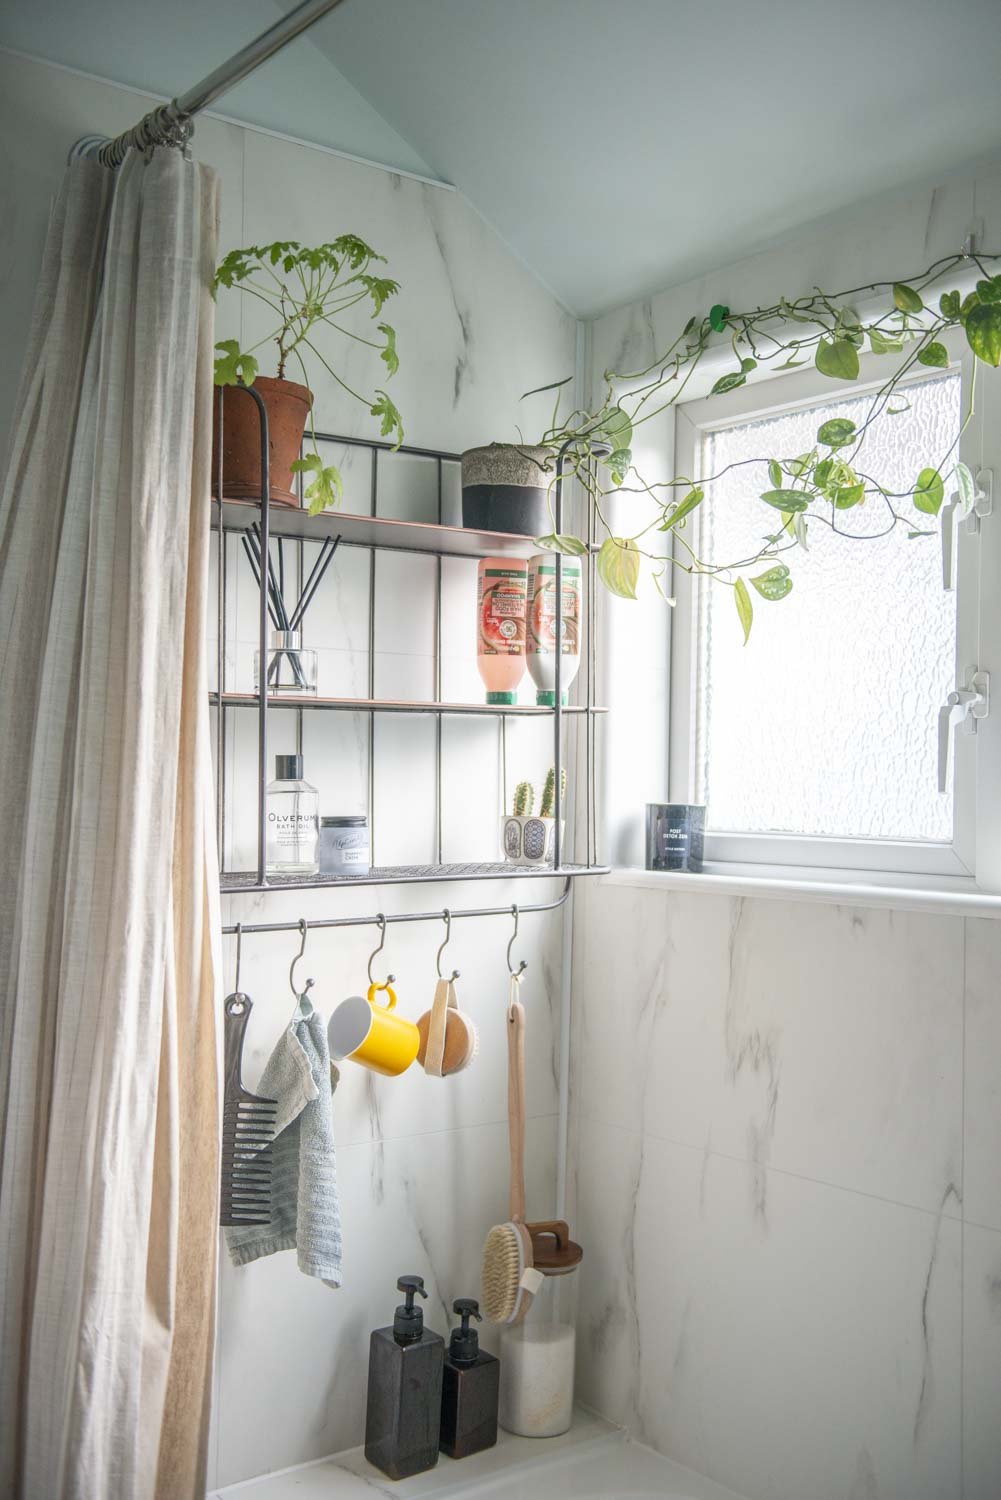
Open shelving unit opposite shower for storage
Over the next few weeks and months, the bathroom was eventually pieced together.
Here is the finished result! You can also watch and learn more about each stage of the process on Instagram, linked below, and there are some good old-fashioned stills and sources at the end.
Final styling
The styling part of interior decorating is where you can really have fun in your home- and its often the top, removable layer which is really good news for renters! The styling of a space is often neglected but it is so powerful! Finishing details make the room. I was an interiors stylist for 10 years before I qualified as an interior designer and if I had to pick a hill to die on, it would be interior styling because of the impact of those finishing touches have when interior decorating.
I added plants because they add so much life to any space, and clean the air (thanks, plants). I used sticky plant clips to train the plant around the window and the beam.
I added an antique mirror and ship picture to the walls which add a lot of character; mixing old with new is always a good look.
I then added finishing details like a stripy bath mat, double shower curtain, linen towels, shell bowl with soaps inside, and a nice hand cream.
If you want more tips on the power of styling a space, you can watch my free 25 minute workshop right here!
The finished bathroom:


Behold the double shower curtain!
I love a double shower curtain, it adds so much elegance to the room, and helps the room feel a bit larger too- the fabric drapes down the outside of the bath rather than being cut off by the bath. the inside is waterproof and the outside is fabric- this is a linen gauze/voile. It adds so much texture and pattern to the room. I used rings with little clips on them to achieve this and it works really well.
How we stopped damp and black mold in the bathroom
It wasn’t an easy problem to fix, here is what our landlady did:
Added thick insulation to all internal walls and ceilings.
Fixed a hidden leak that was causing damp in the walls.
Added a larger radiator with higher heat output.
Added a good extractor fan which can sense the damp levels in the room and turn on automatically.
As always with old houses prone to damp, its important to keep the room well ventilated by opening windows and using dehumidifiers.
Sources
(all paid for by me or our landlady)
Flooring: Florence Vinyl from Remland Carpets
Base unit: Roper Rhodes
Bath Panel: B&Q (painted to match the sink unit by me)
Mirror unit: Victorian Plumbing (painted to match the sink unit by me)
Metal shelving unit: John Lewis
Inner shower curtain: Habitat
Outer linen curtain: Dunelm
The wall and ceiling colour is Revival by Crown paint
If you want to know the sources for anything else, let me know in the comments.