Ad: Making paper flowers with Canon Pixma

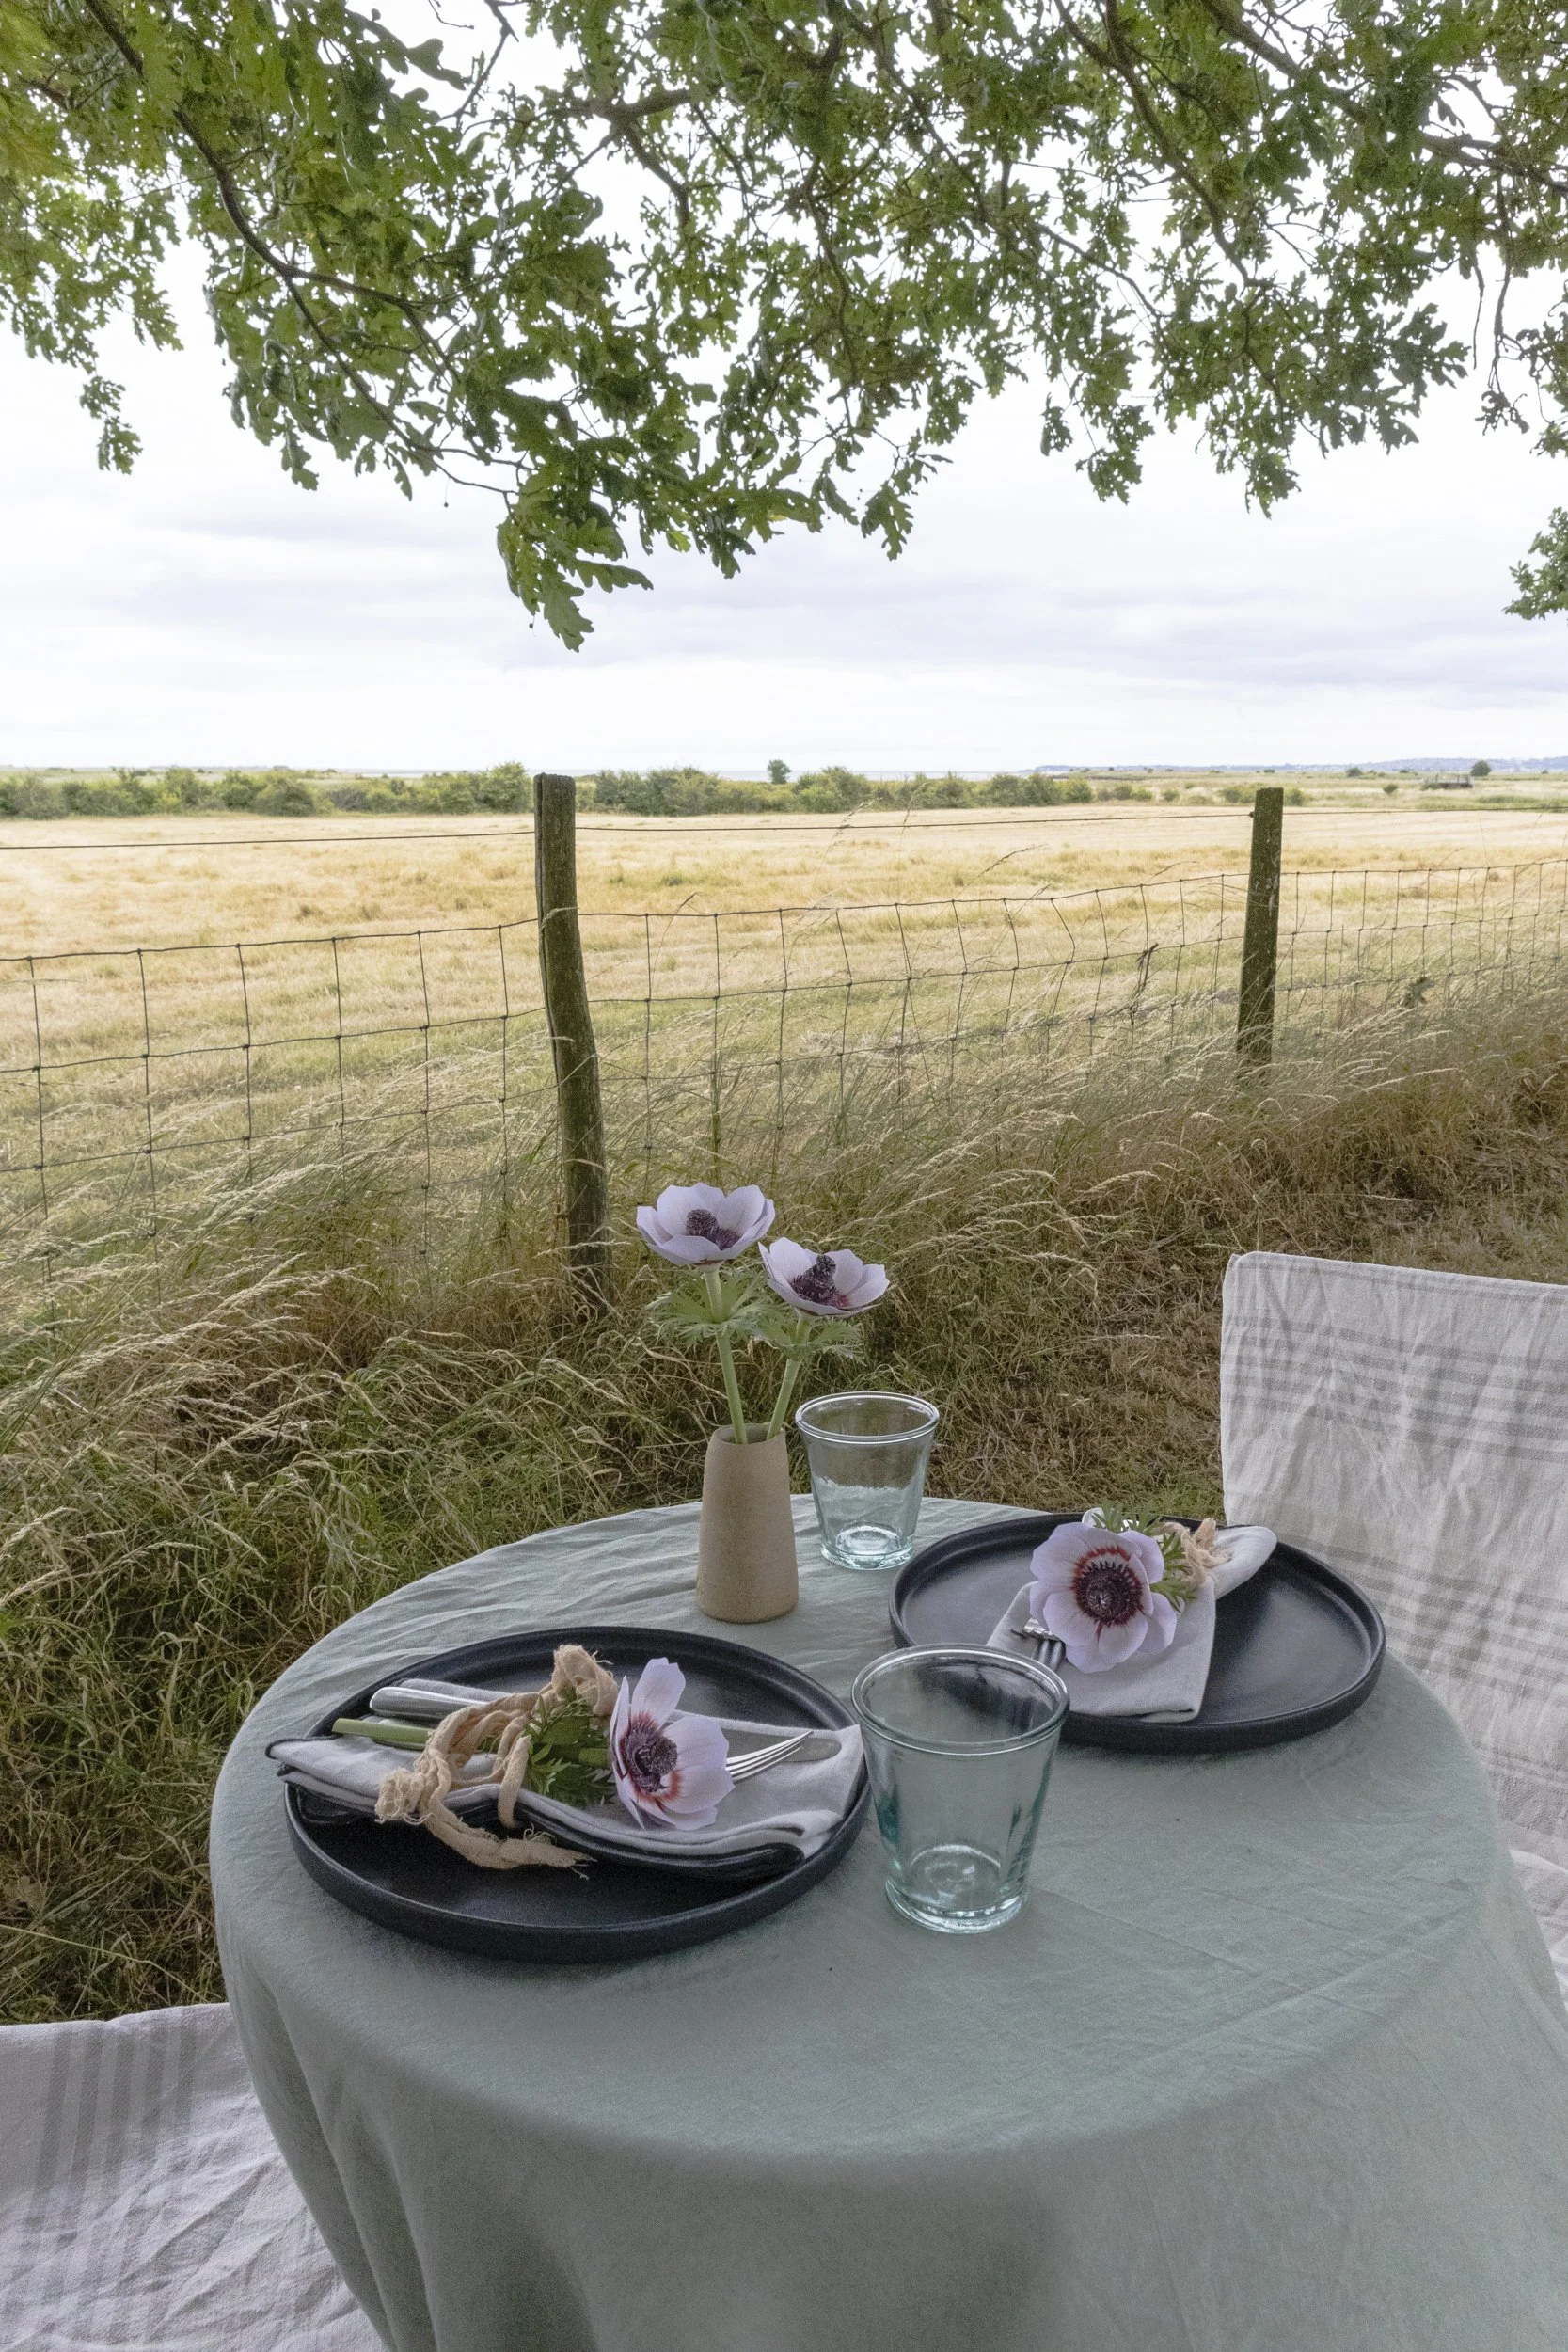
Ad: For our anniversary last month, we ate a special dinner here under the oak trees. The flowers are actually made from paper and created by me! I know, I can’t believe it either! The paper flowers are part of the Canon Creative Park website which has loads of DIY printable projects. I chose the paper anemone and spent an enjoyable, and very mediative day creating 4 of them for our table. It was really easy; no special skill necessary! Head over to Canon’s Pinterest channel (@CanonEMEA) for more crafts and inspiration.

Can you beleive these flowers are made from paper?! I used the templates from the Canon Creative Park website and printed them at home on my Canon Pixma printer. I then spent a very enjoyable few hours making up 4 paper anemones to adorn my date night table.
How to make paper flowers (beginner friendly!)
Here’s how I made my beautiful paper anemone’s. I used these to style an outdoor table. The best part is that I can display them afterward forever more!
Materials needed:
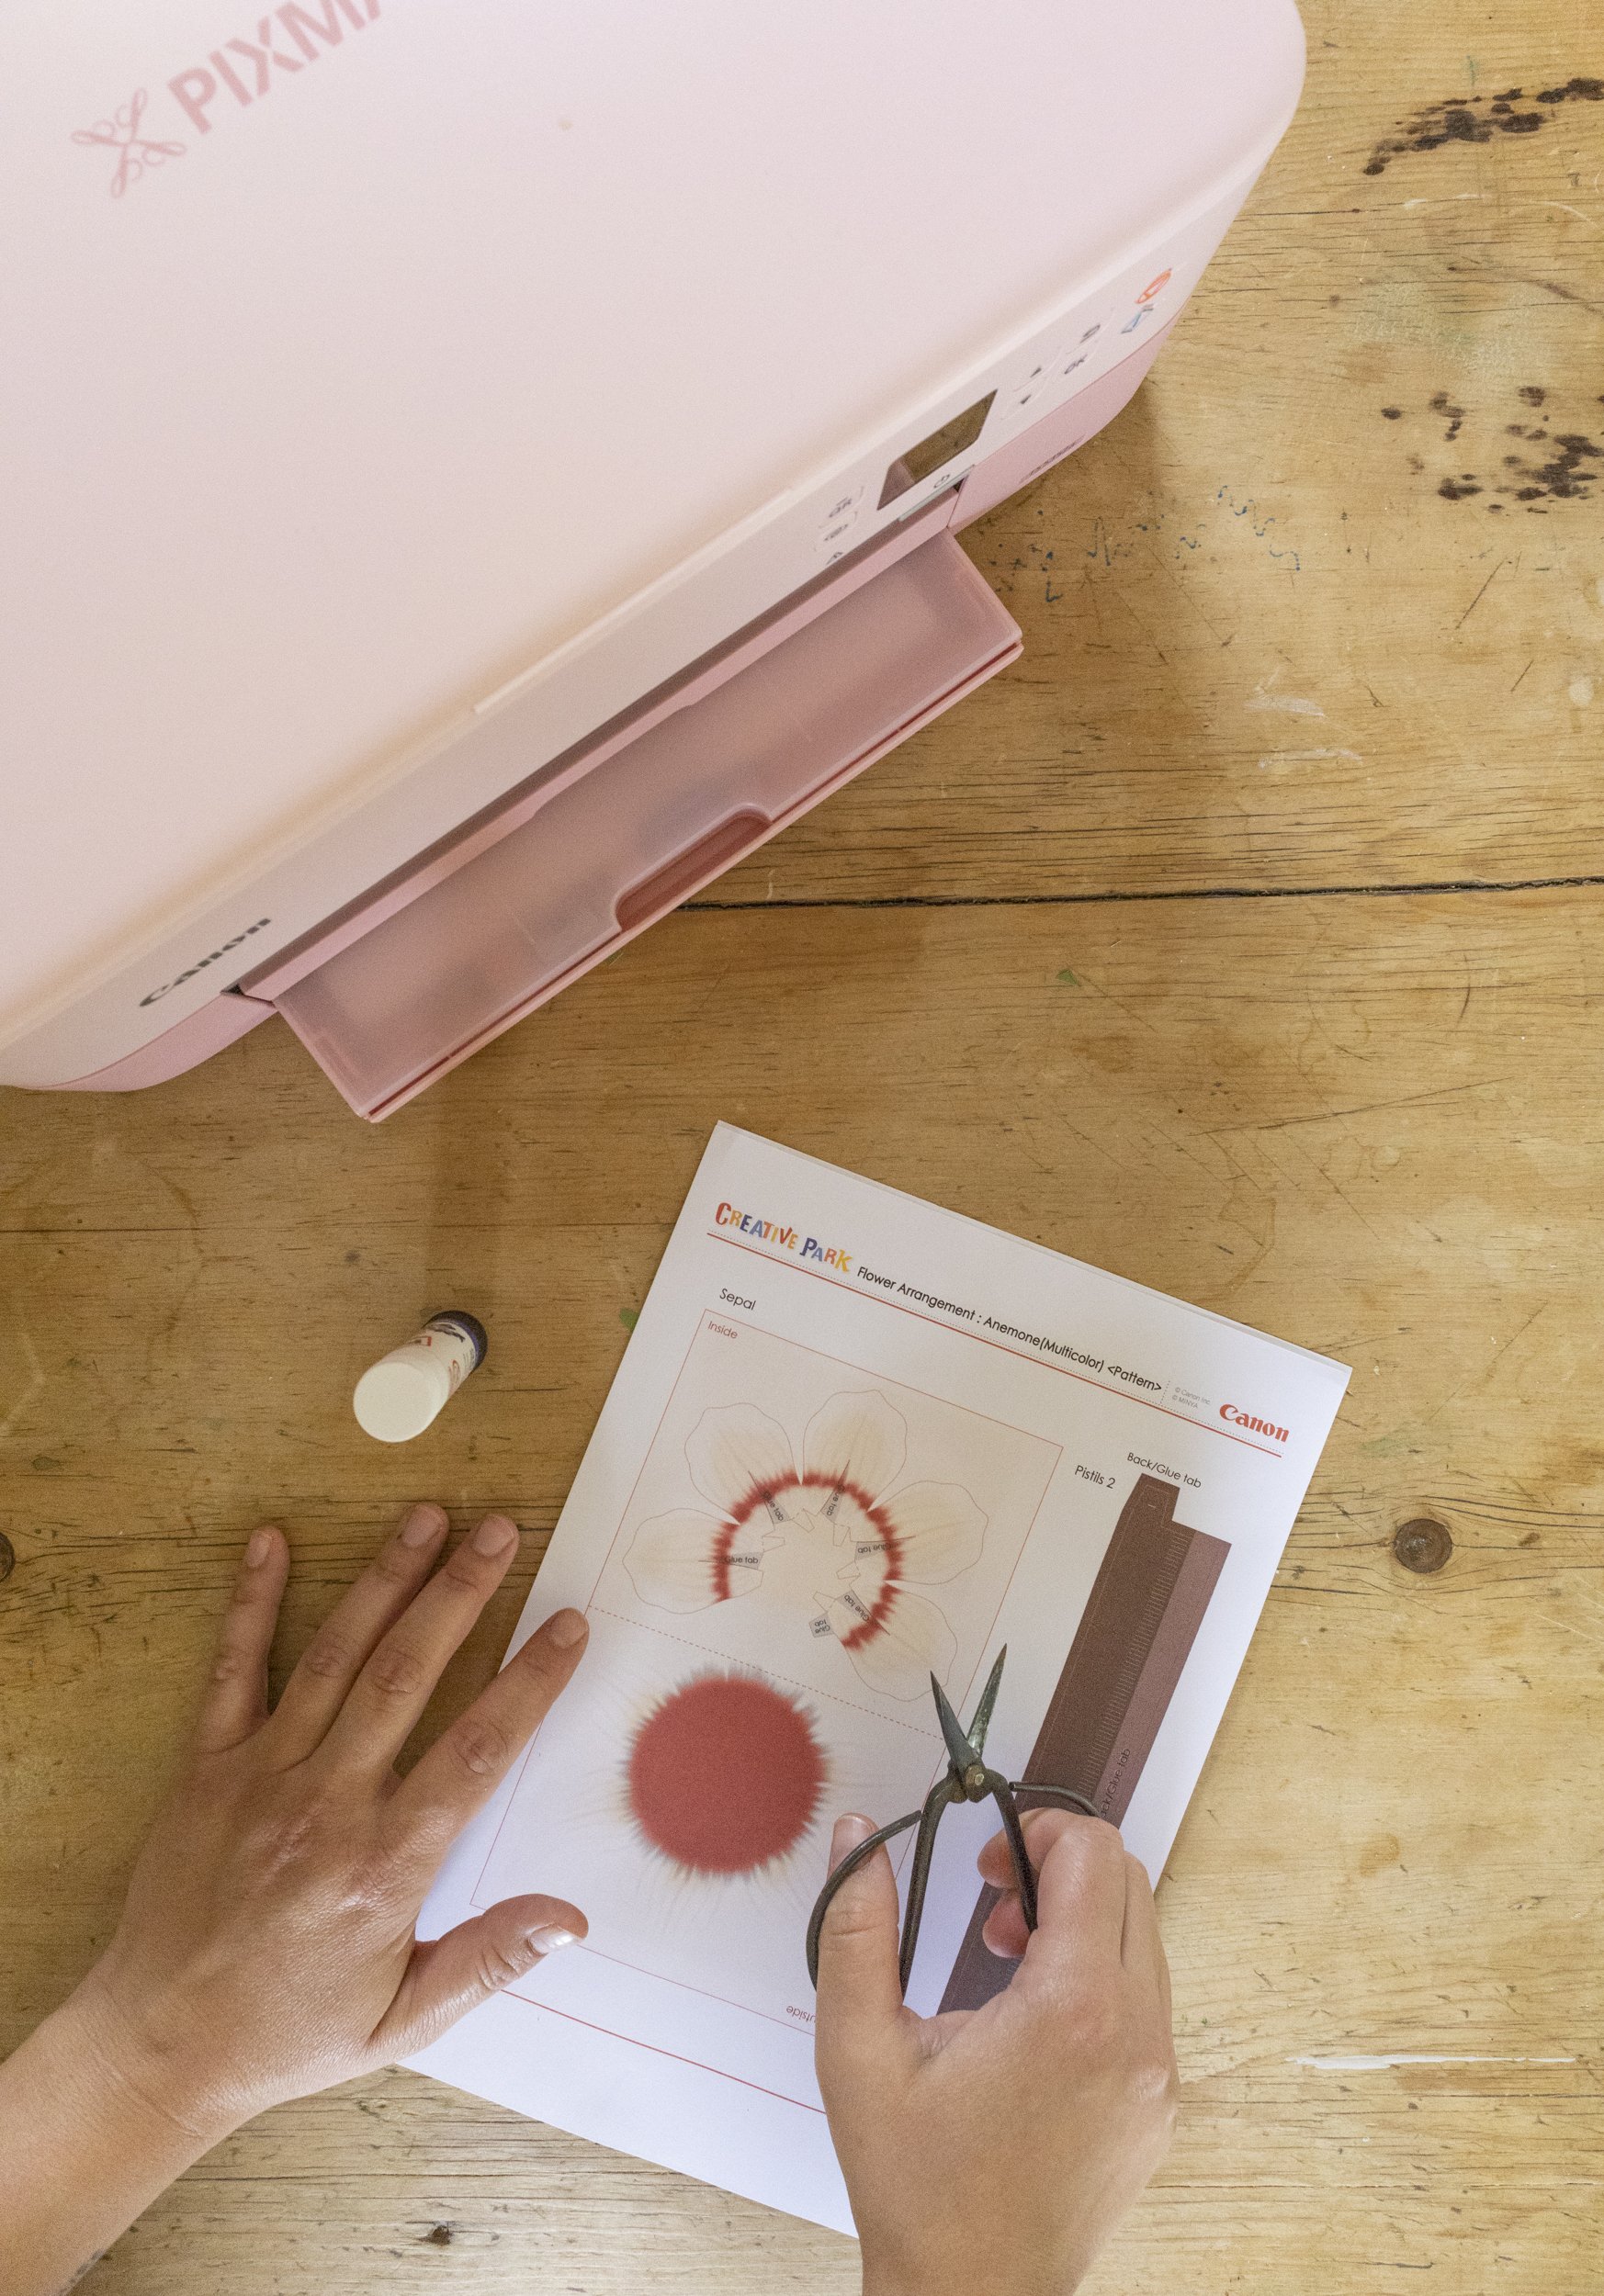
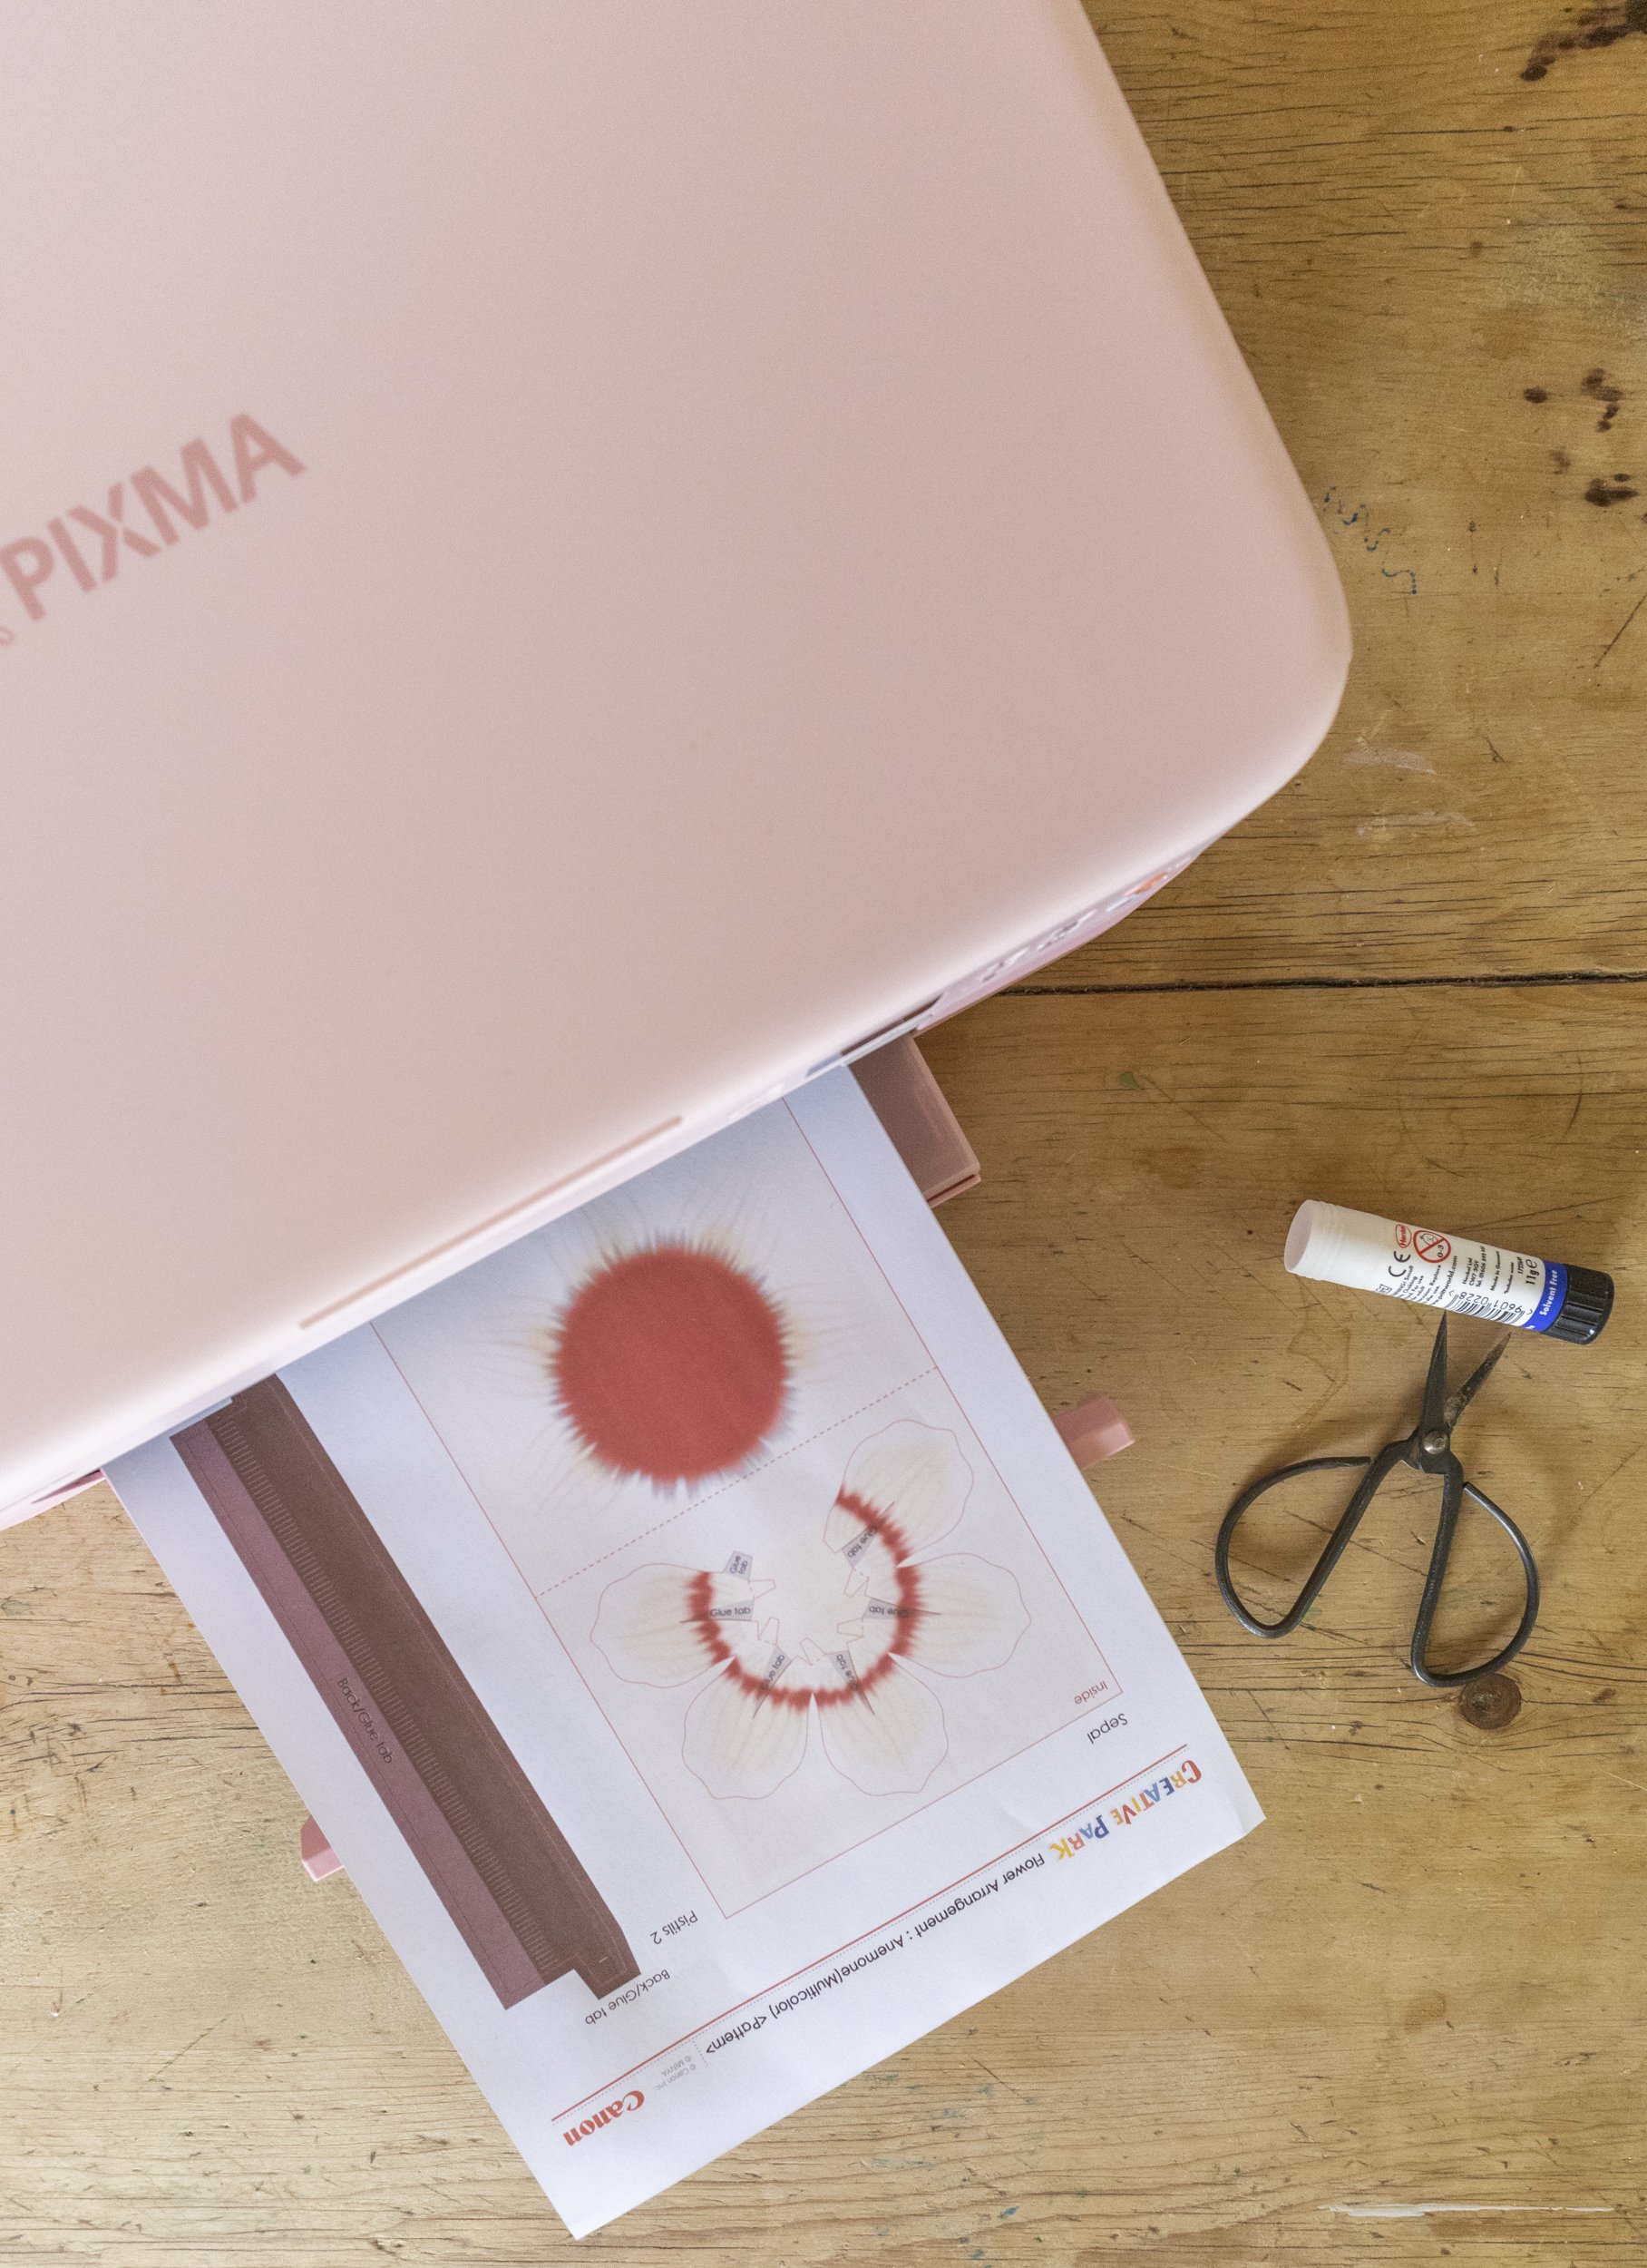
Canon Pixma printer
White printer paper
Scissors
Prit stick
That’s it! No fancy materials are needed.
Method.
1
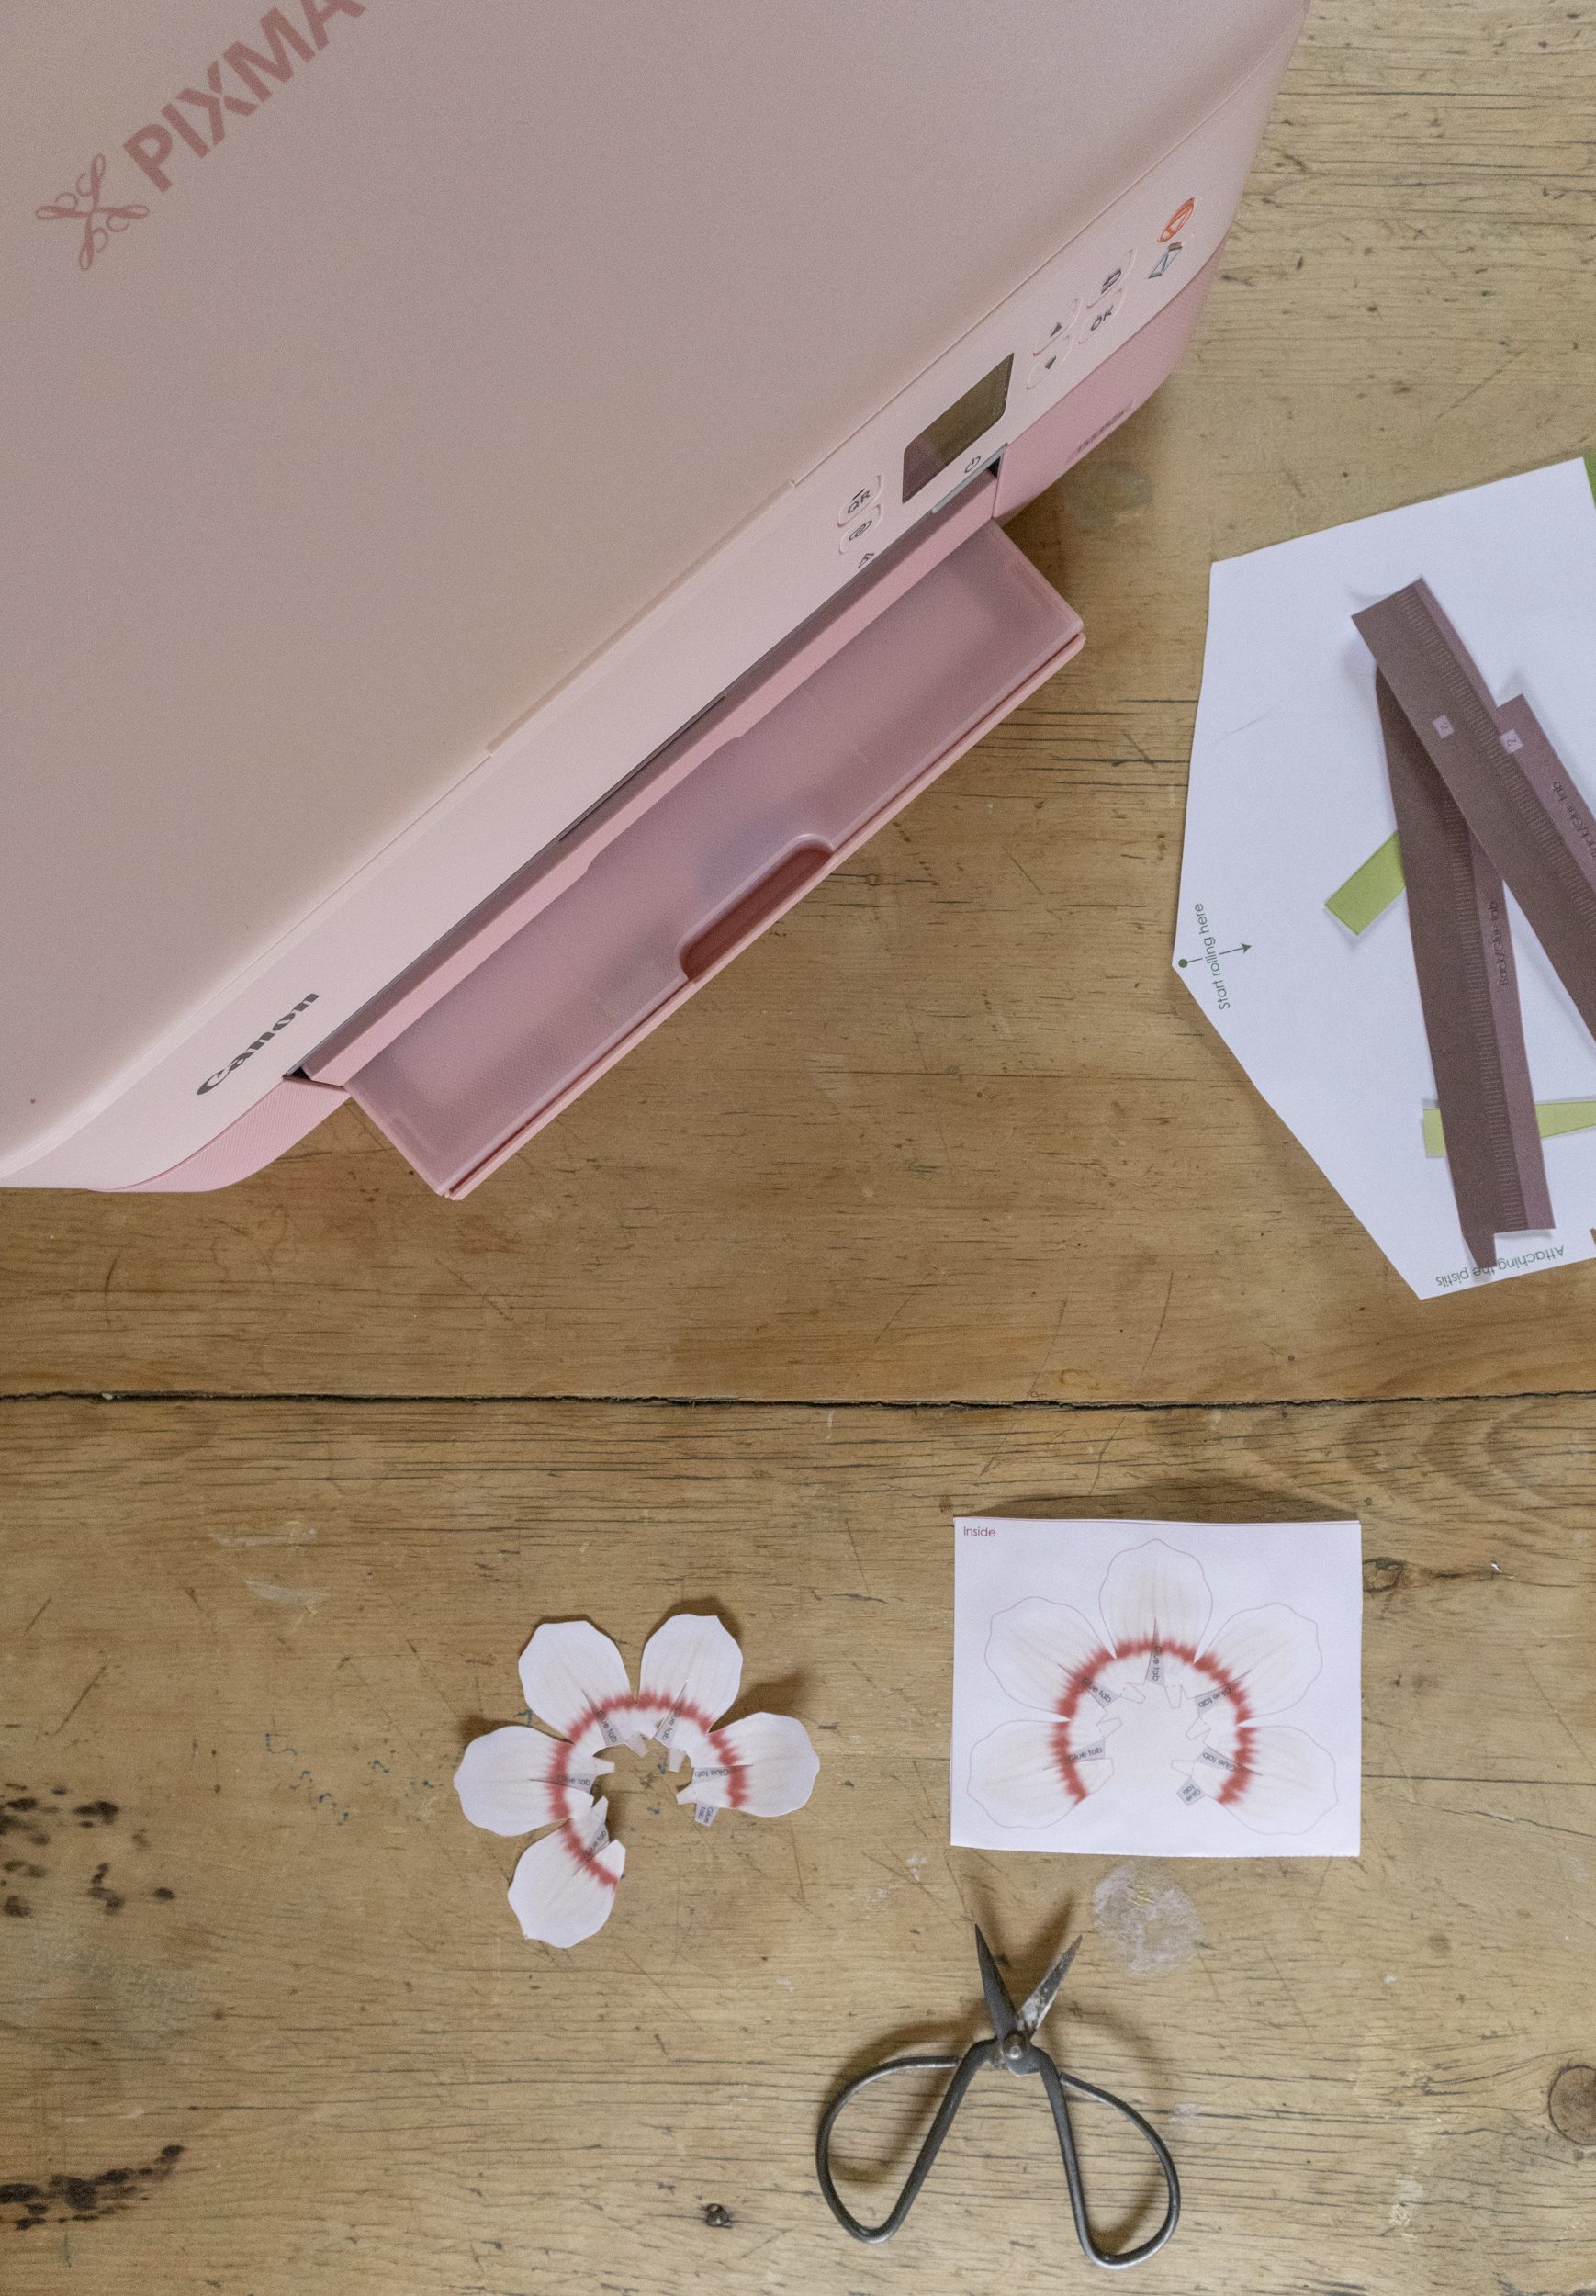
Print out the Anenome template in colour. You get one flower per 5-page template. Download or print out the Canon Creative park instructions. Note the difference between the cut line (solid line) and the fold line (dotted line)

2
Cut out the stem, Pistils 1 and 2, and both Sepal stopper tapes. Cut along the solid line, not the edge of the colour. (The colour bleeds over the line slightly to make sure it’s solid)
3
Cut out the square solid lines around the following: Stemen 1 and 2, both Sepal’s, the Sepal stopper, the large leaf and the small leaves. Cut only along the solid line, not the dotted line (this is a fold line).
Fold all pieces in half along the dotted line. Glue them together. This means the colour is on the front and the back, and the paper is a little thicker too.

4
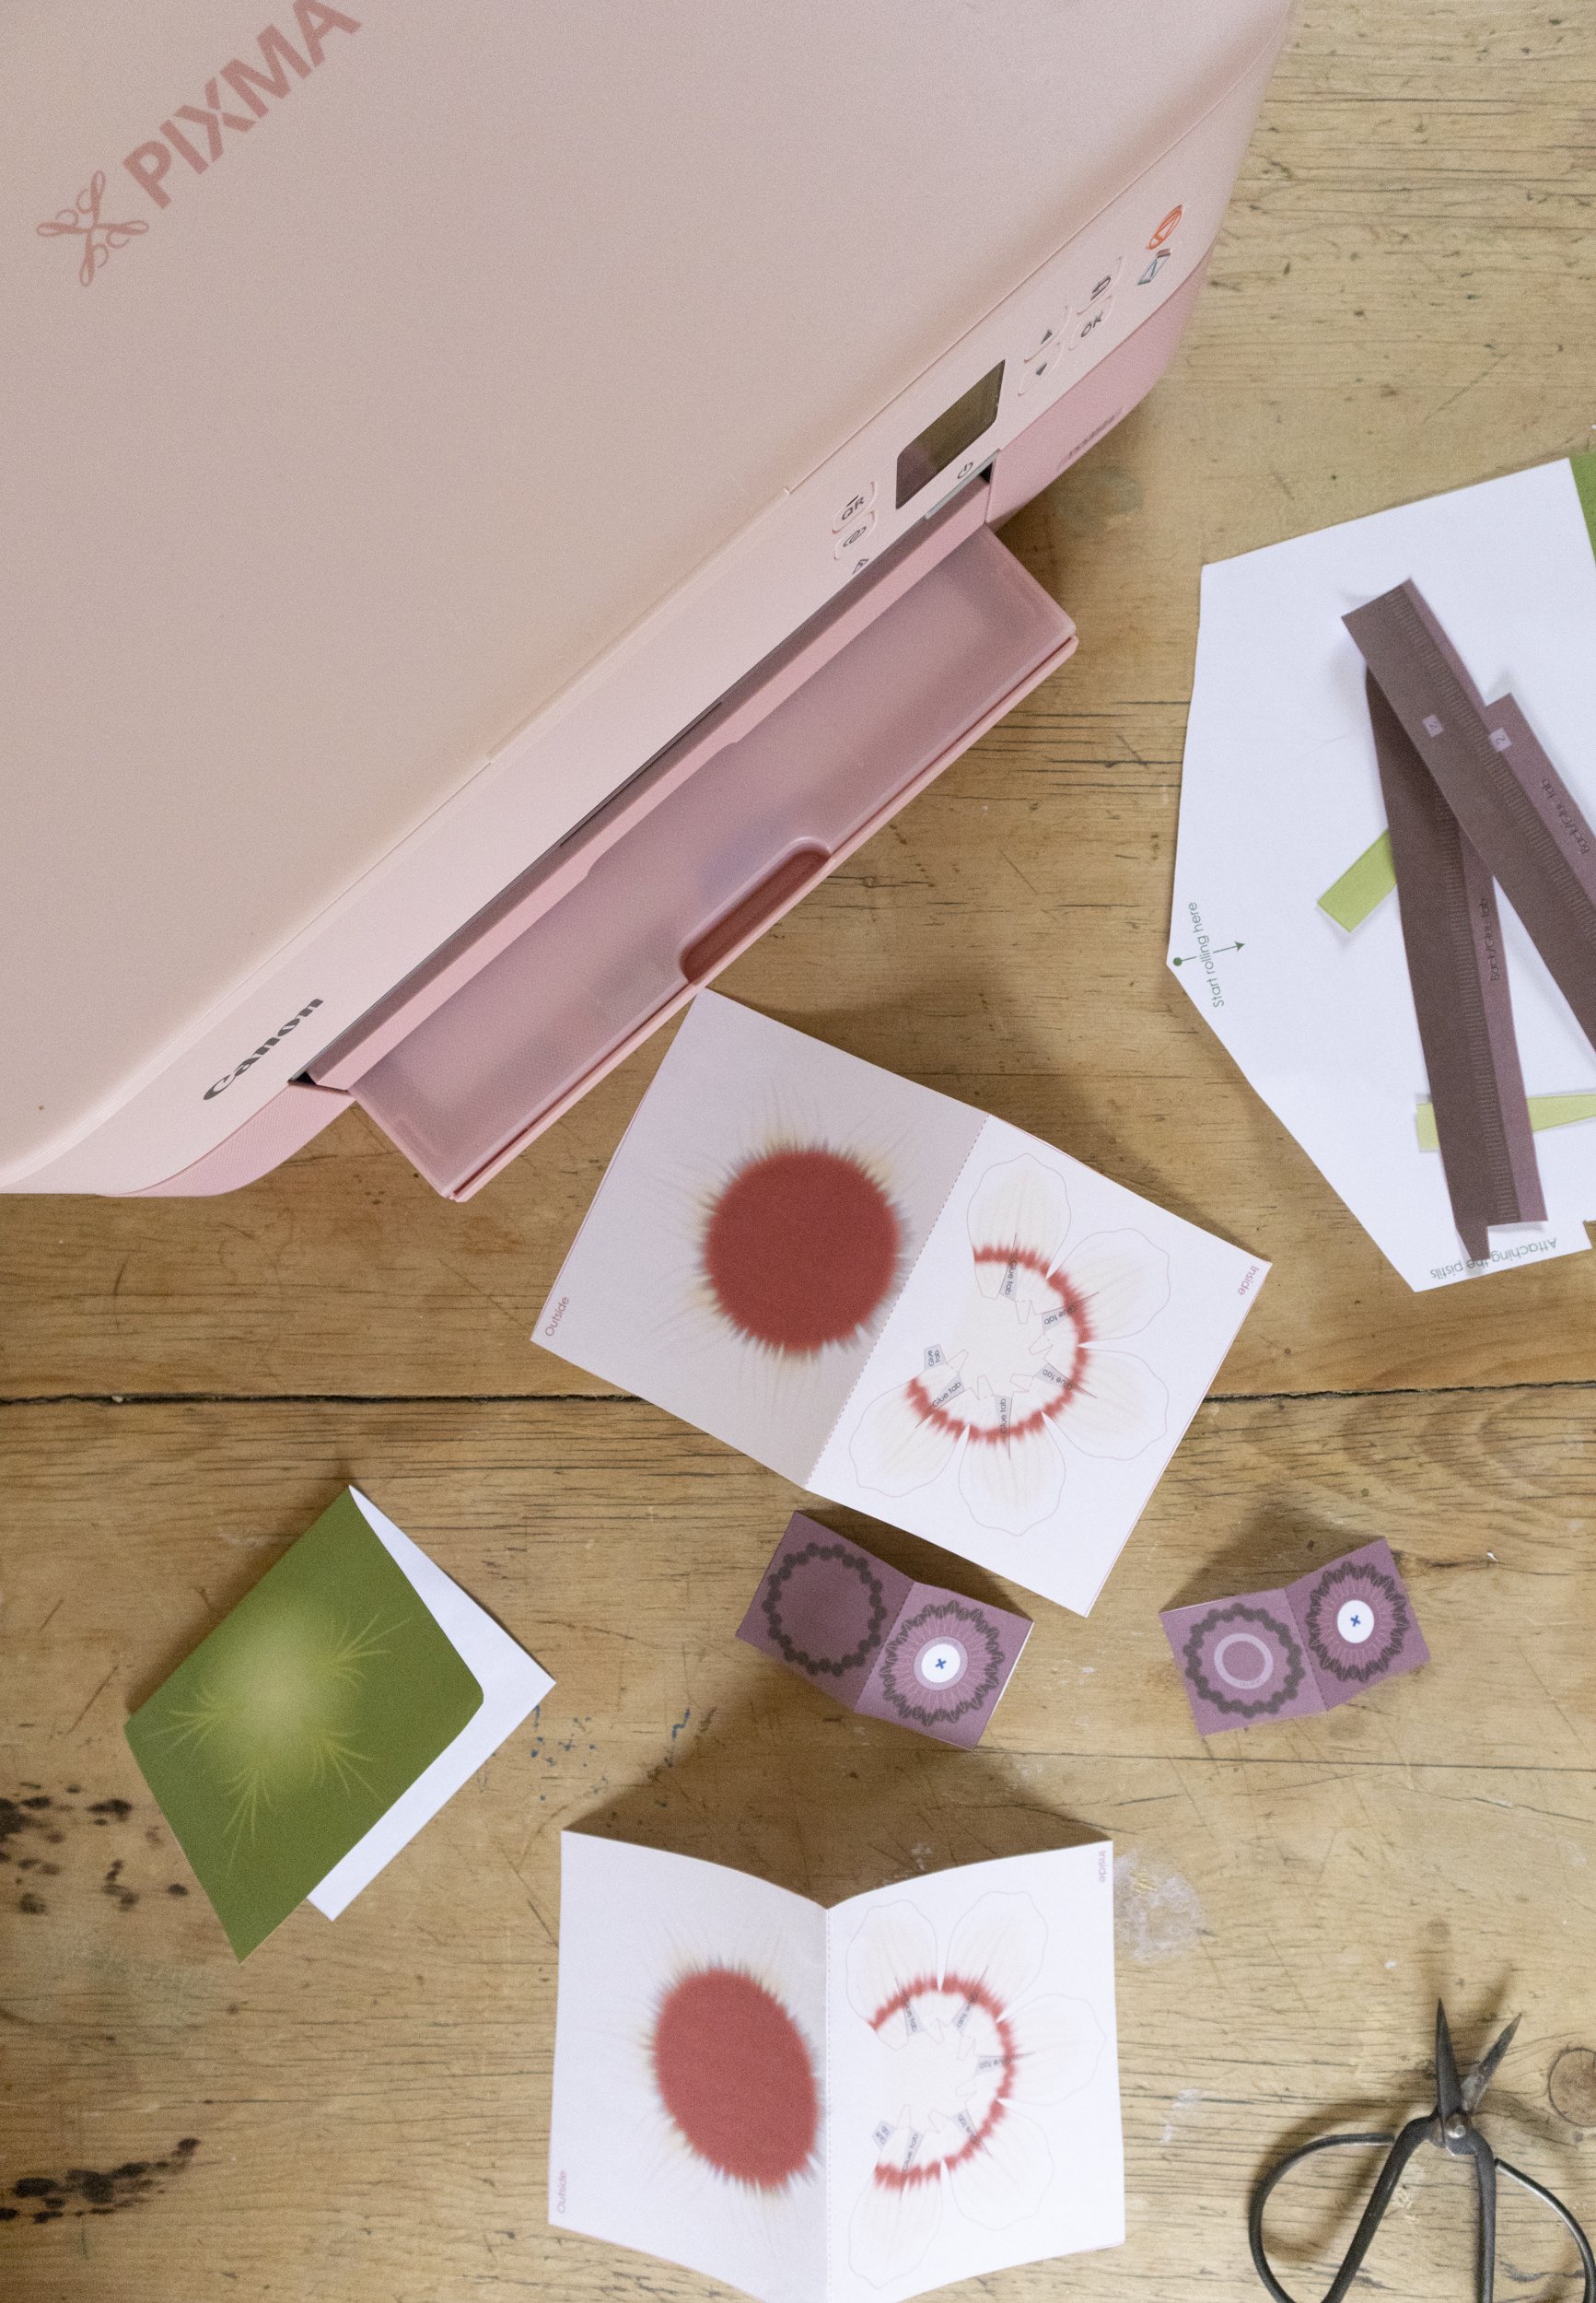
Cut out the shapes. This bit is the most time consuming part. Put on an audio or podcast. I promise it gets quicker after the first flower once you become familiar with the steps.

5
Tightly roll up the stem. You will need to do this a few times to roll it tight enough for the green to cover the full circumference.
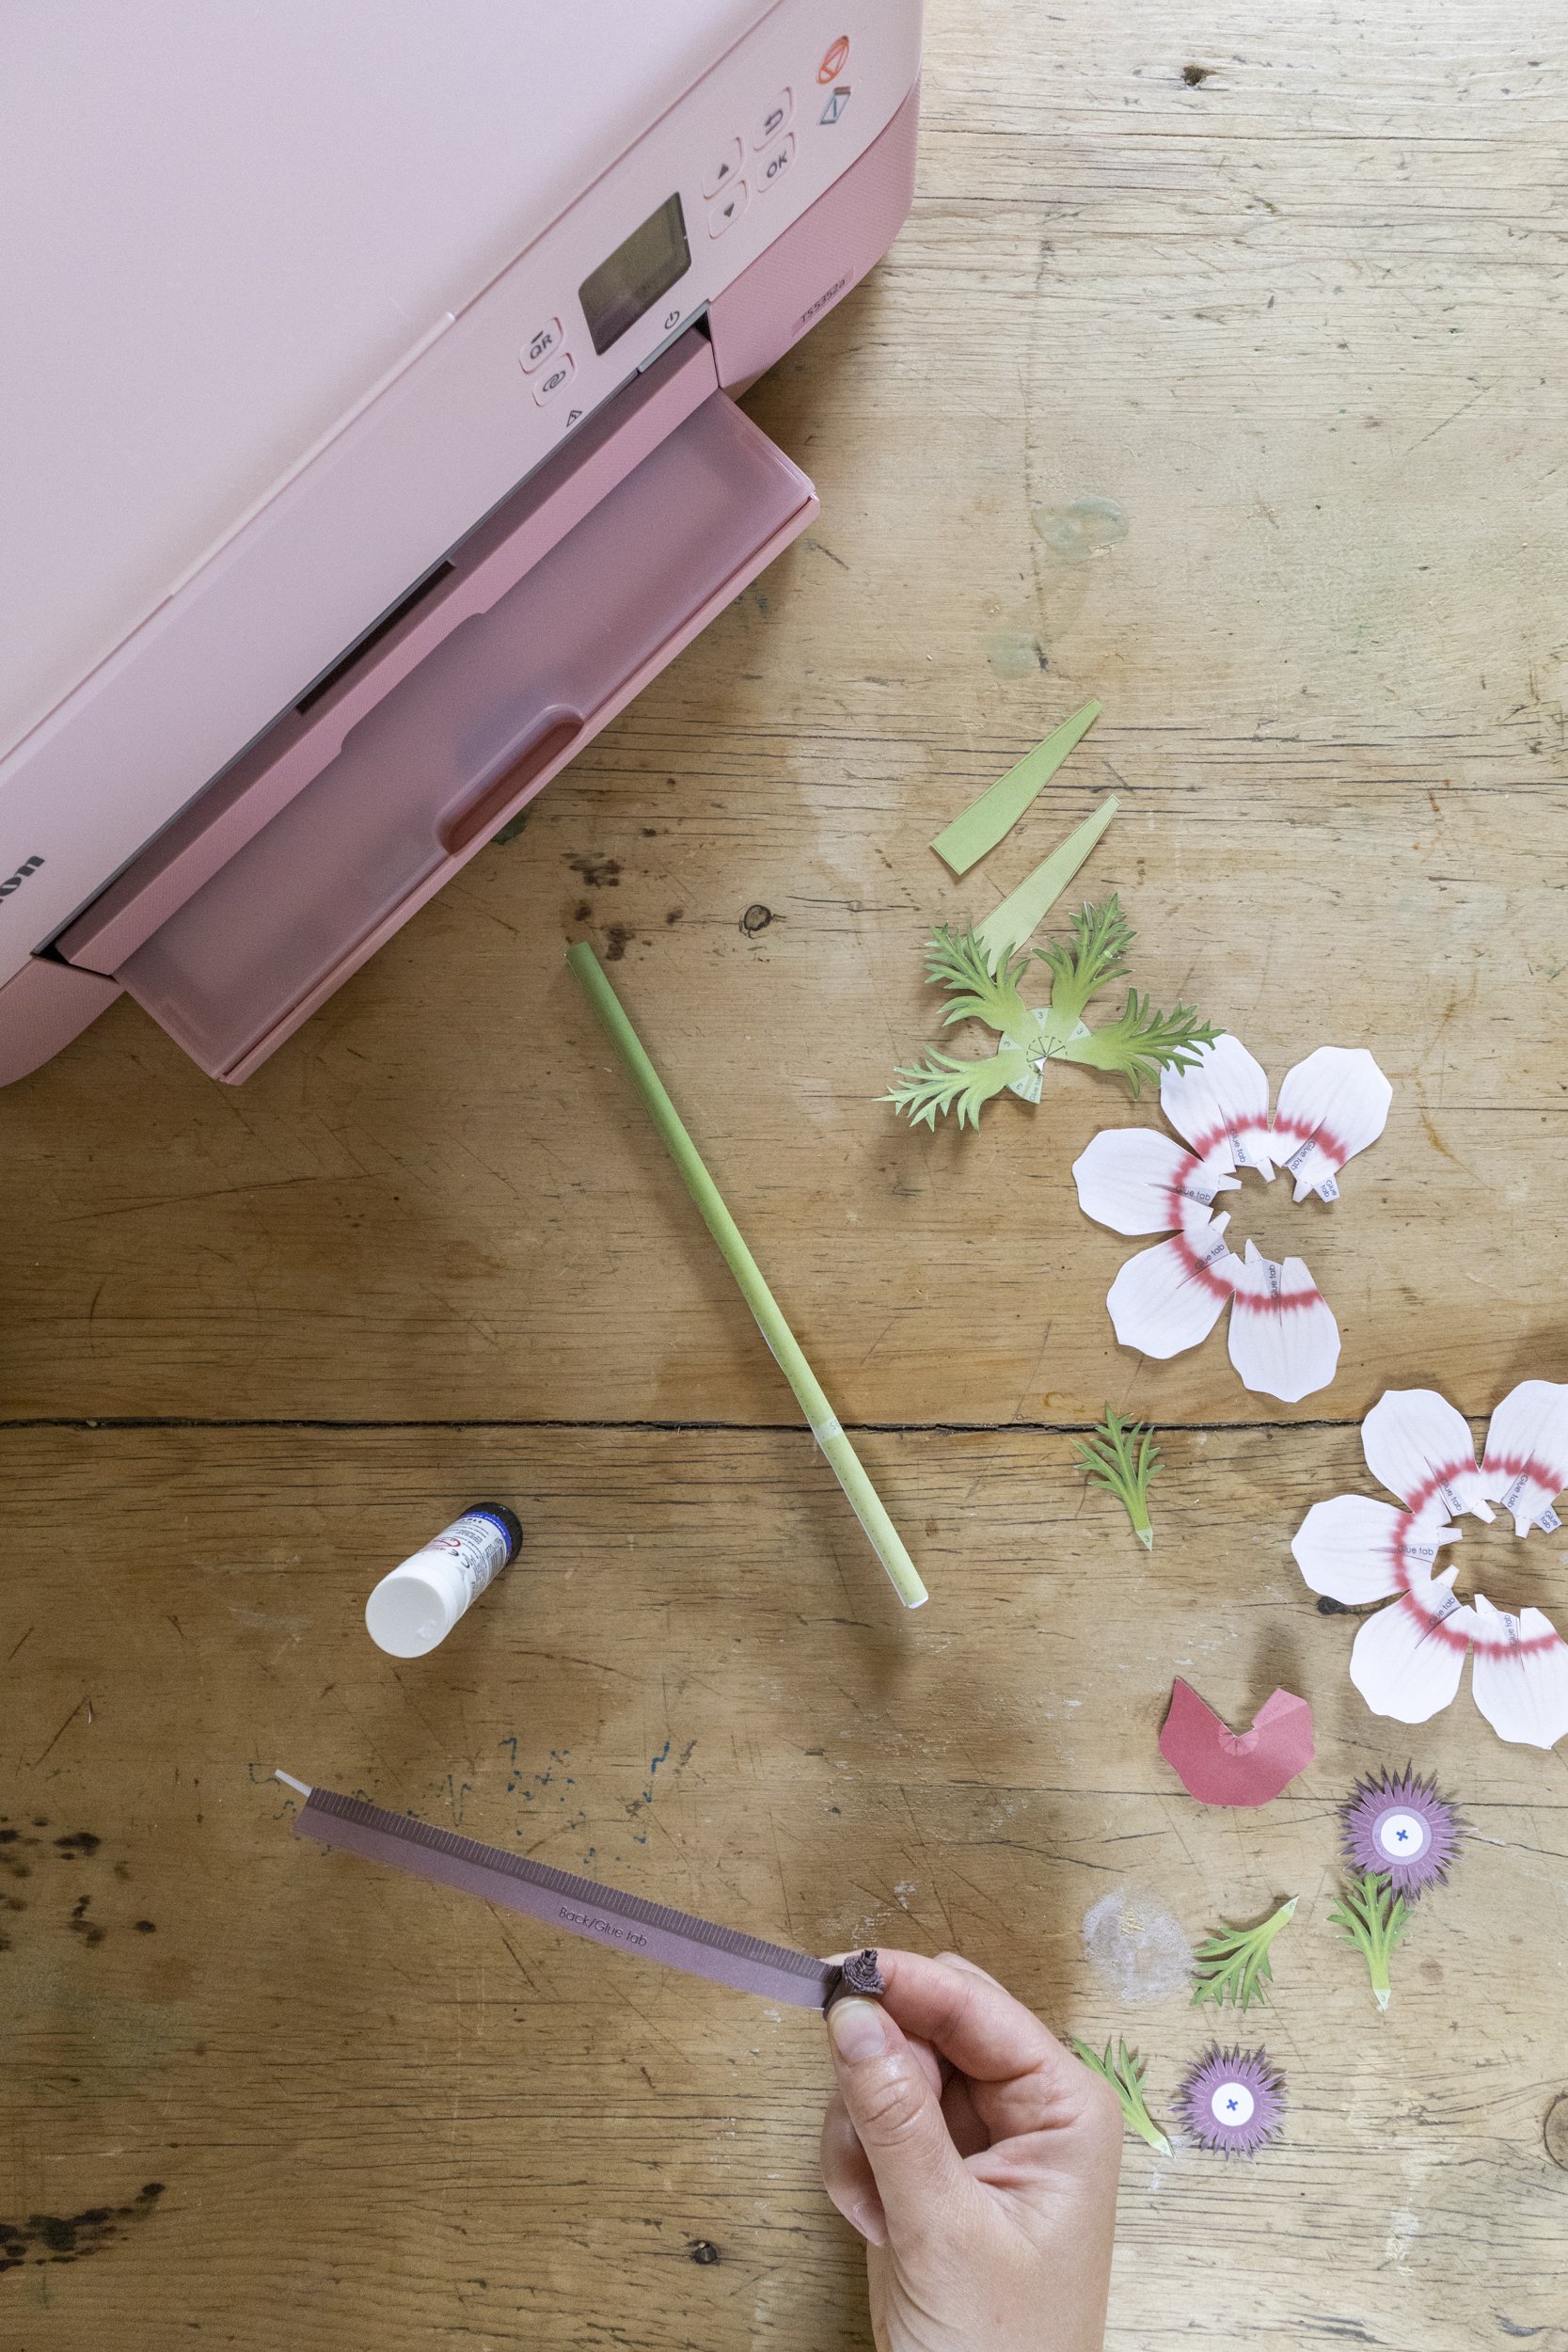
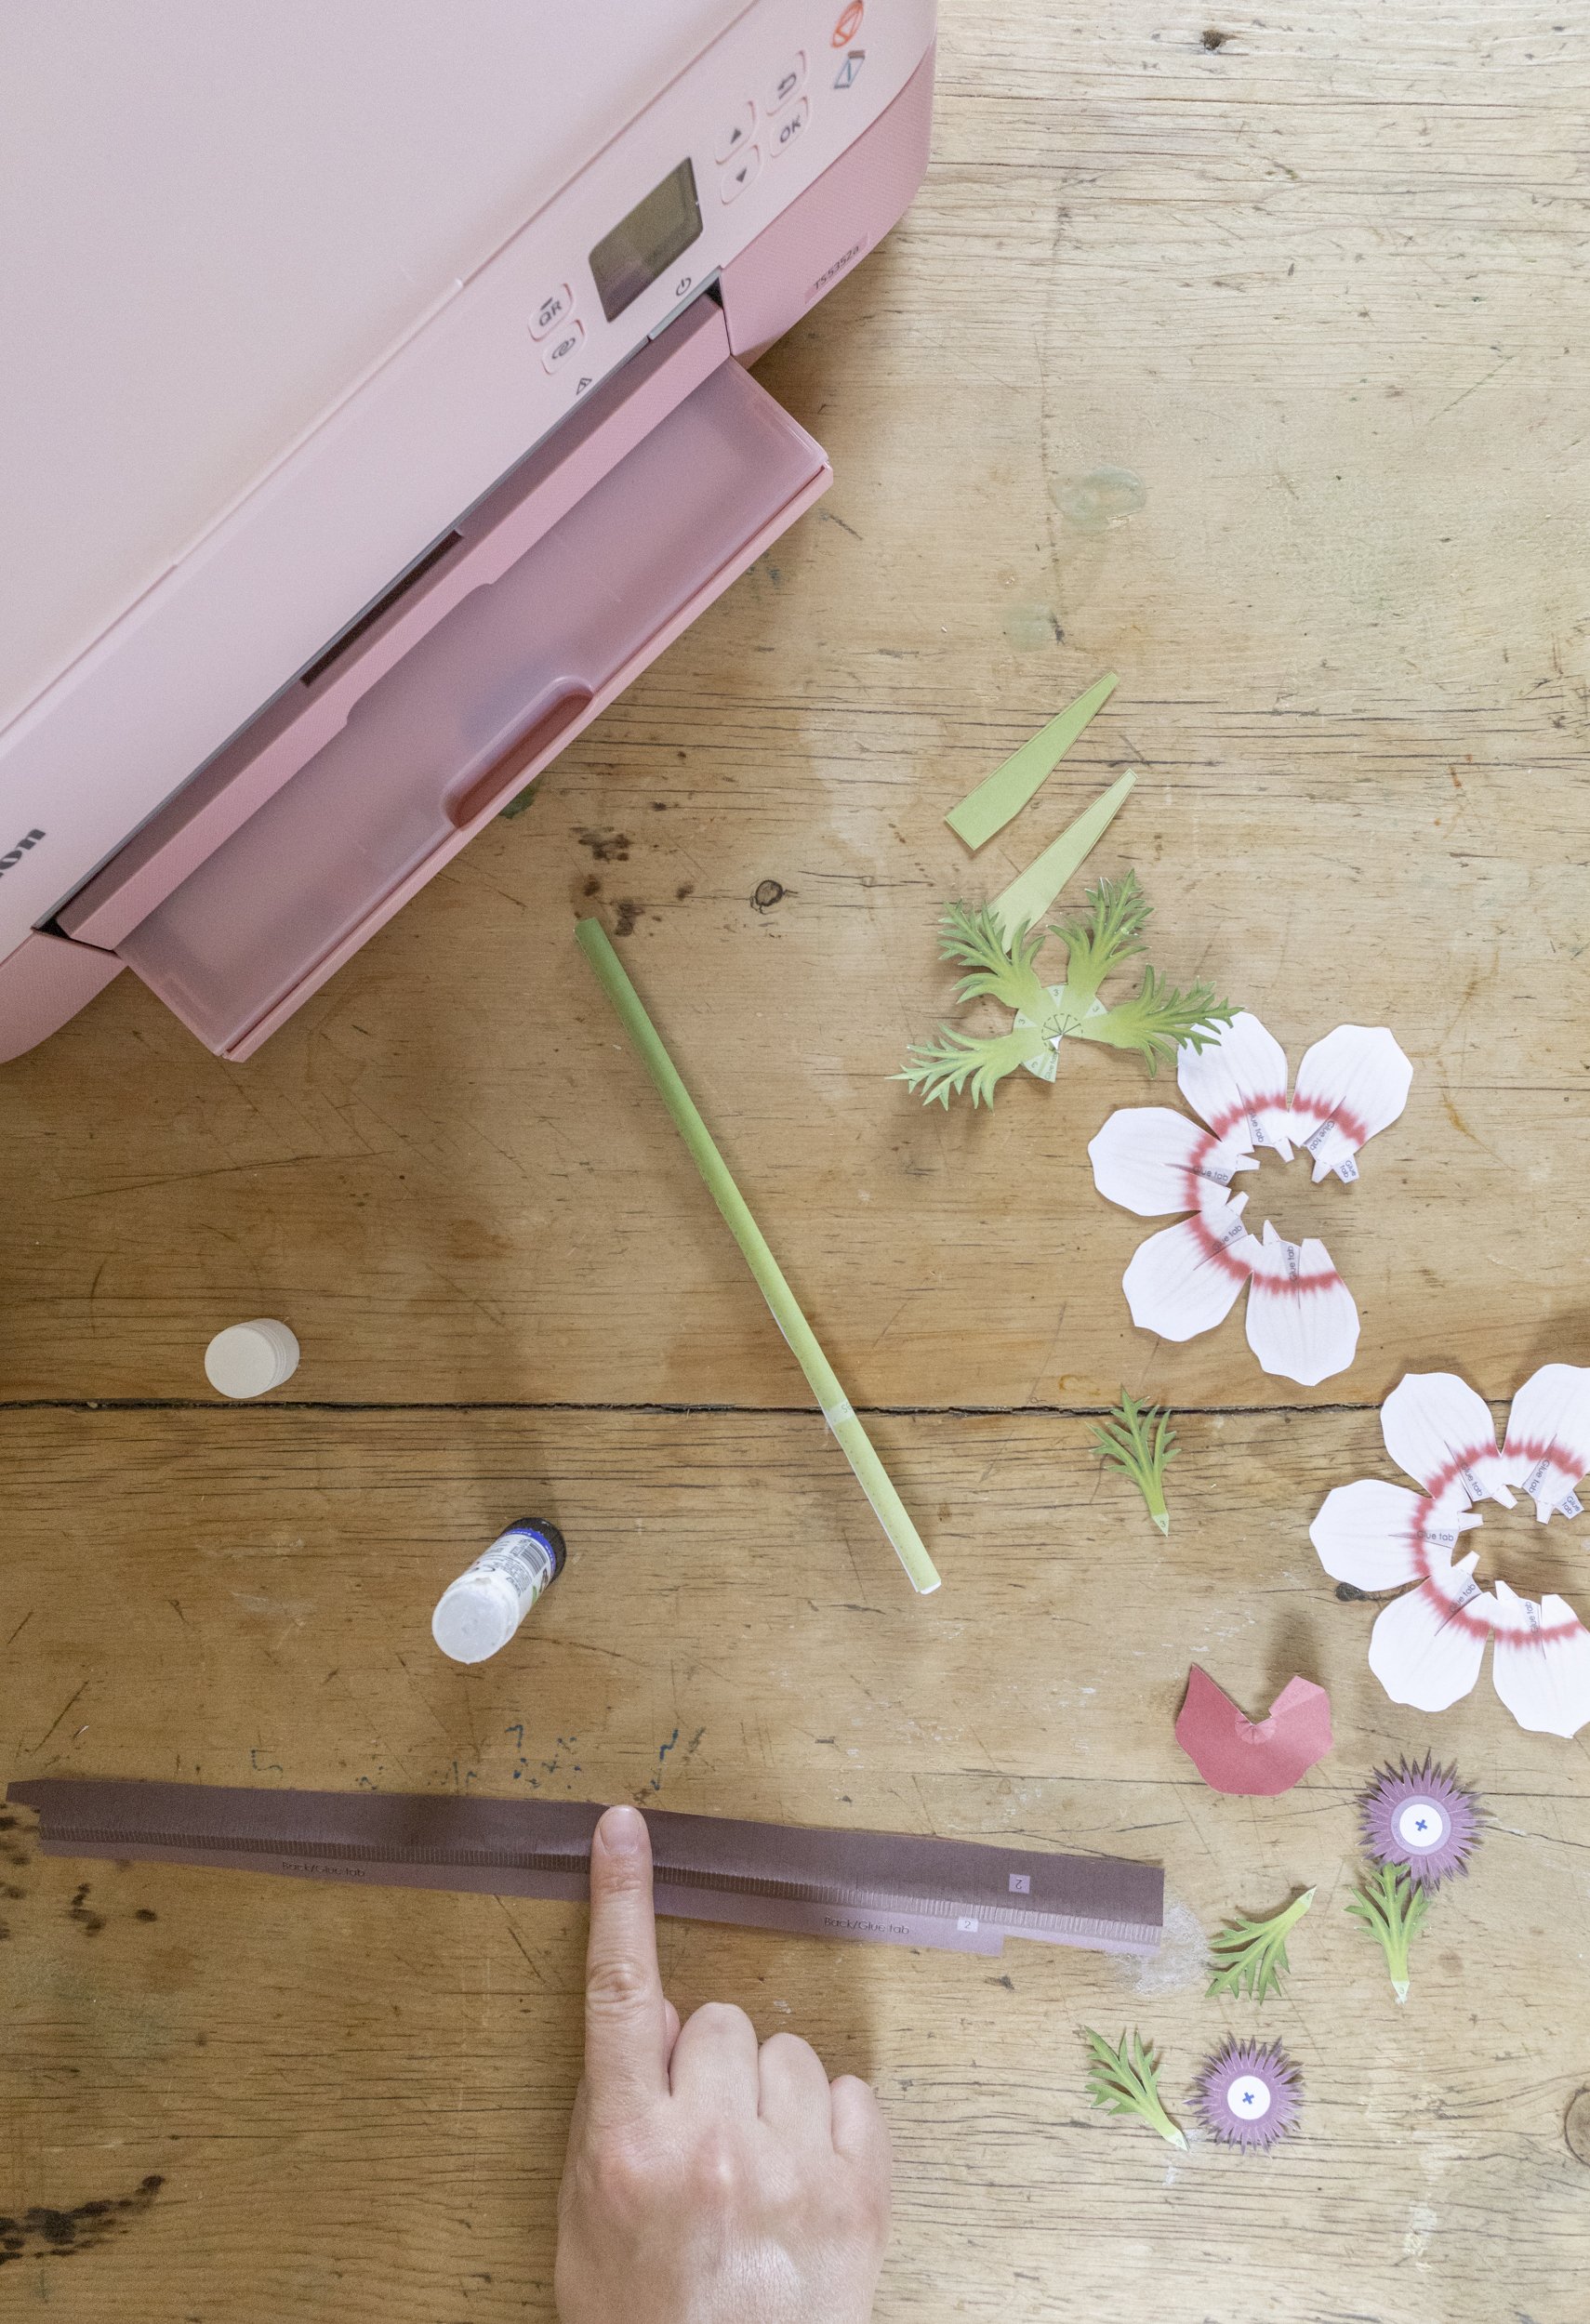
6
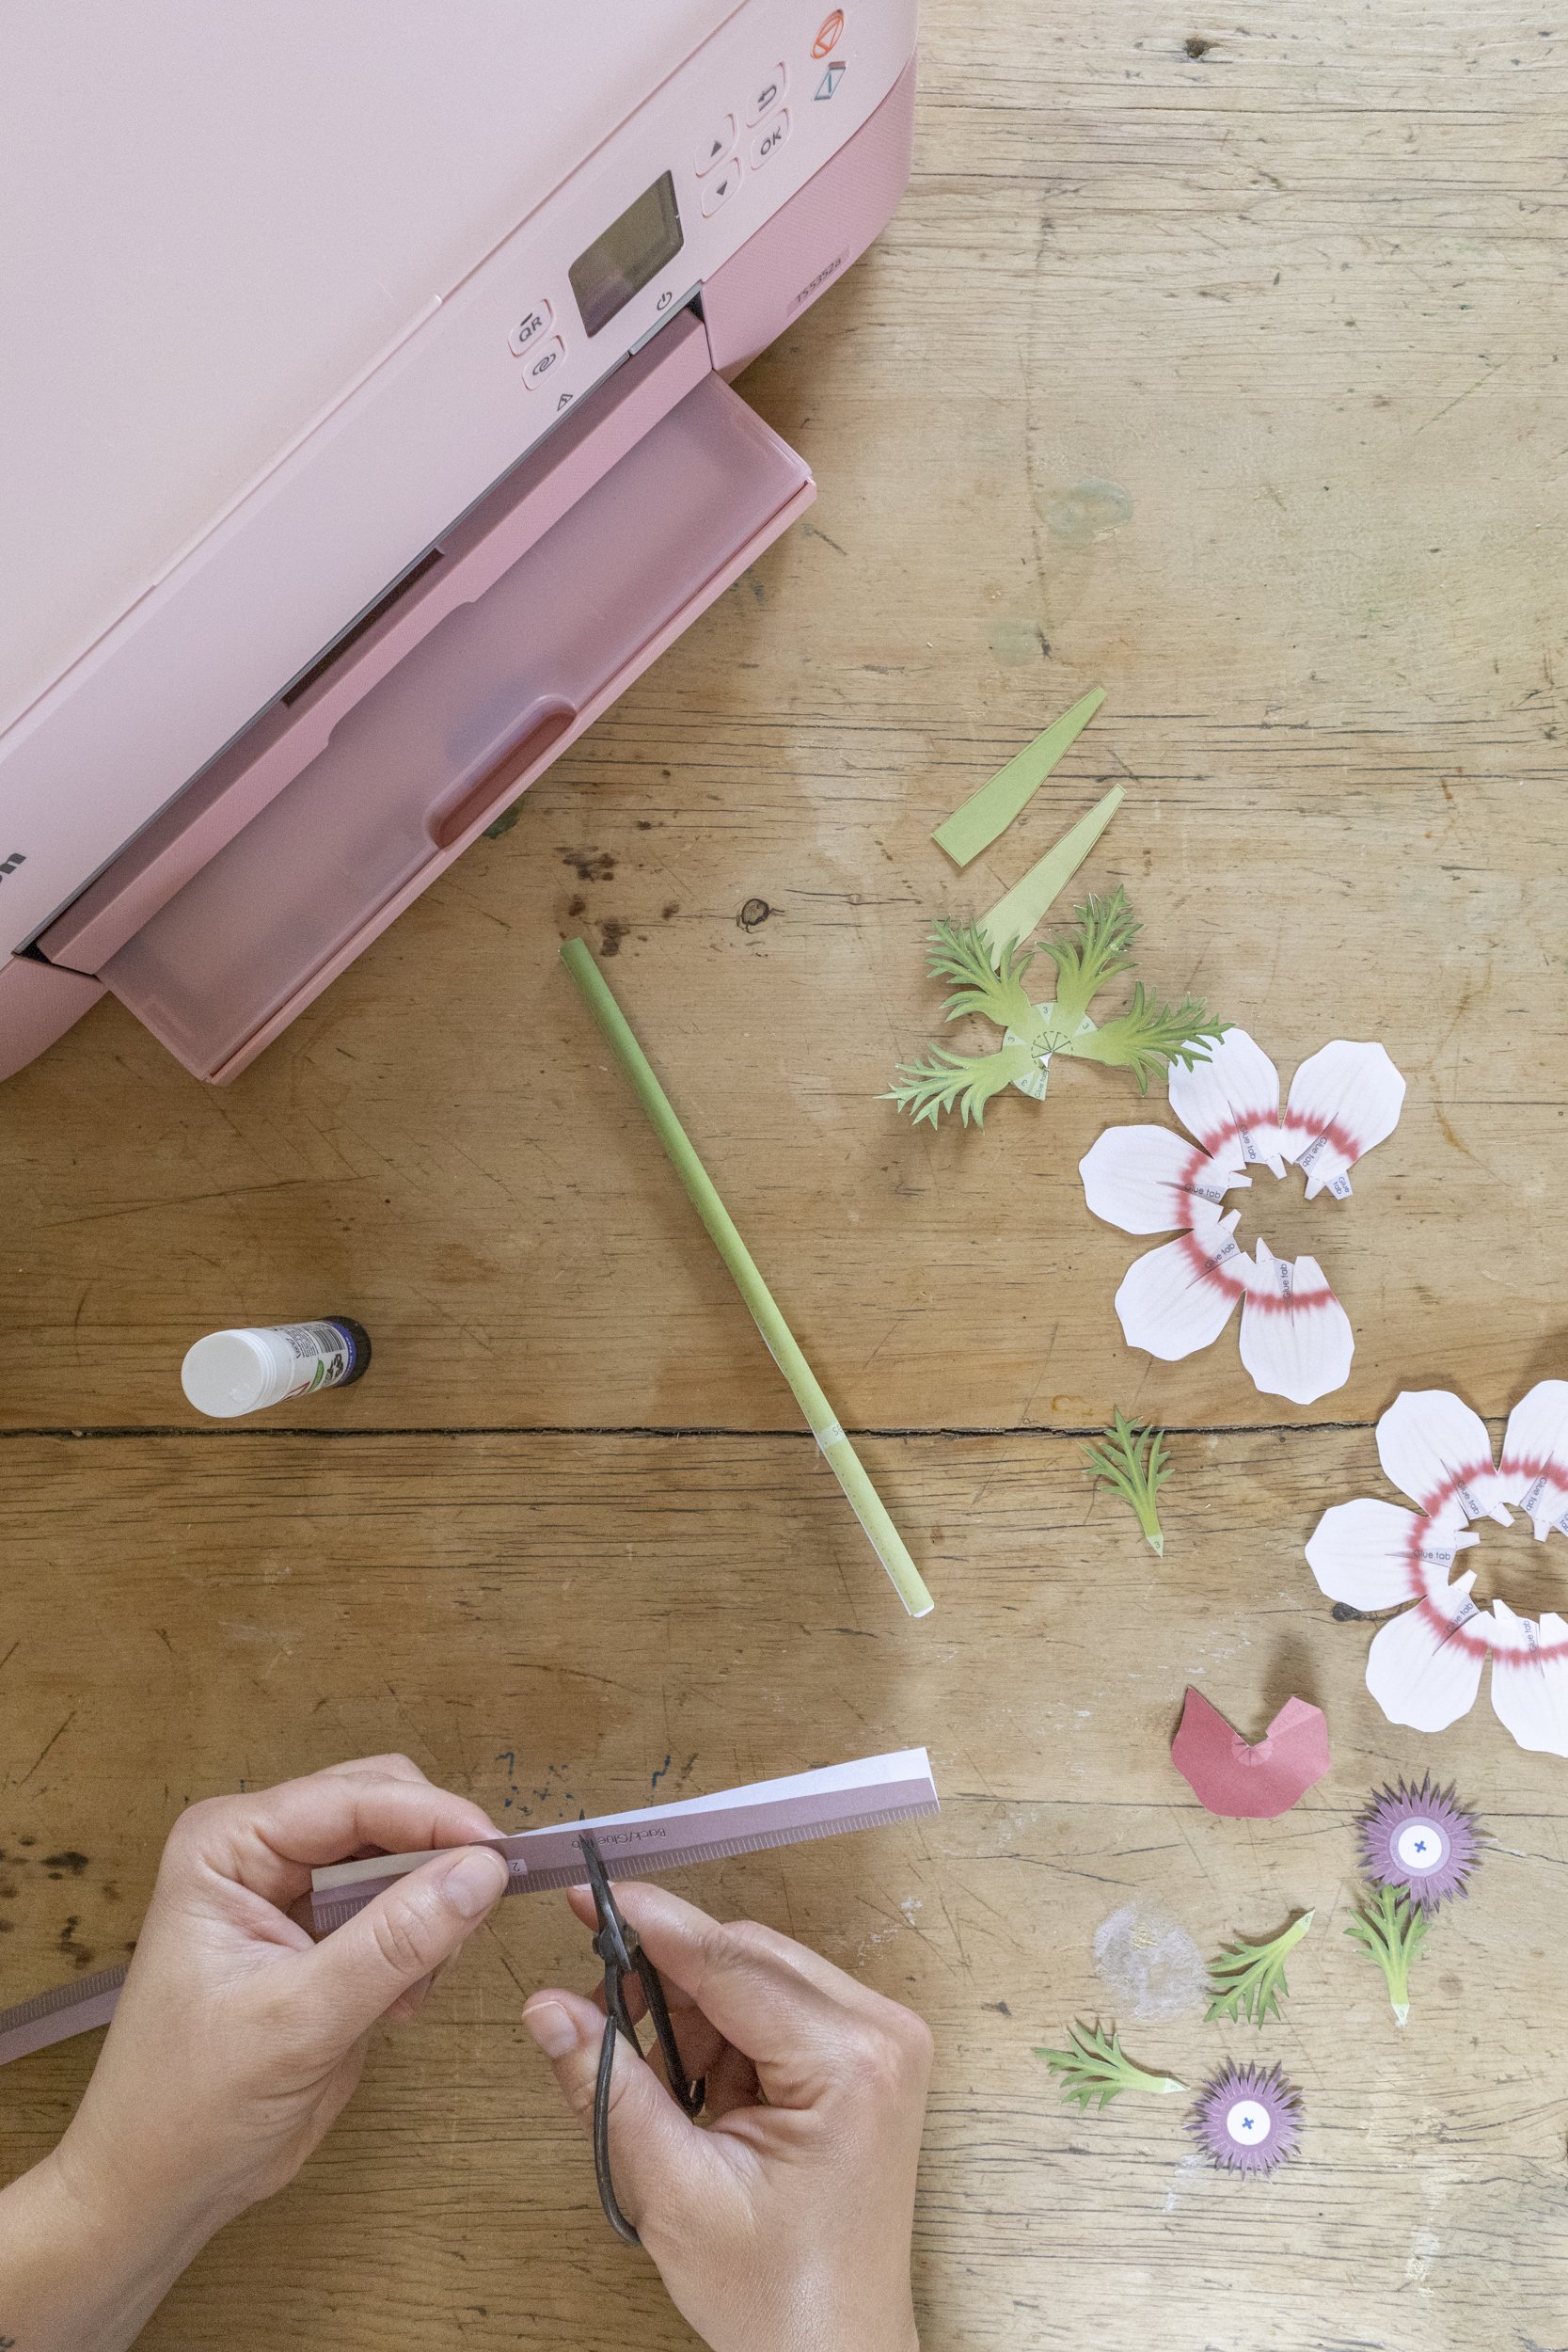
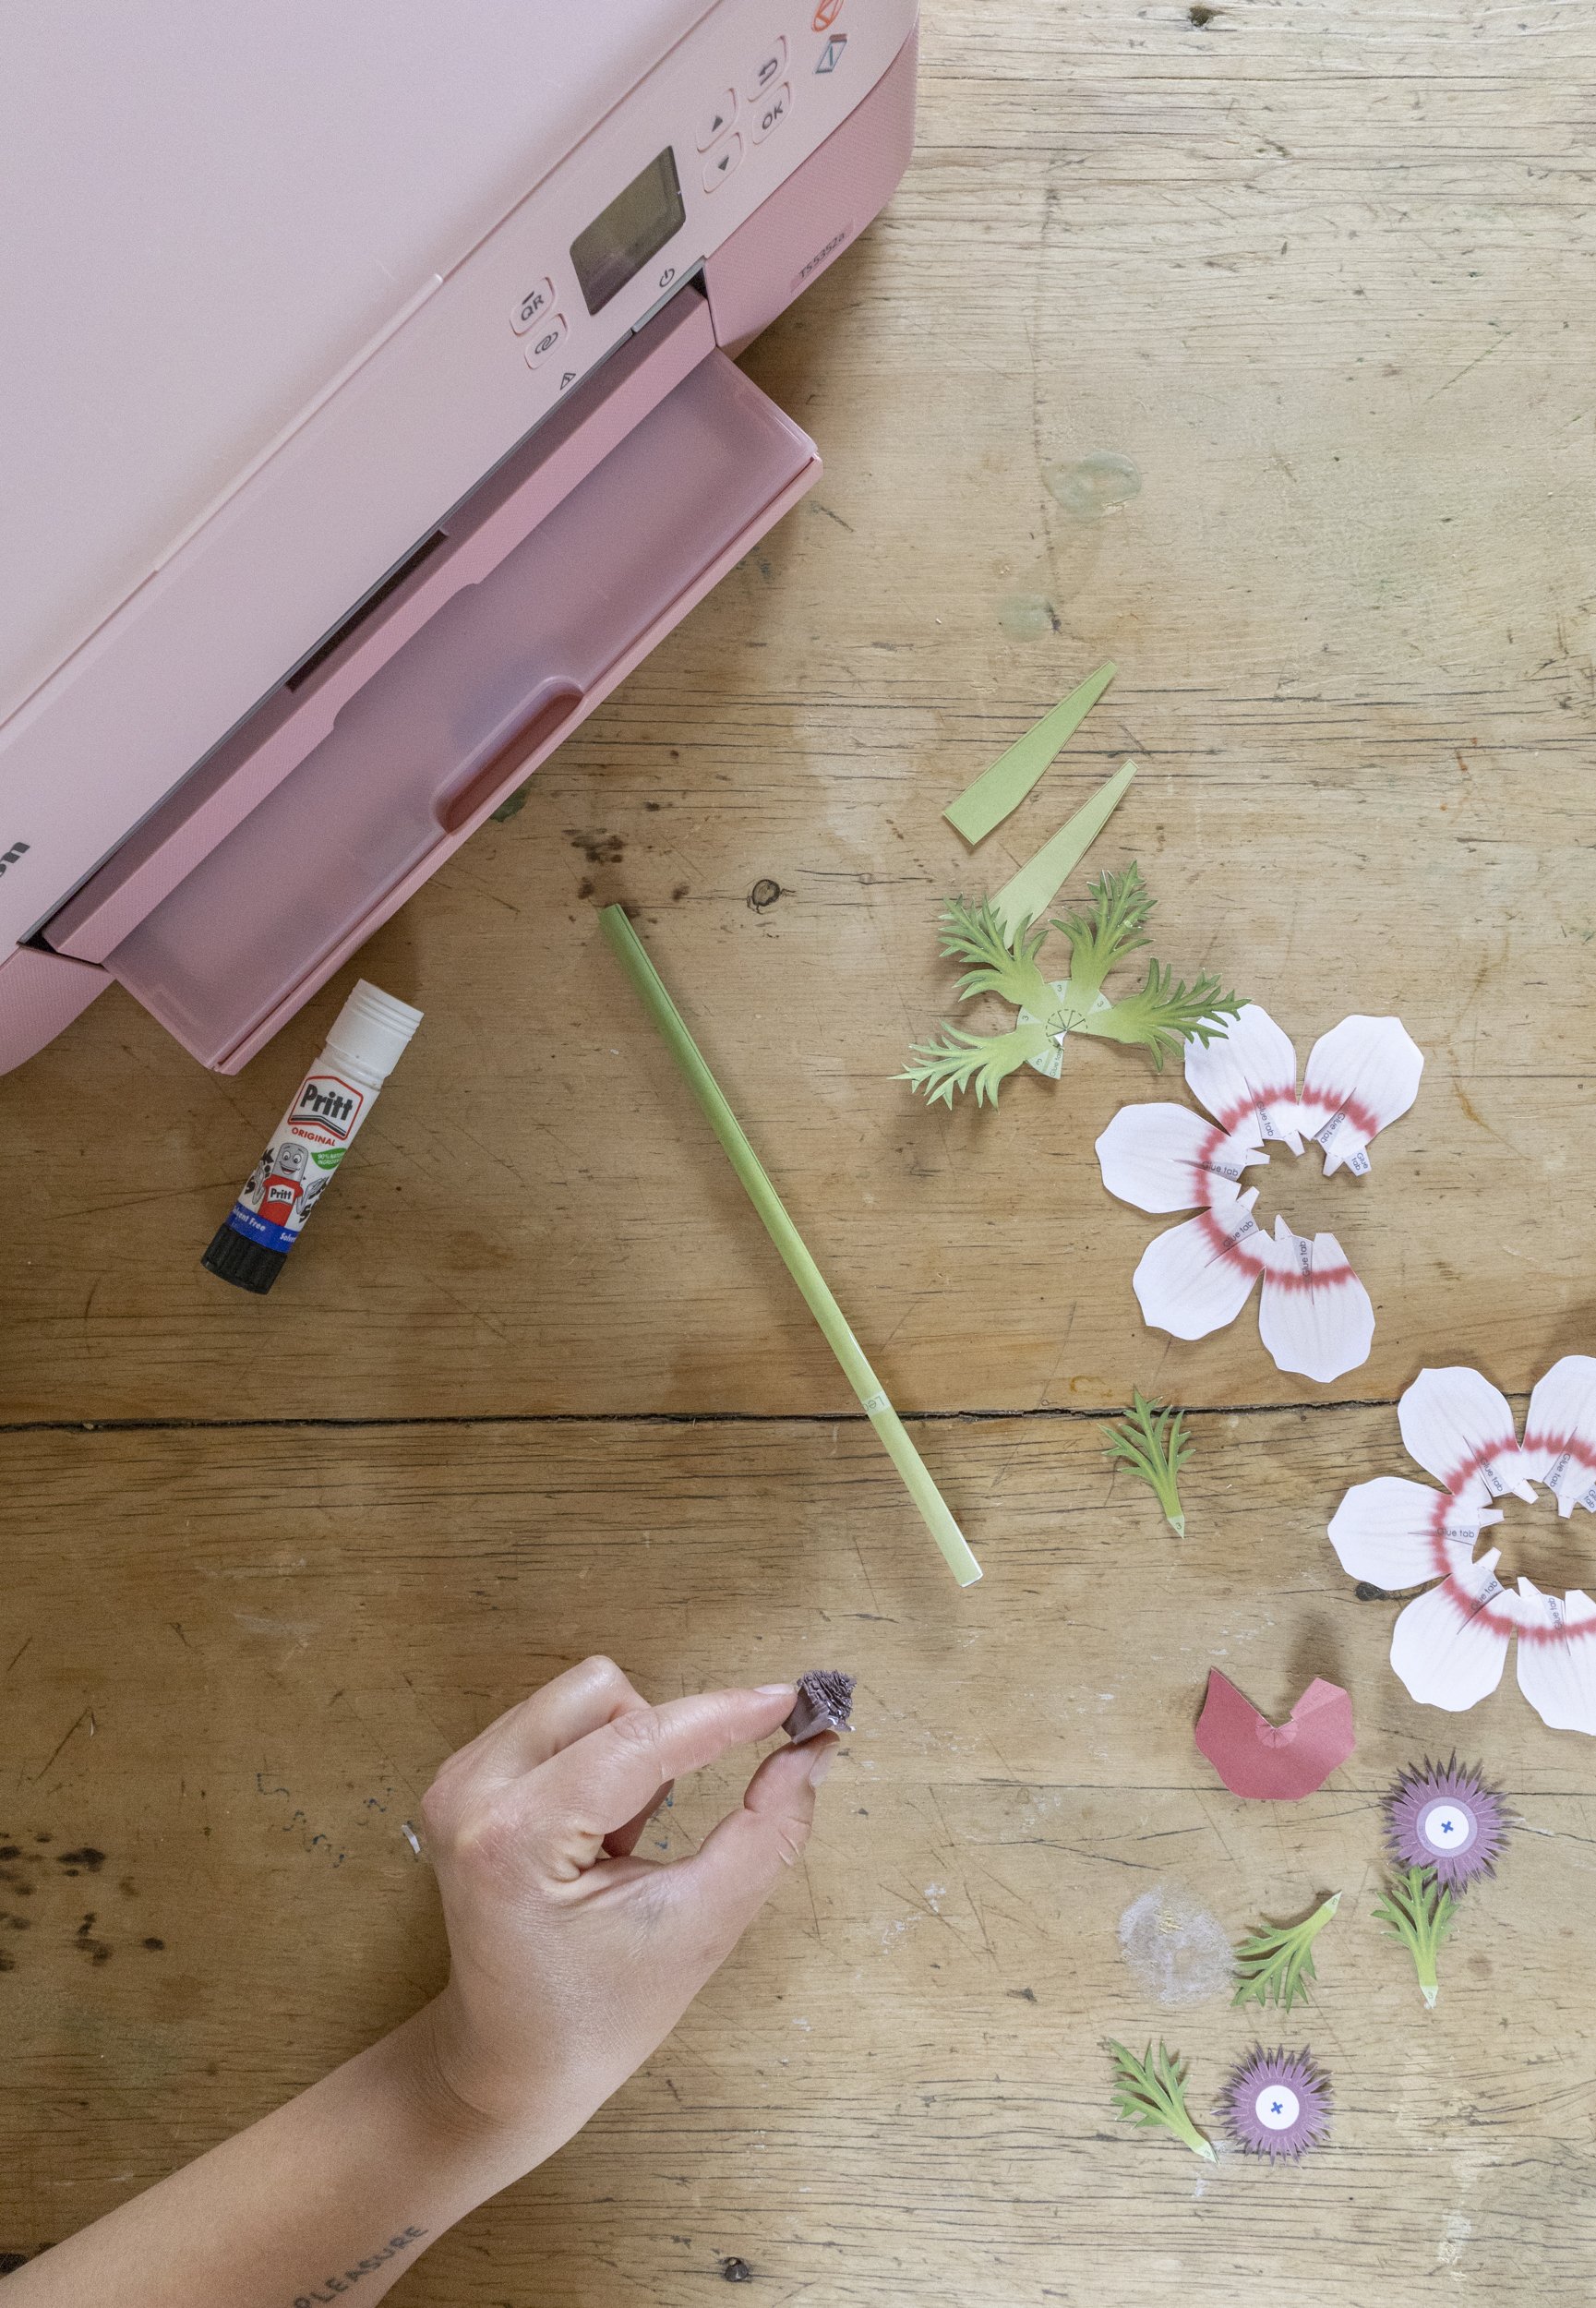
Fold the two Pistil parts in half lengthways and attach the 2 pieces together (put the ‘1’ on the ‘1'). Then ‘fray’ the paper by cutting down the lines along the full length.
Tightly roll the Pistils up and glue to secure. Fray the edges slightly.
7
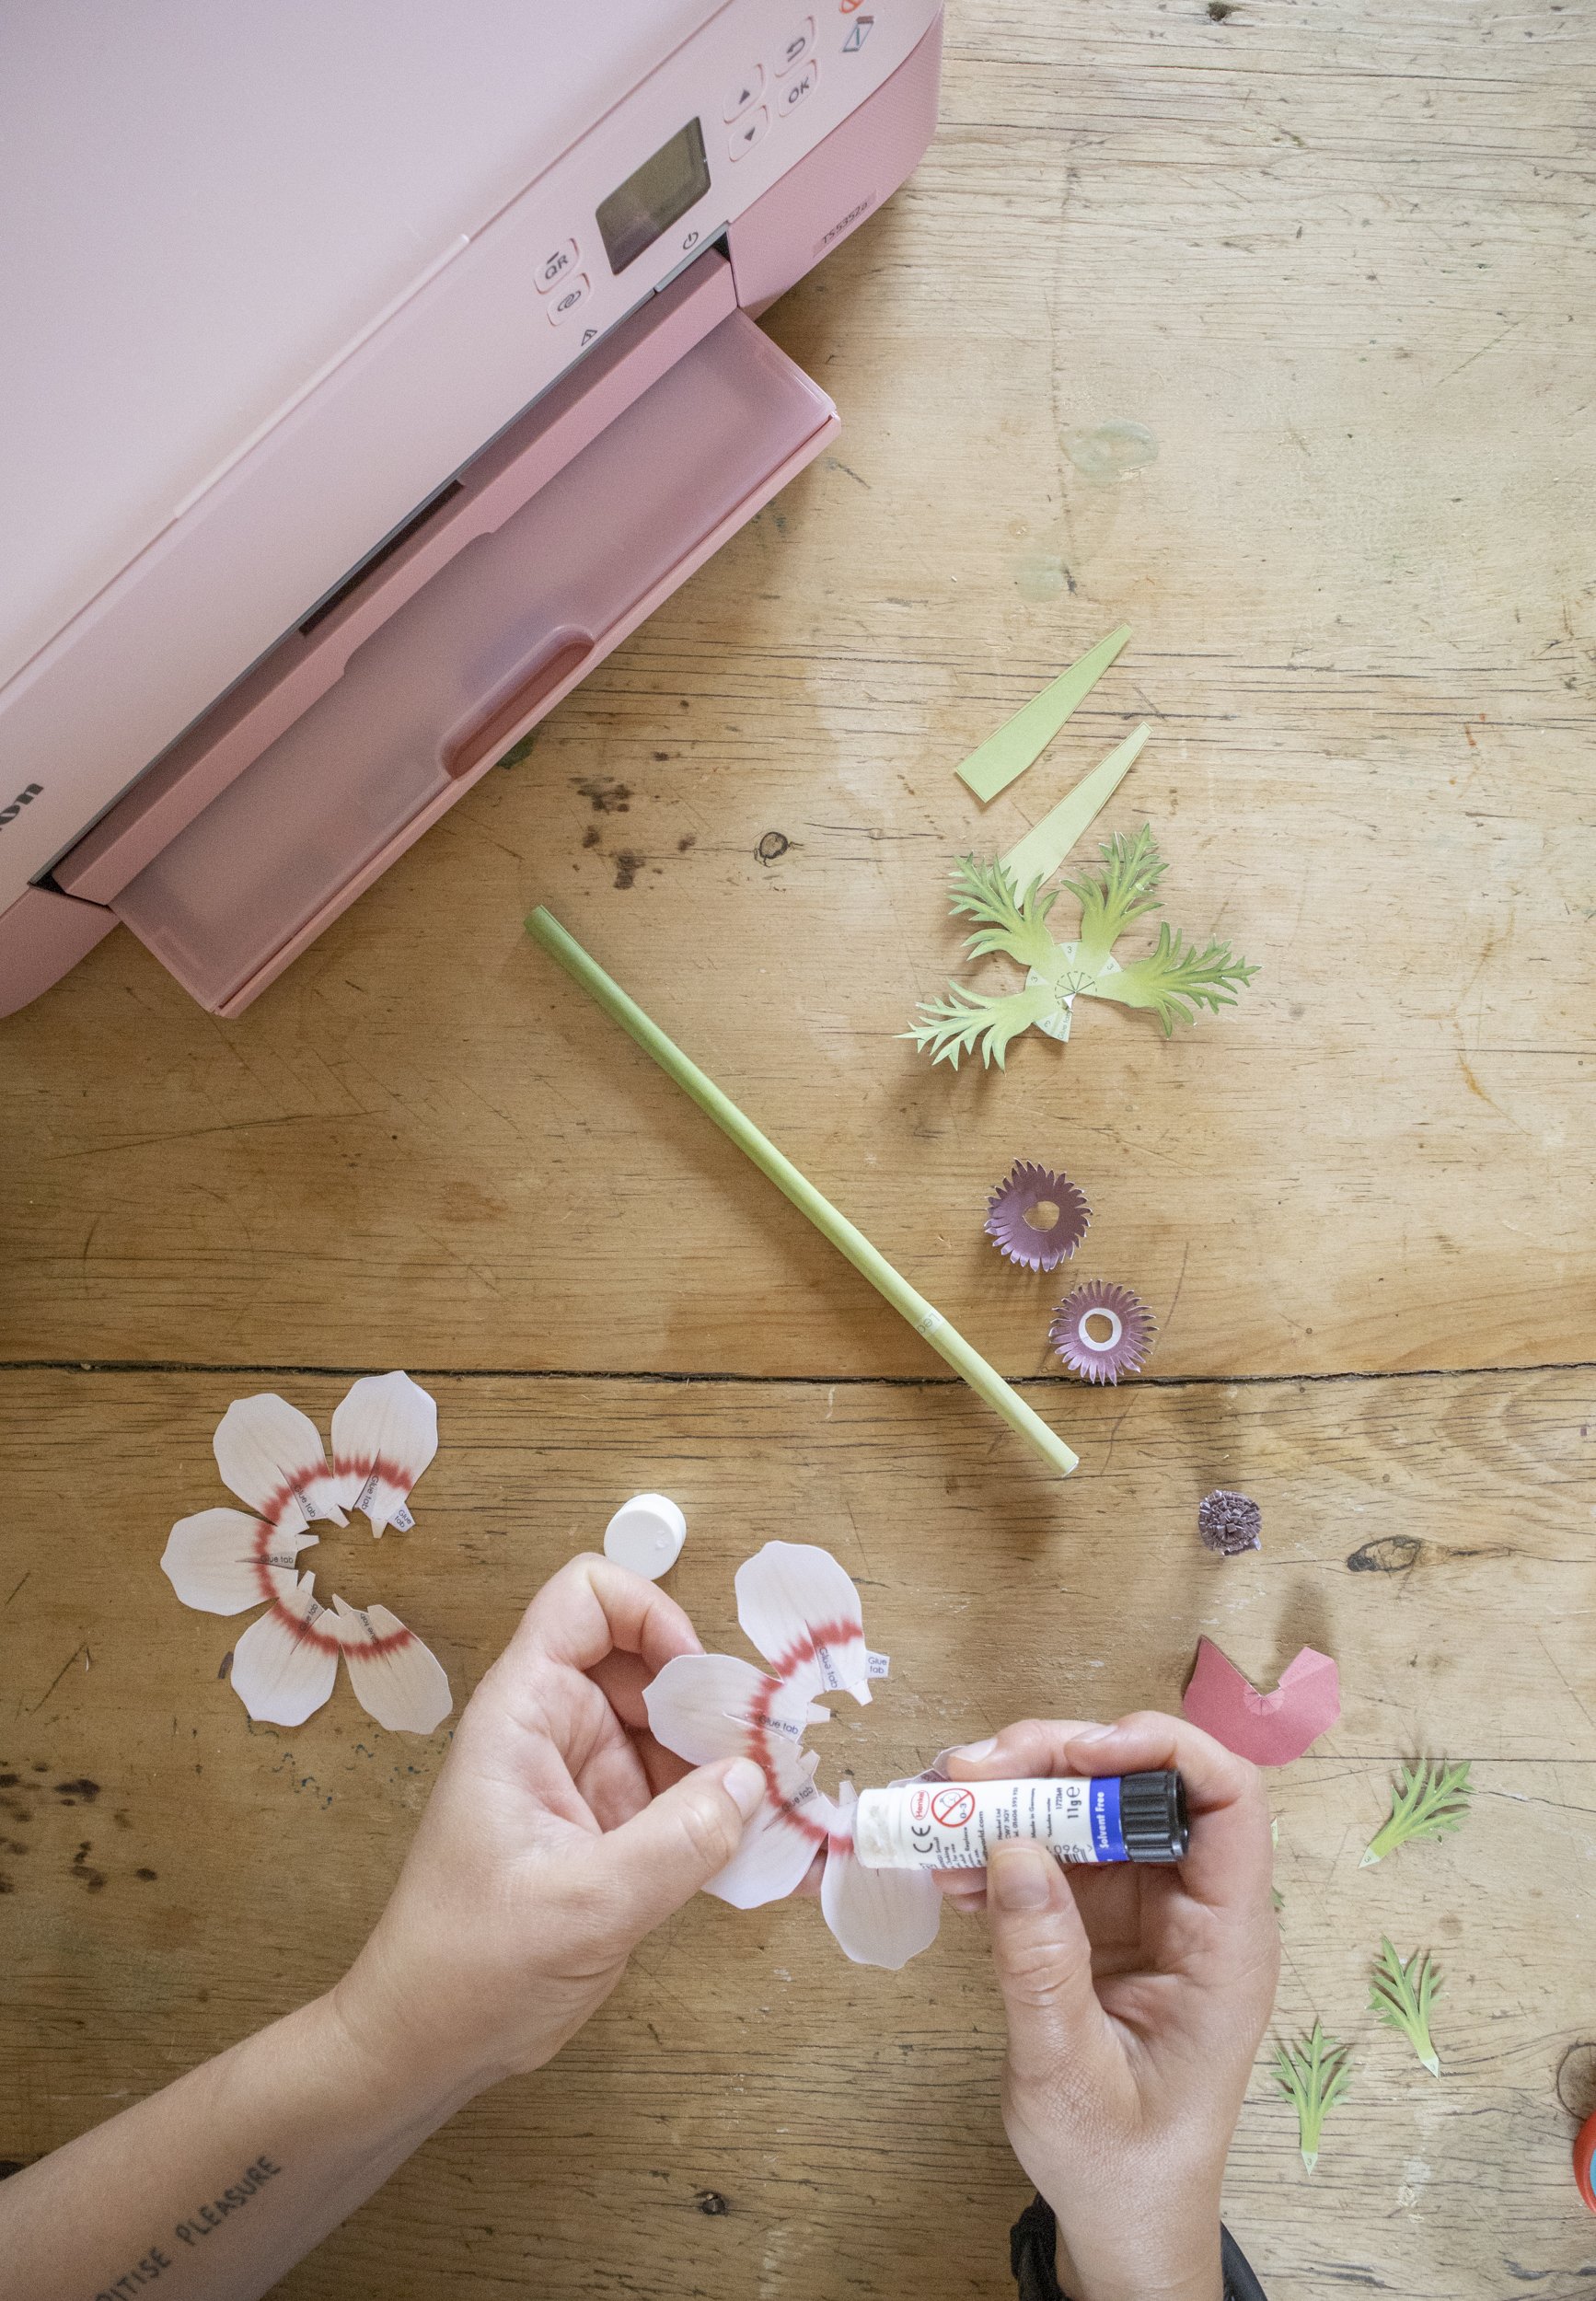
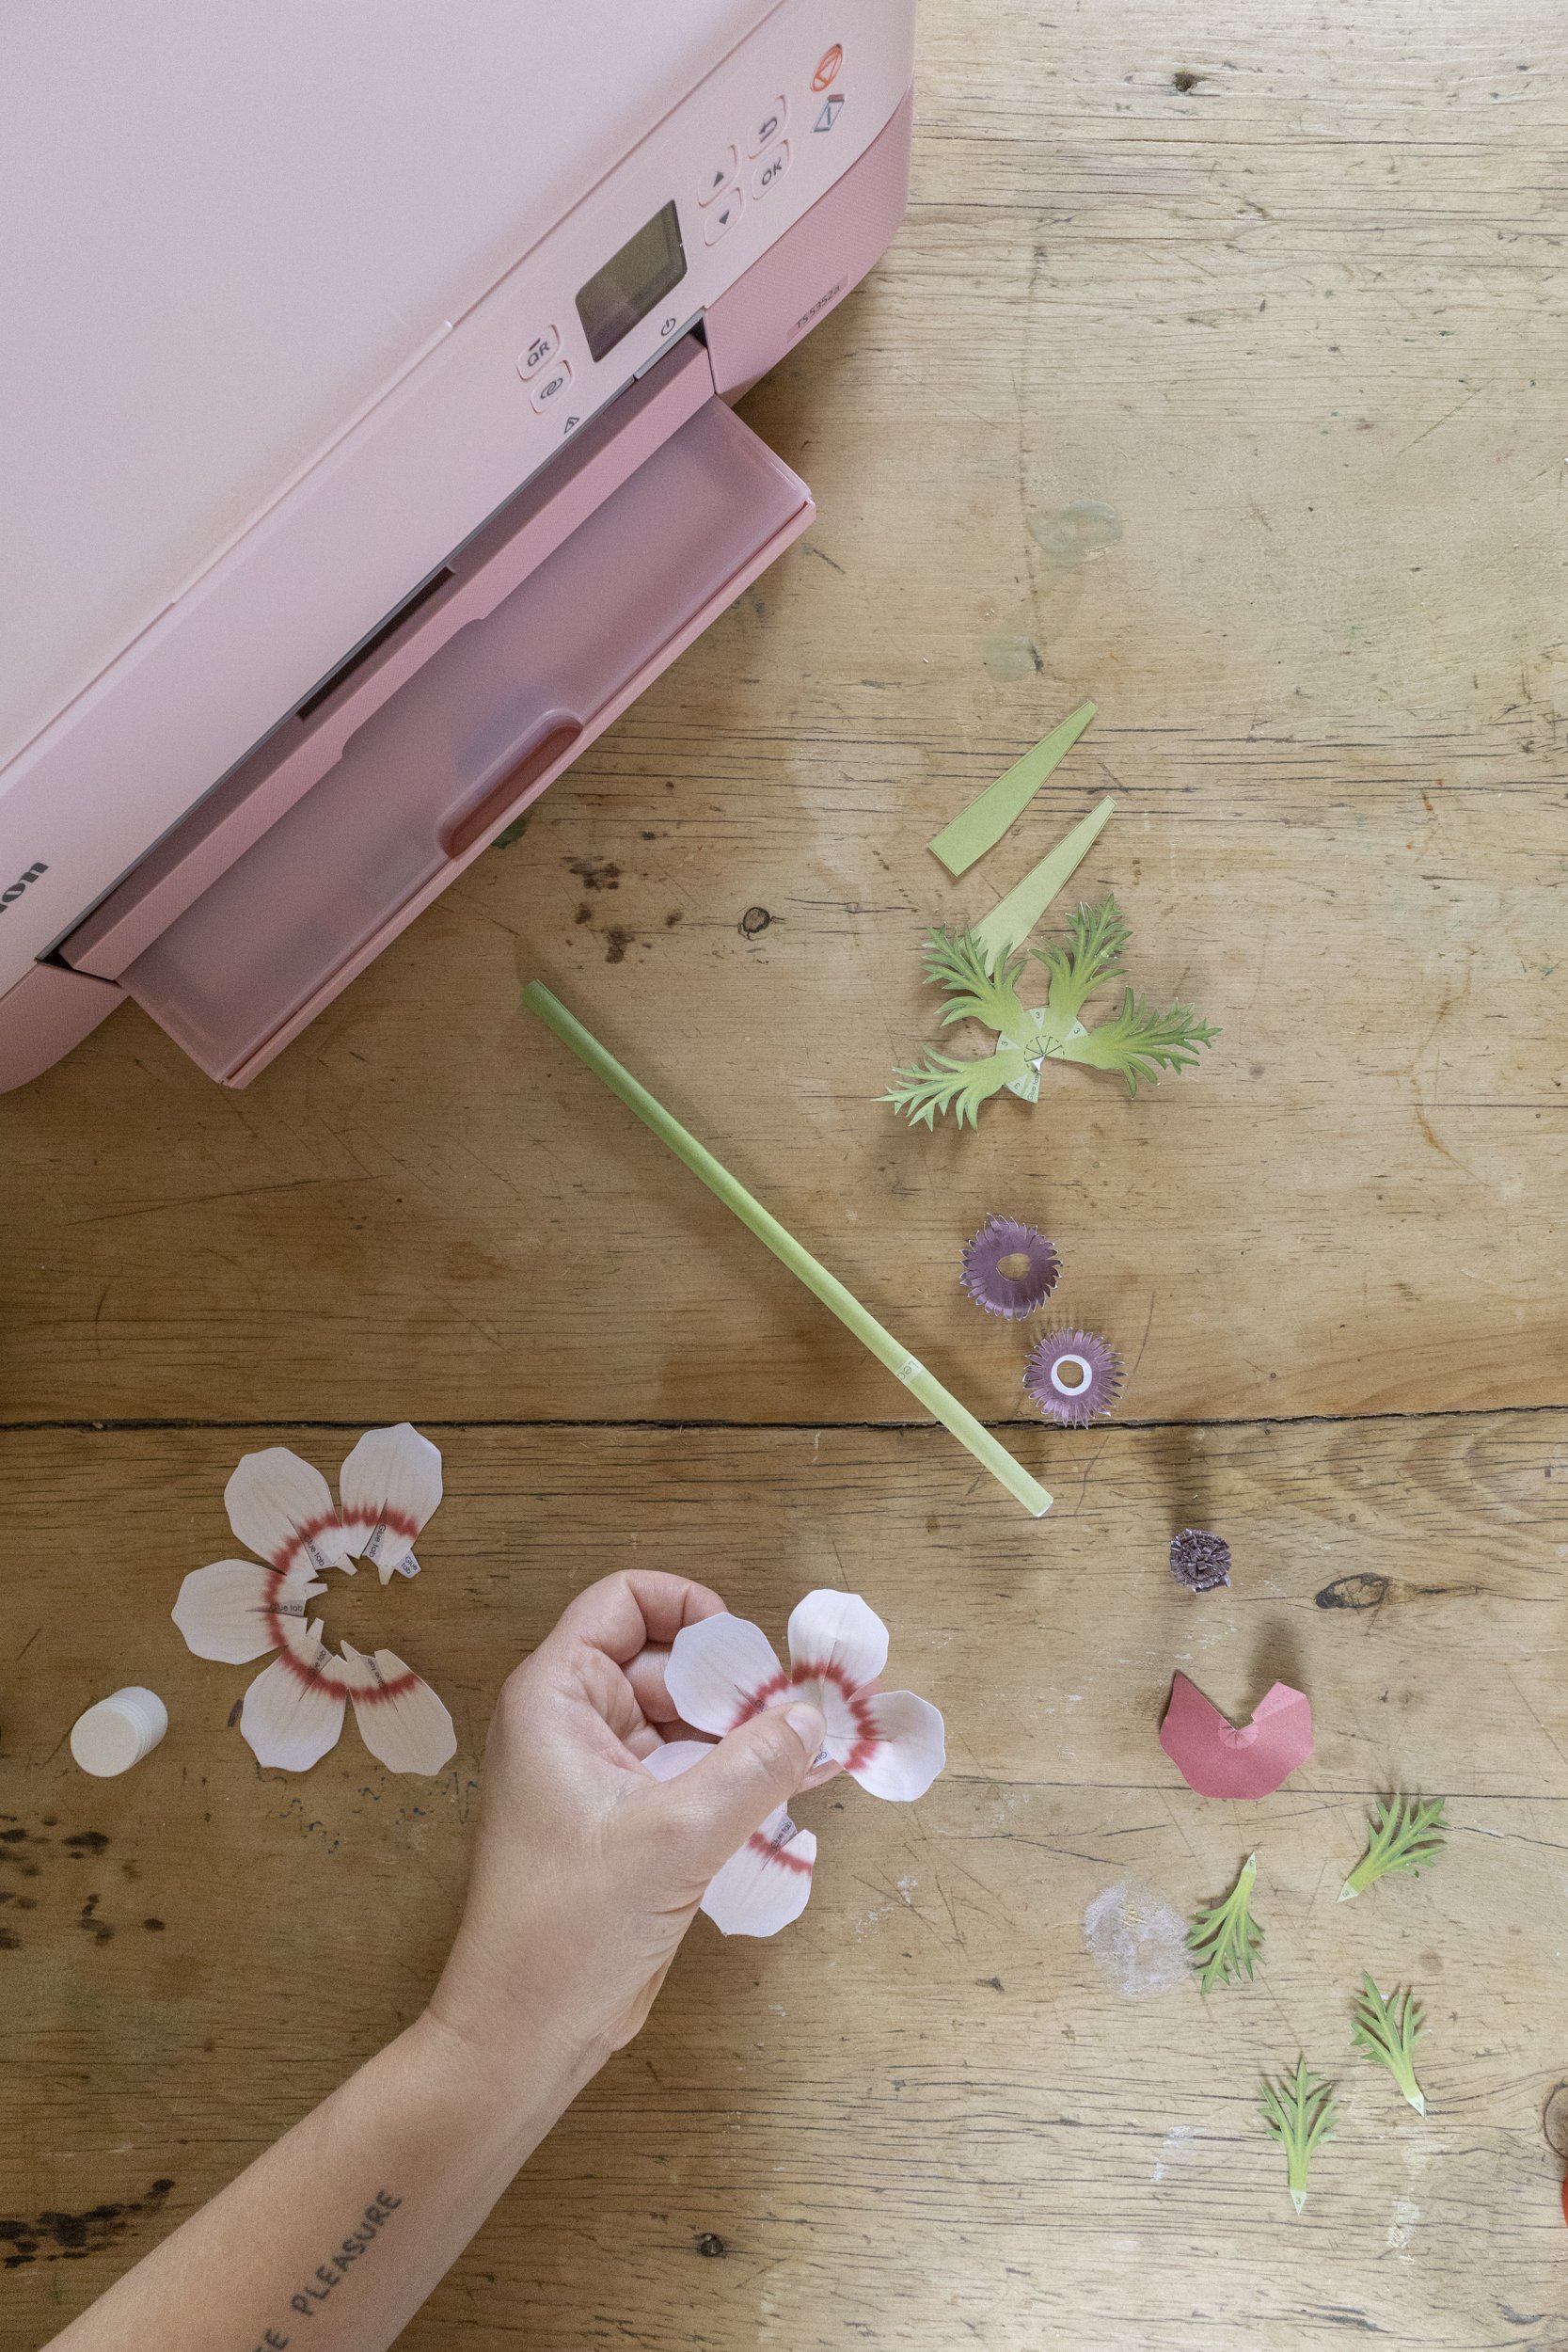
Assemble the Sepal (the main flower part) by glueing the glue tabs and pulling the petals together to curve the paper. You might need to hold these in place whilst the prit stick dries.

8
Bend the ends of the 2 Stamen pieces, one curled inward and one curled outward.
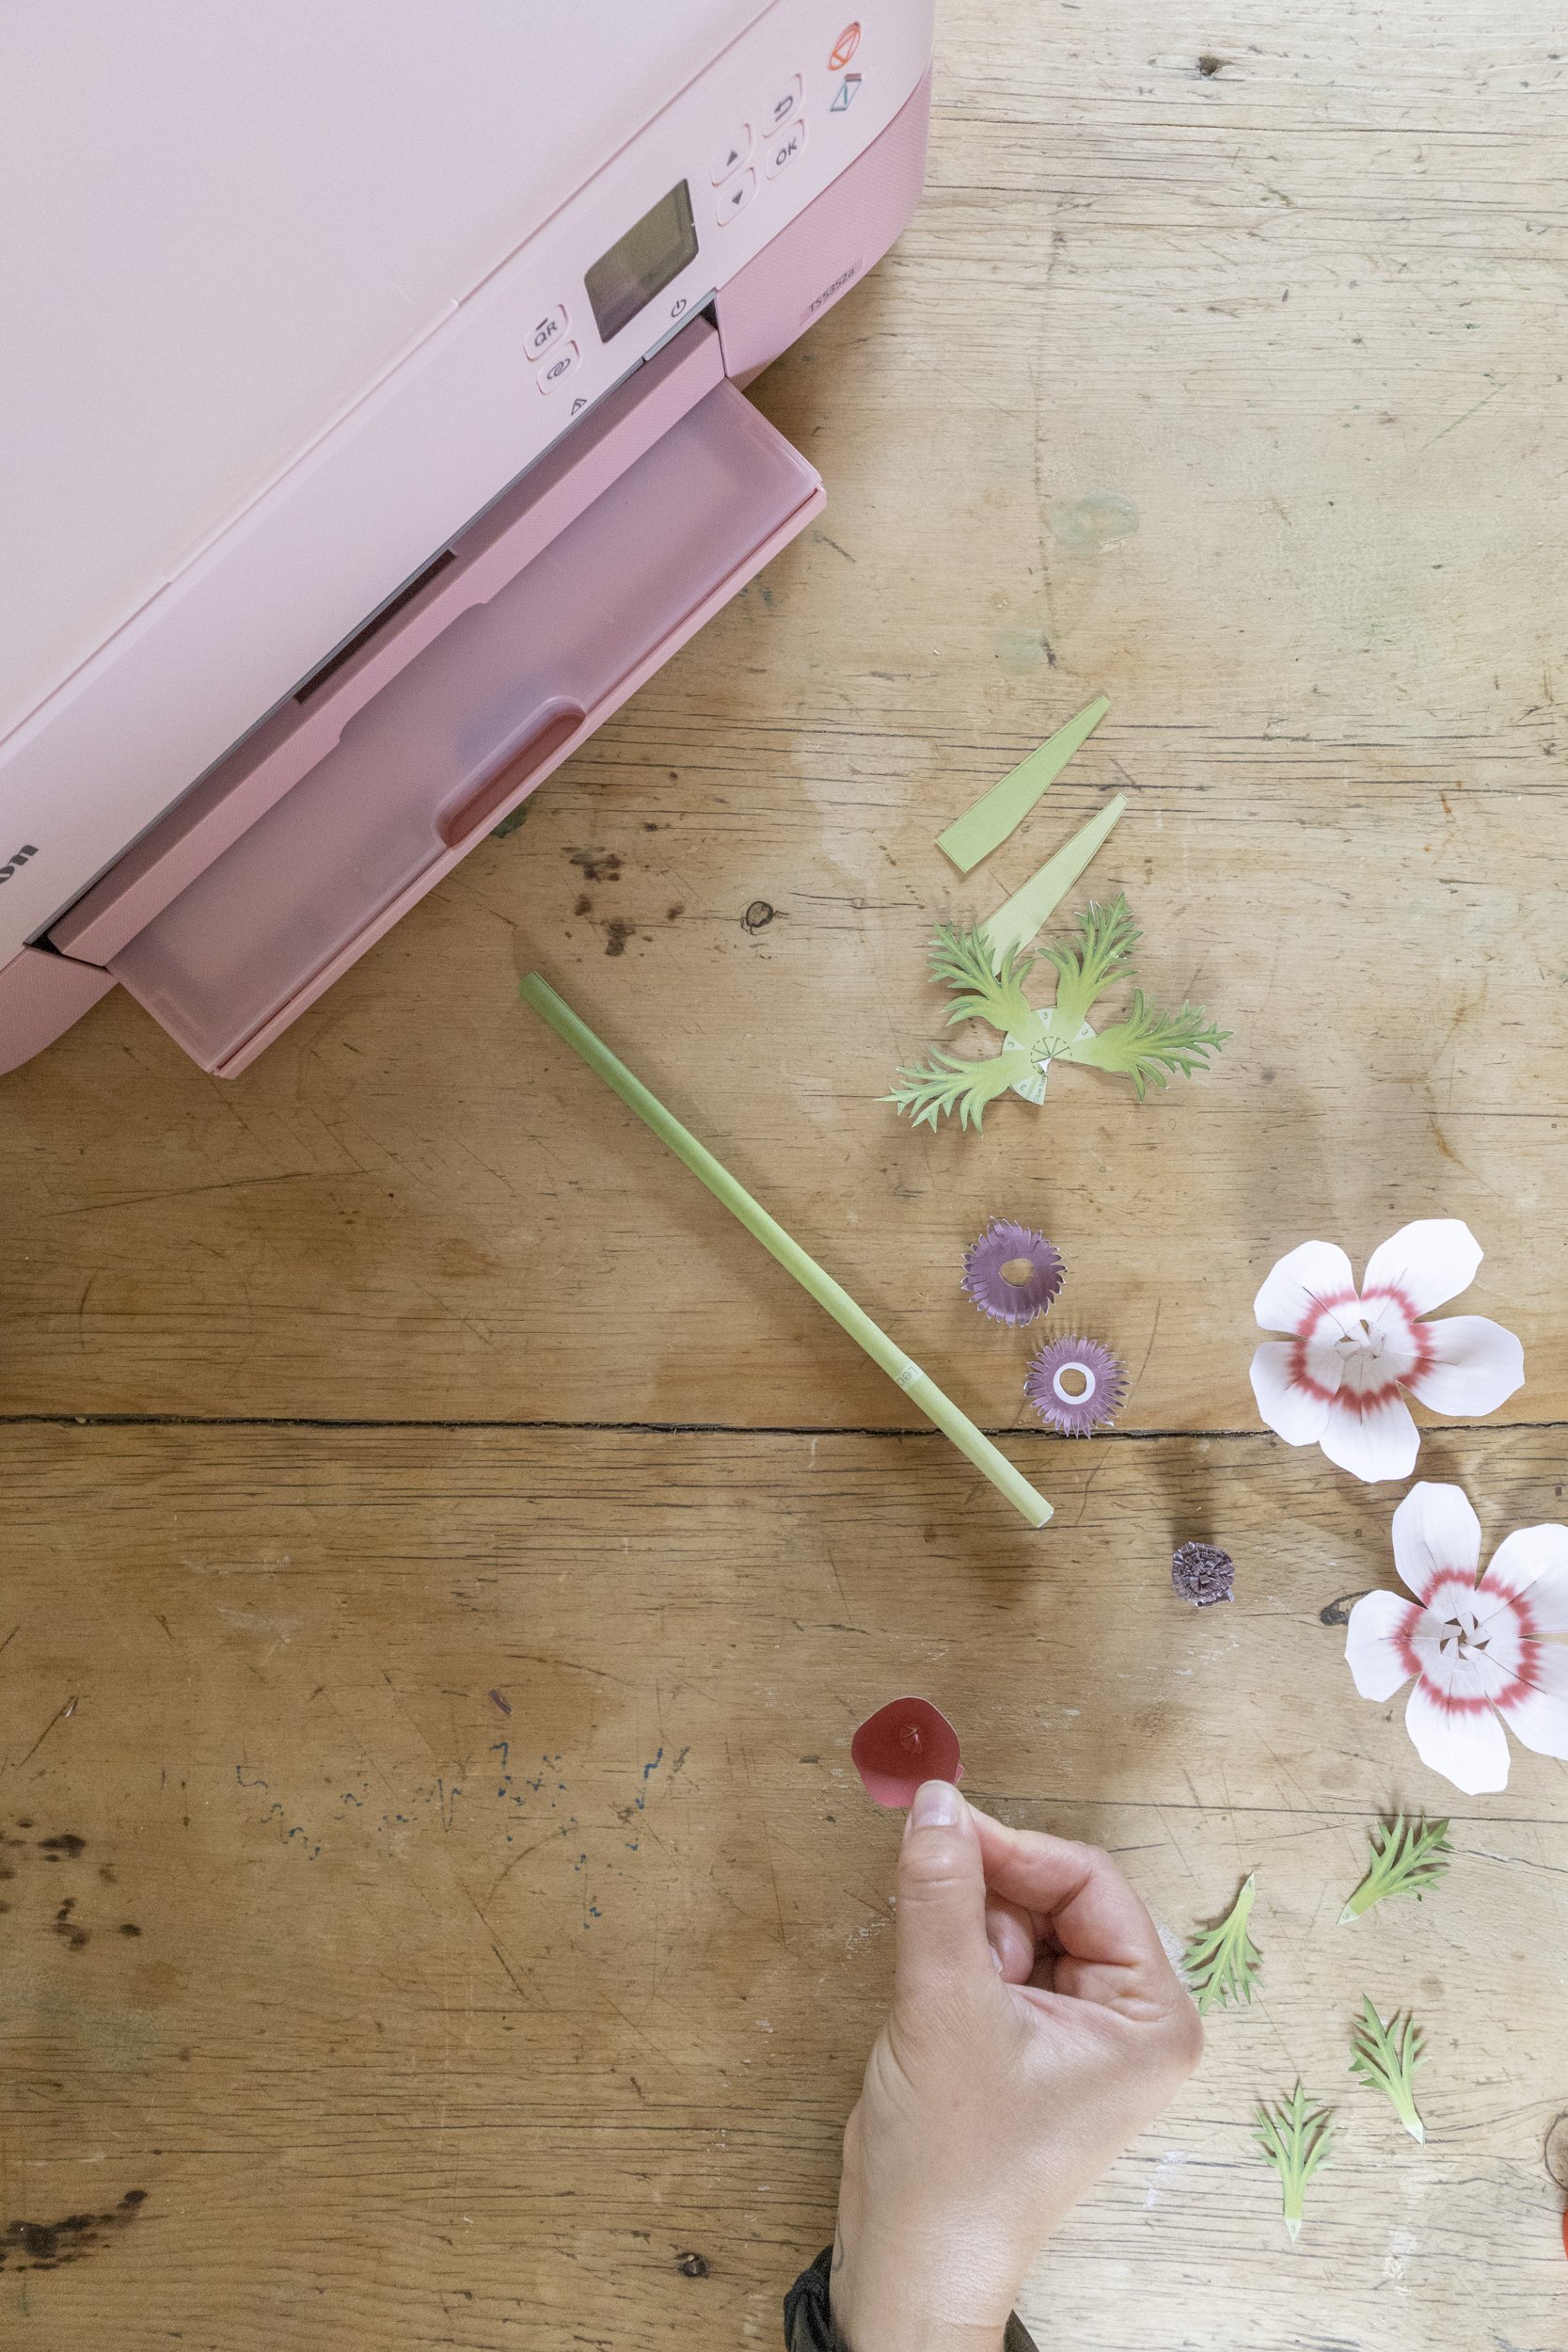
9
Assemble Sepal Stopper by glueing the tab and pulling it into a cone shape.

10
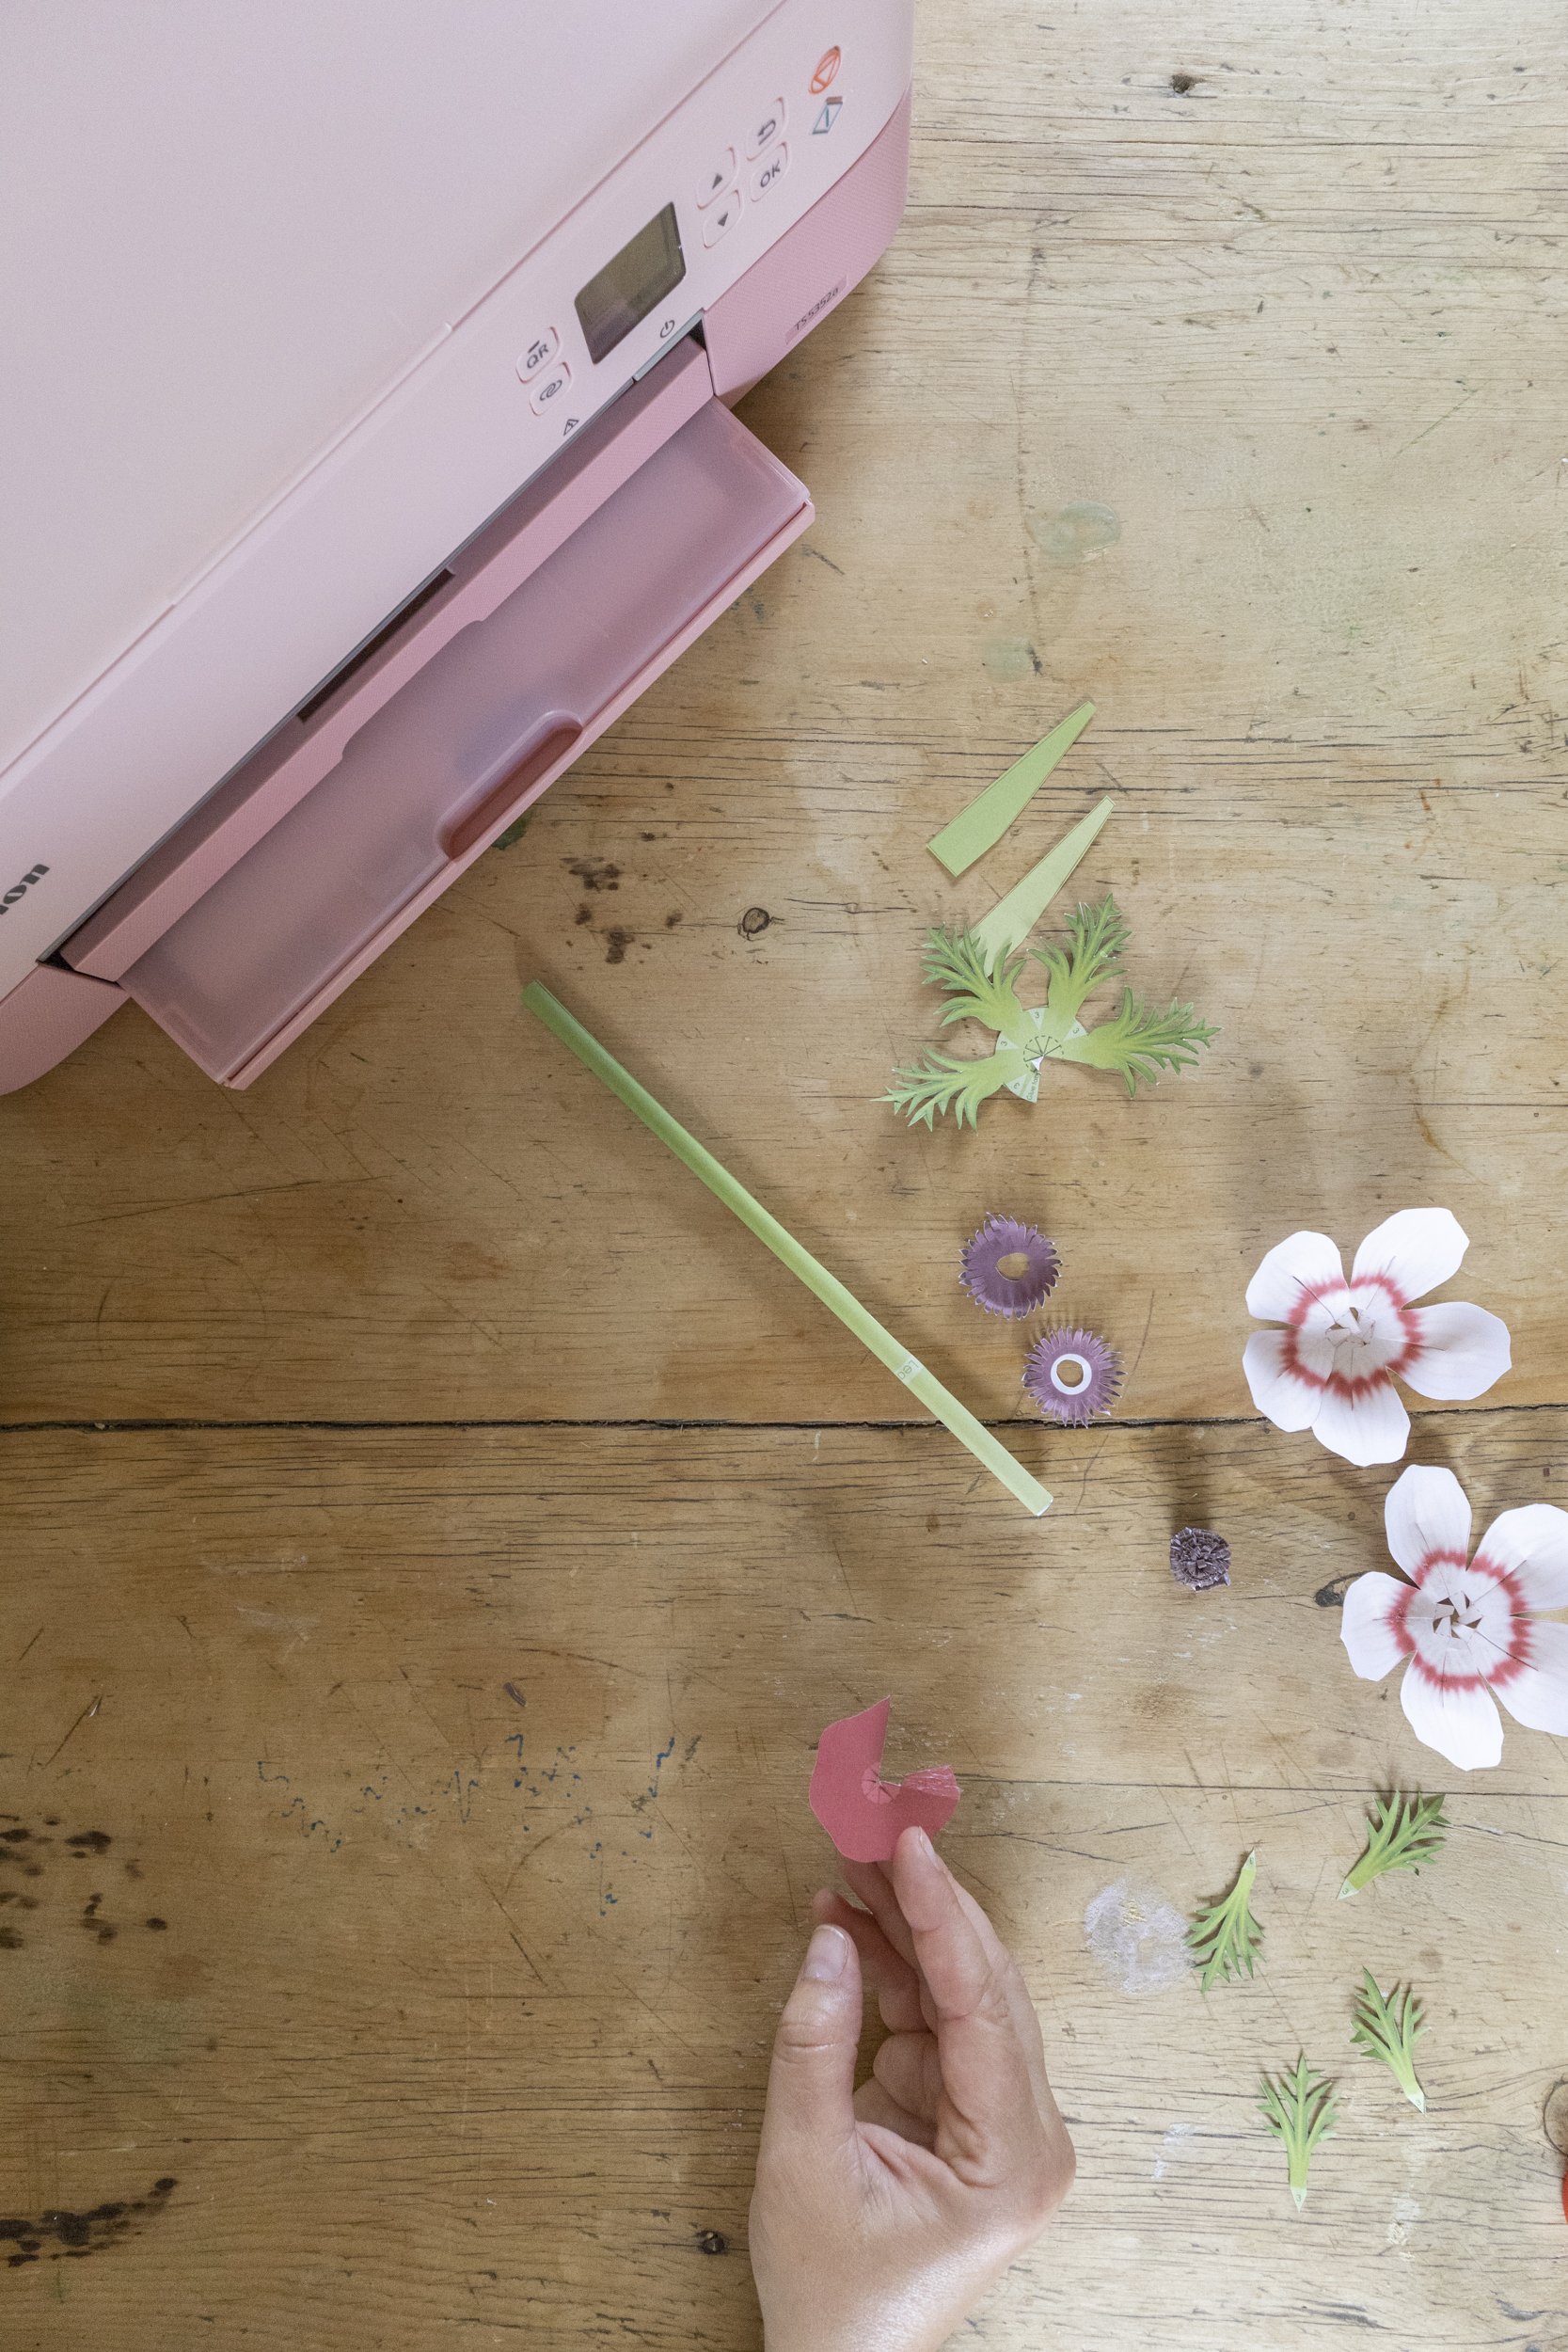
Assemble the leaves by attaching the small leaves to the big leaves where the ‘3’ is.

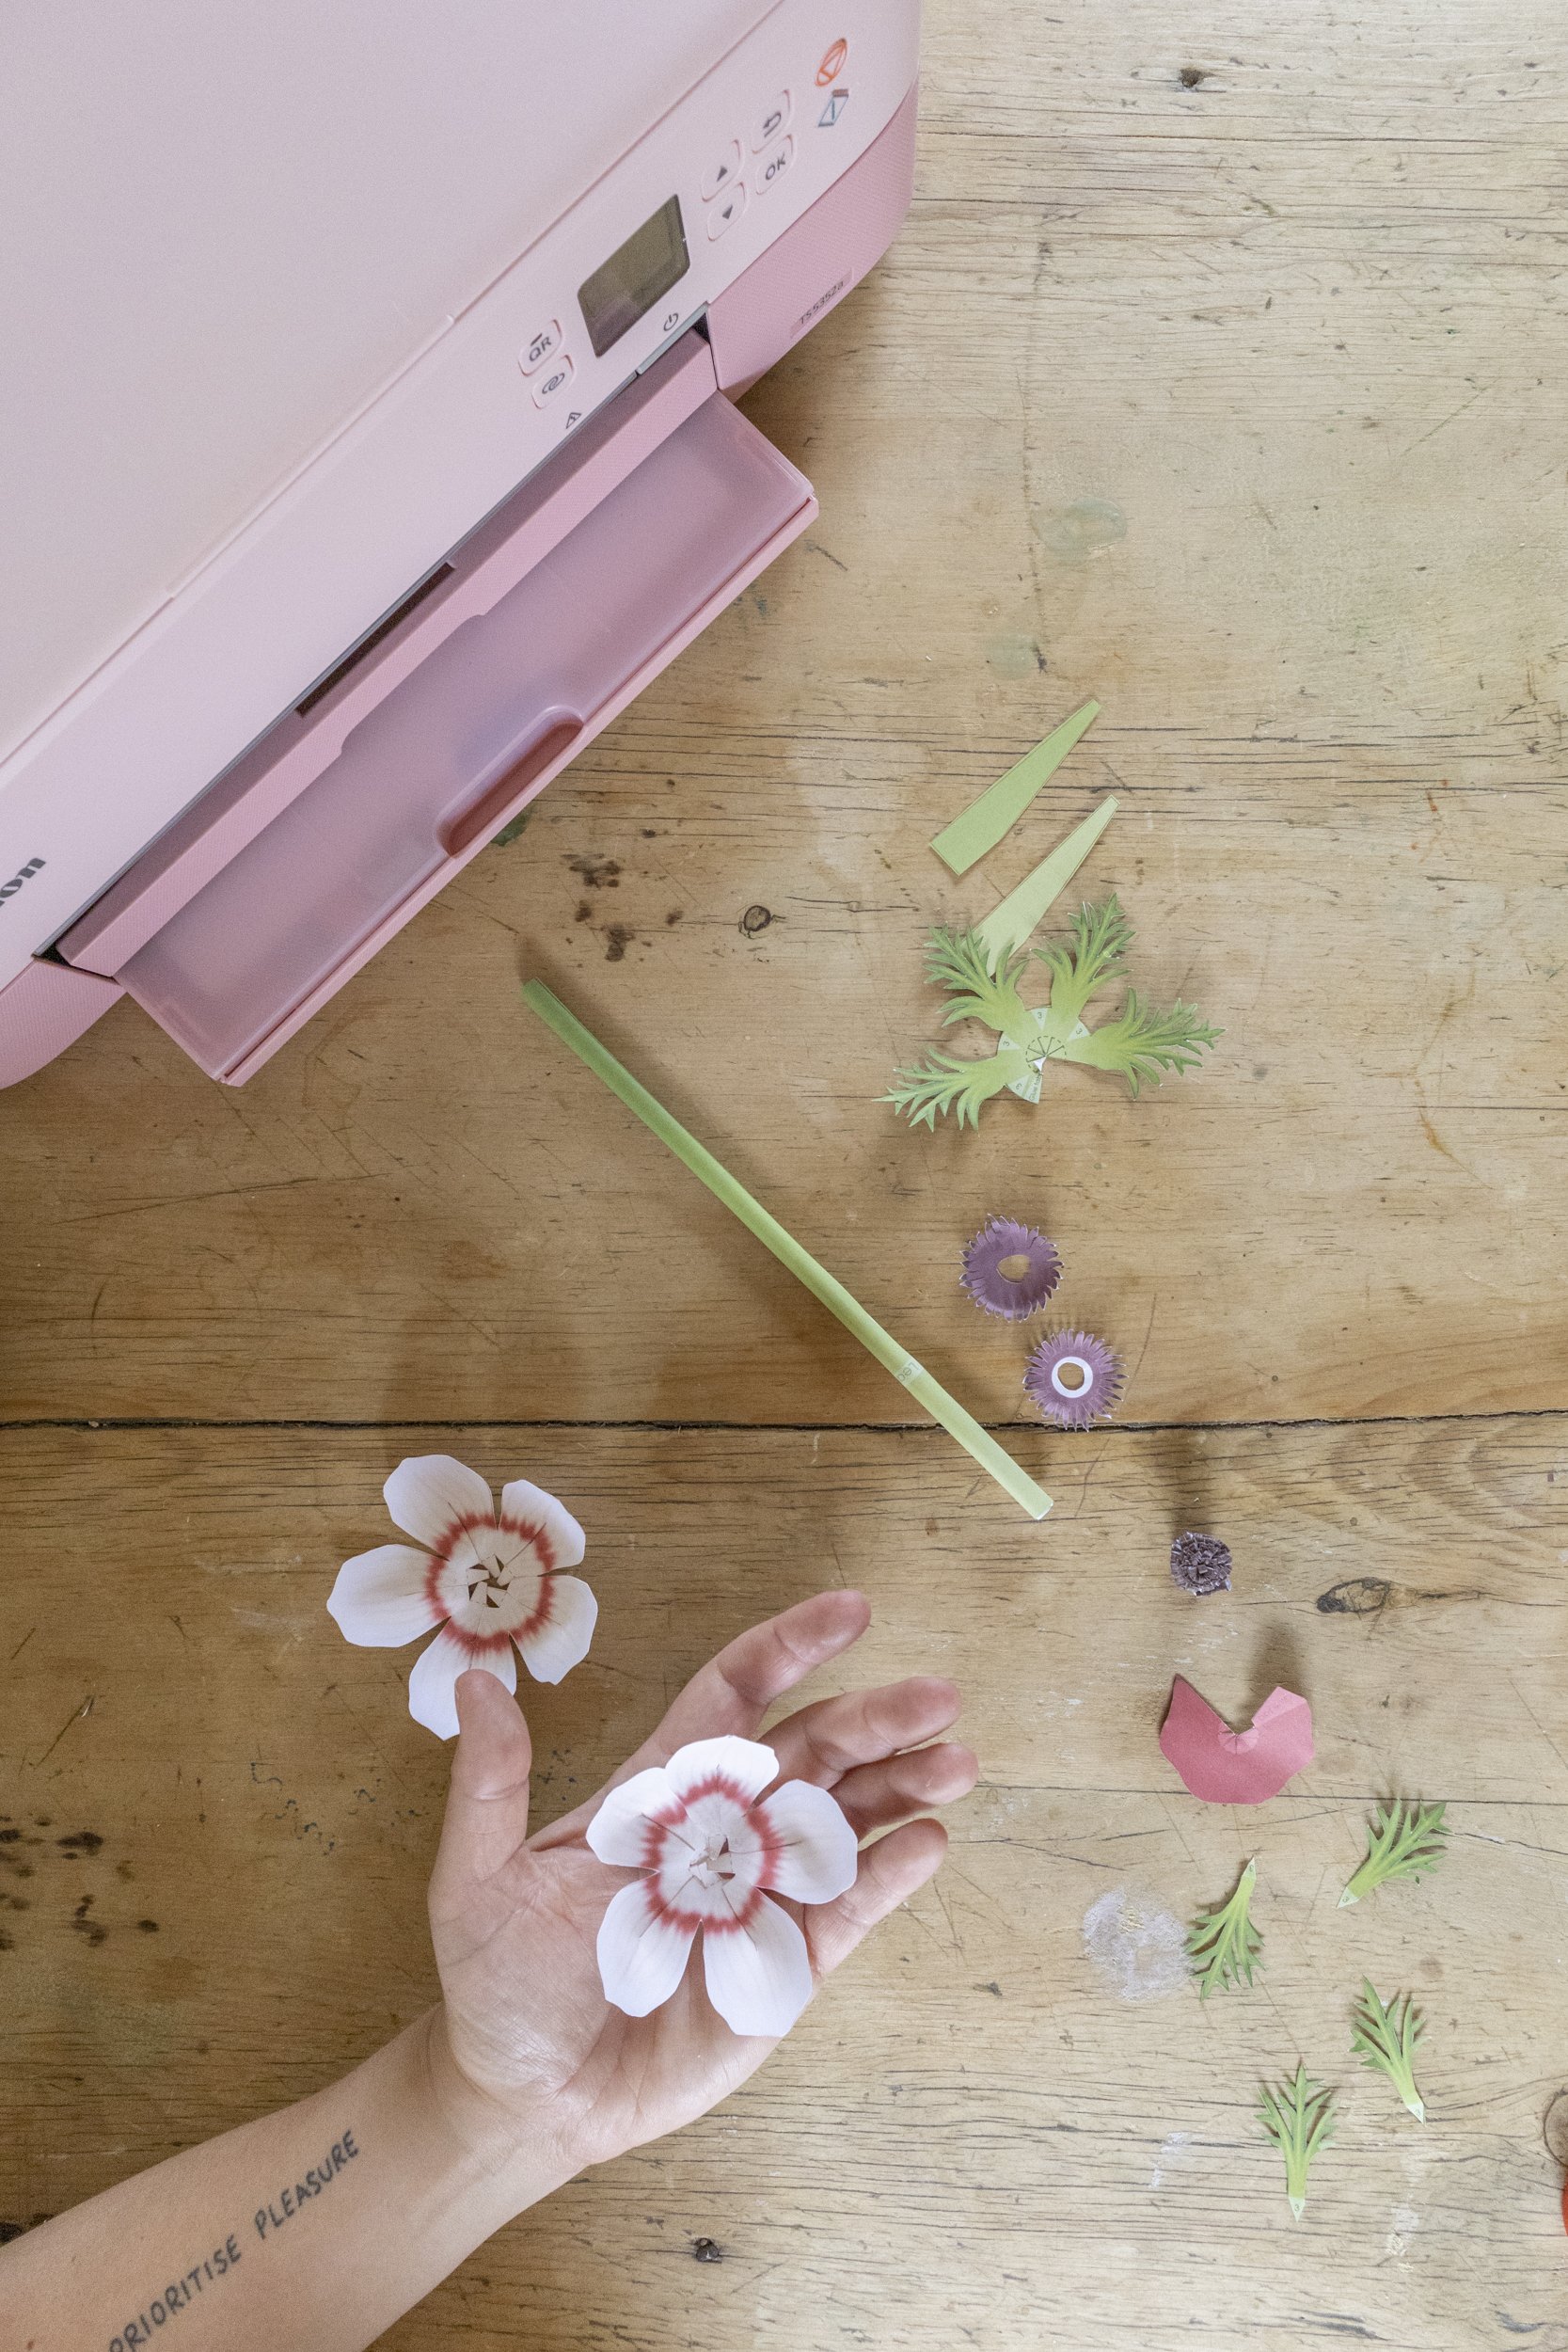
Now all parts are assembled ready to be made into the flower. HURRAY!
11

Put flower together by first attaching the Pistil to the tip of the stem. Then slide on the Stamen. Then The 2 Sepals.

12
At this point you add the sepal stopper tape by wrapping it tightly around the base of the Sepals.
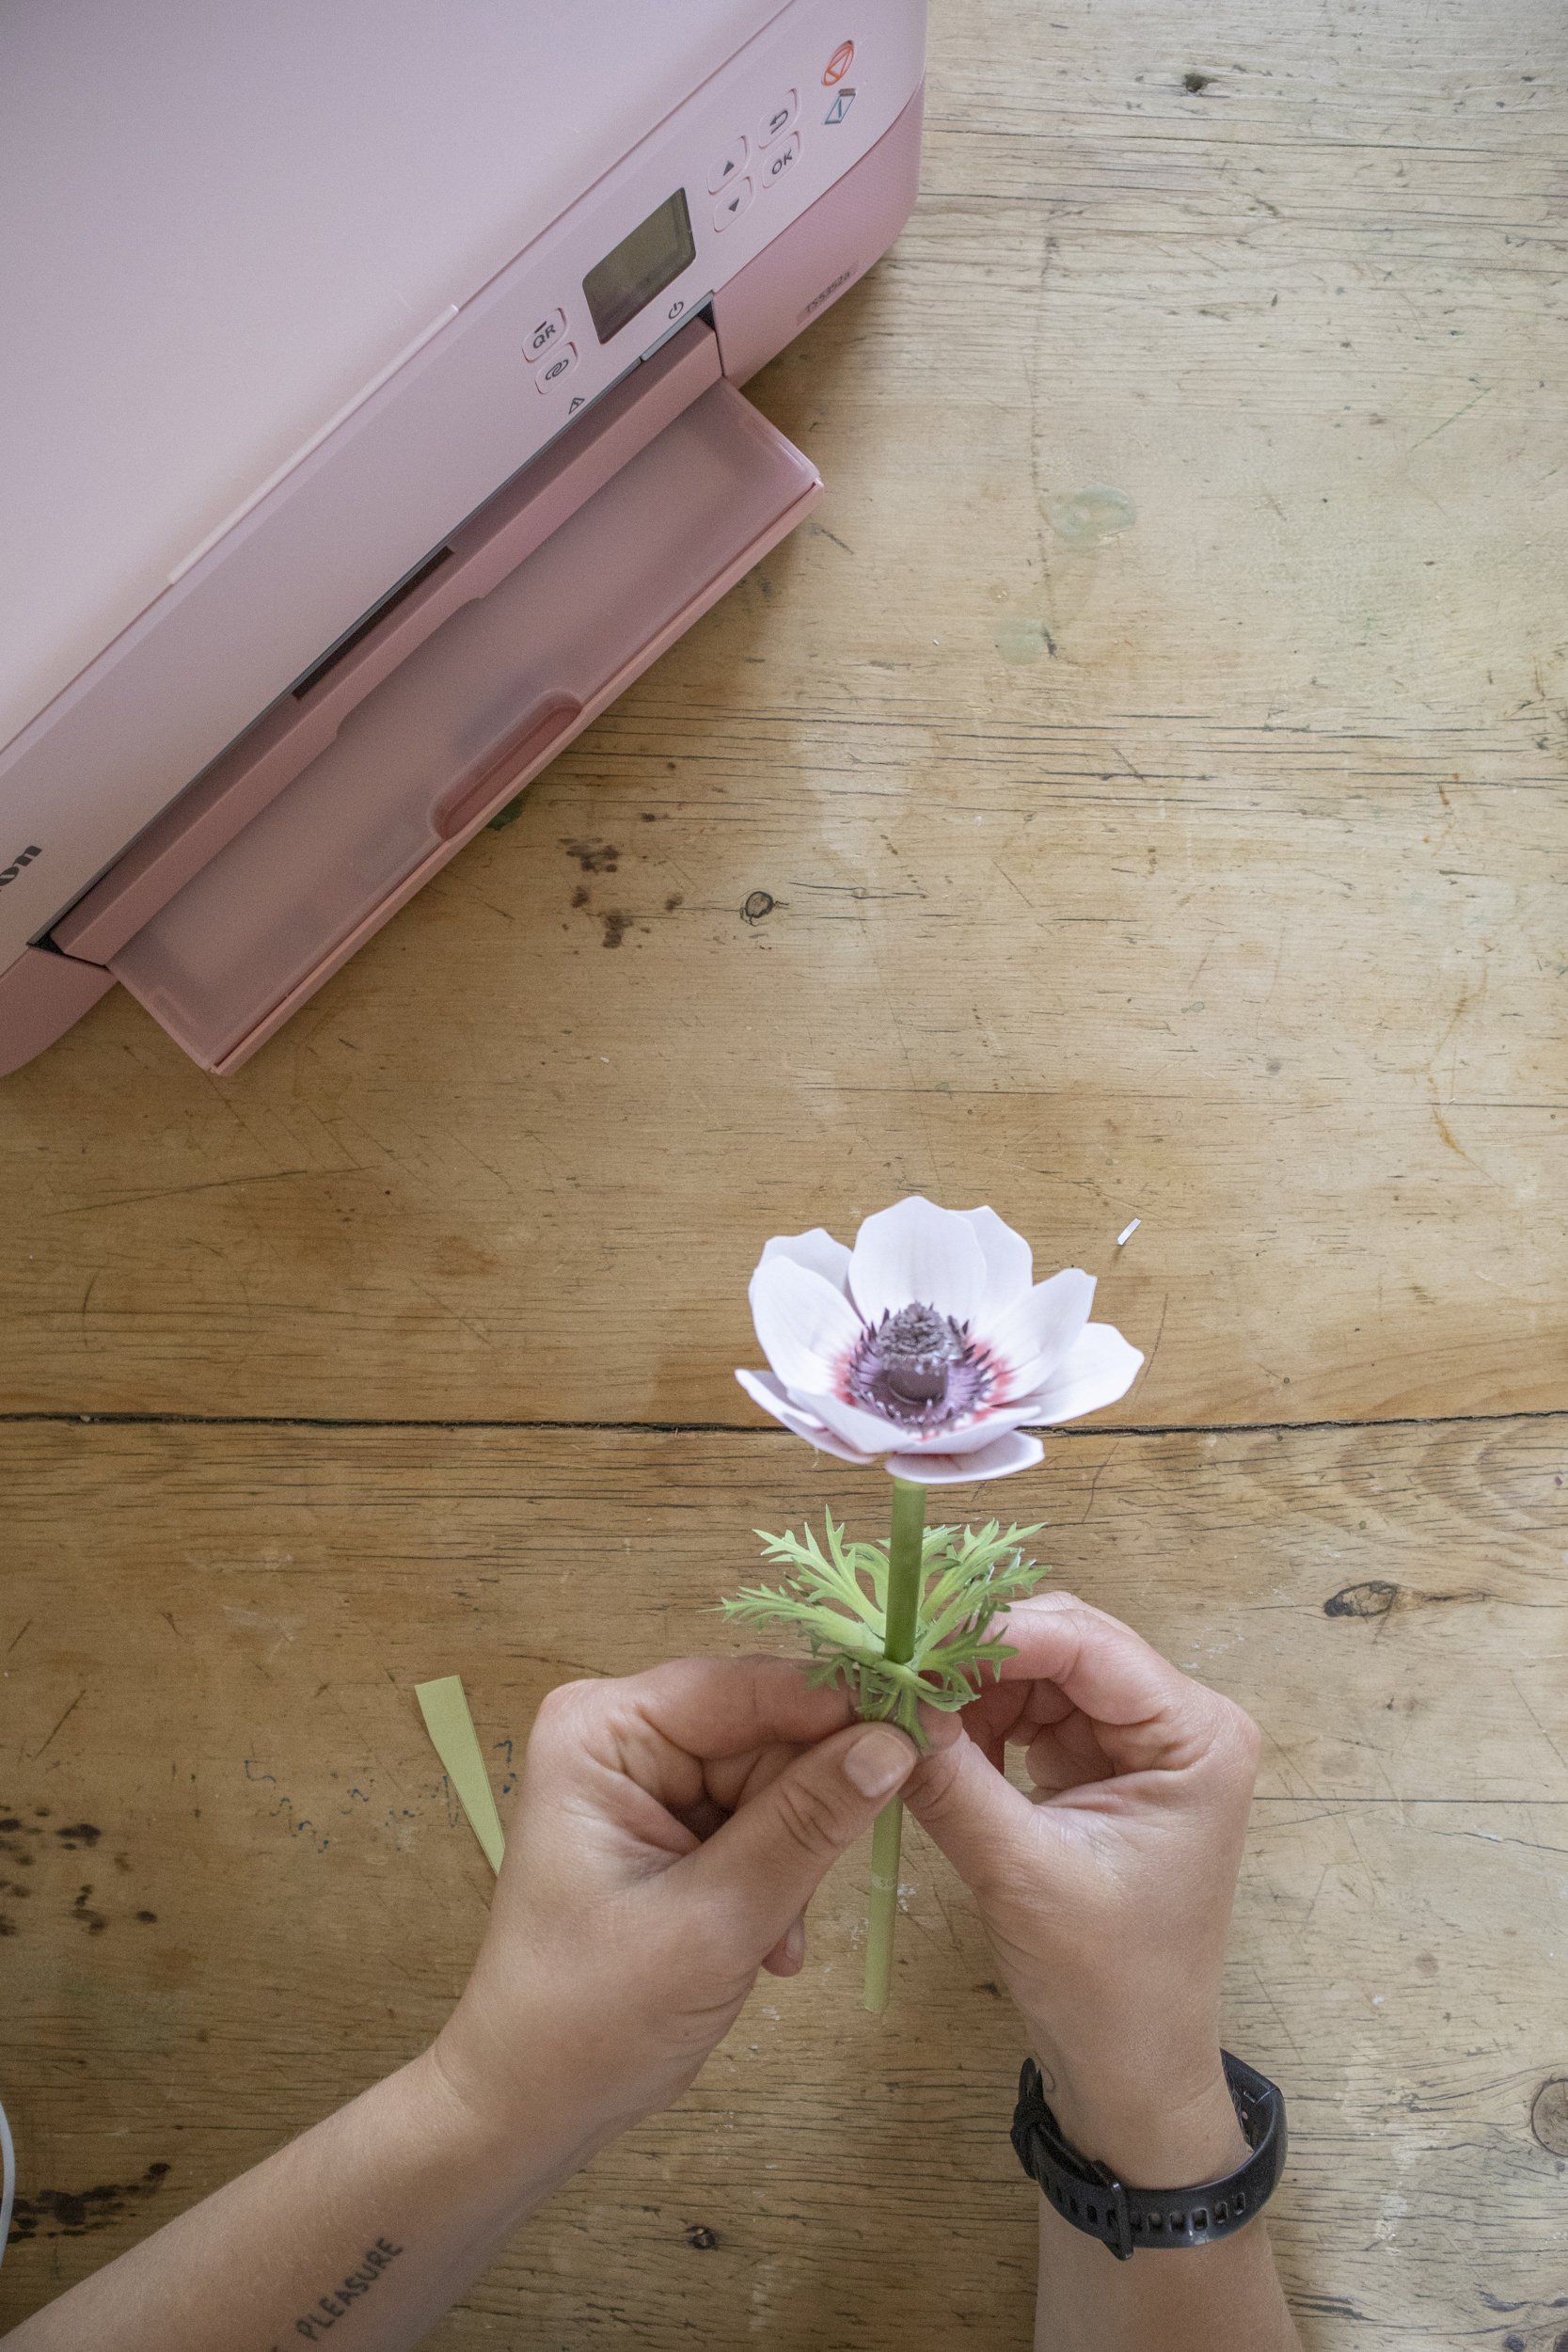
13
Then thread the leaves onto the stem, and attach it with the second sepal stopper tape.

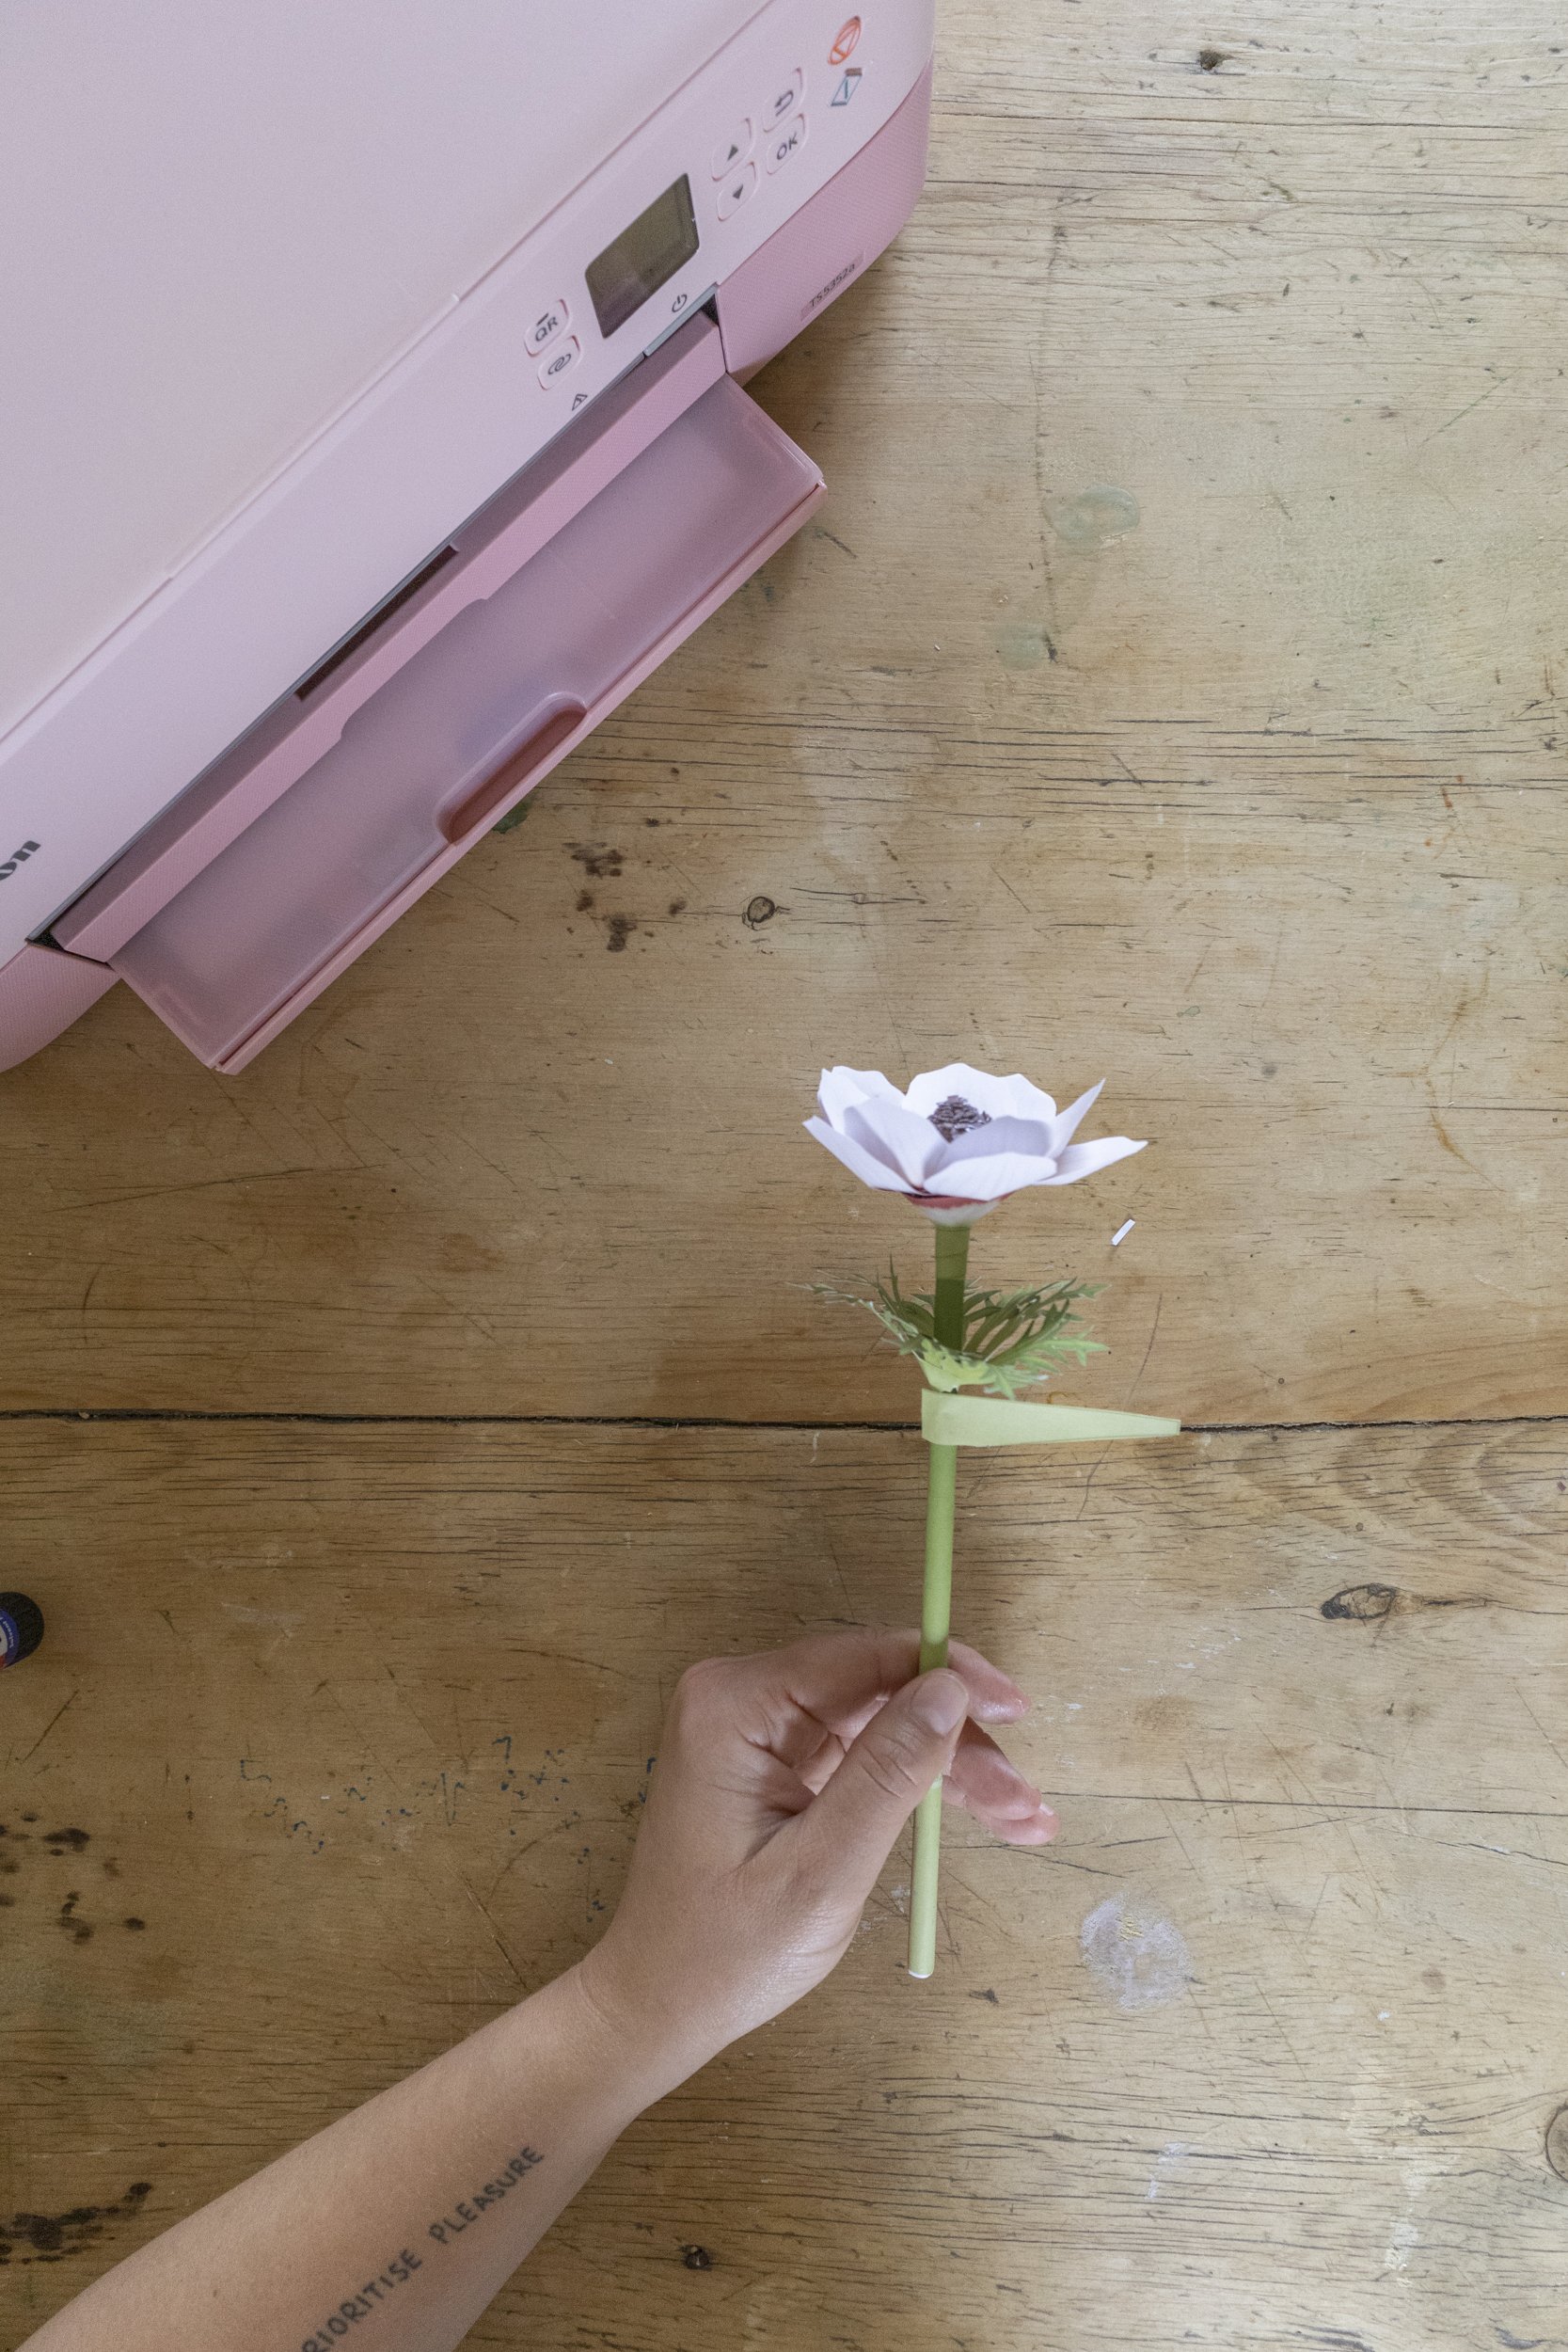
Then your flower is assembled!
If you make a few of these, then make sure to cut the stems at different heights when you put them in your vase. This looks a little more realistic.
If you use your paper flowers outside like I did, then you might want to use a length of ribbon to tie it to the napkin or the cutlery to stop it from blowing away.